
Stratus Wrap
I don't think there's anyone who loves a cloudy day more than a knitter or crocheter. Something about the slight chill of it all, the coziness level, and the excuse to stay indoors and work on your latest project just makes the heart so happy. The varying shapes and grey tones of clouds have always been so alluring for me. One of my favorite cloud moments came when I reached the top of Mount Kilimanjaro in February 2013 and looked down over the thick fluff below me. I'd seen this perspective from planes of course, but to be standing there amongst it all was truly breathtaking. Scroll down for the free pattern, or purchase a printable, ad-free version here.
My love of clouds was the inspiration for my latest Lion Brand collaboration, the Stratus Wrap. Just like the low-hanging, multi-layered stratus clouds that blanket the earth in grey fog, this wrap will envelope you in fuzzy warmth that is as light as air. Wear it wrapped in front or back and prepare to feel snuggled all day long.
Not only does this wrap resemble clouds in appearance, it is also the loftiest, most lightweight giant of a wrap you could ever imagine. New Basic 175, Lion Brand's new wool/acrylic blend single spun yarn, is as light as cotton candy and just as soft as a cloud itself (unfortunately this yarn has been discontinued since this original post). As soon as I got this baby off my needles I knew it was one of those "I'm going to live in this" pieces.
This is an easy level knitting pattern and the techniques involved are knitting, purling, M1L, M1R, and slipping stitches.
MATERIALS:
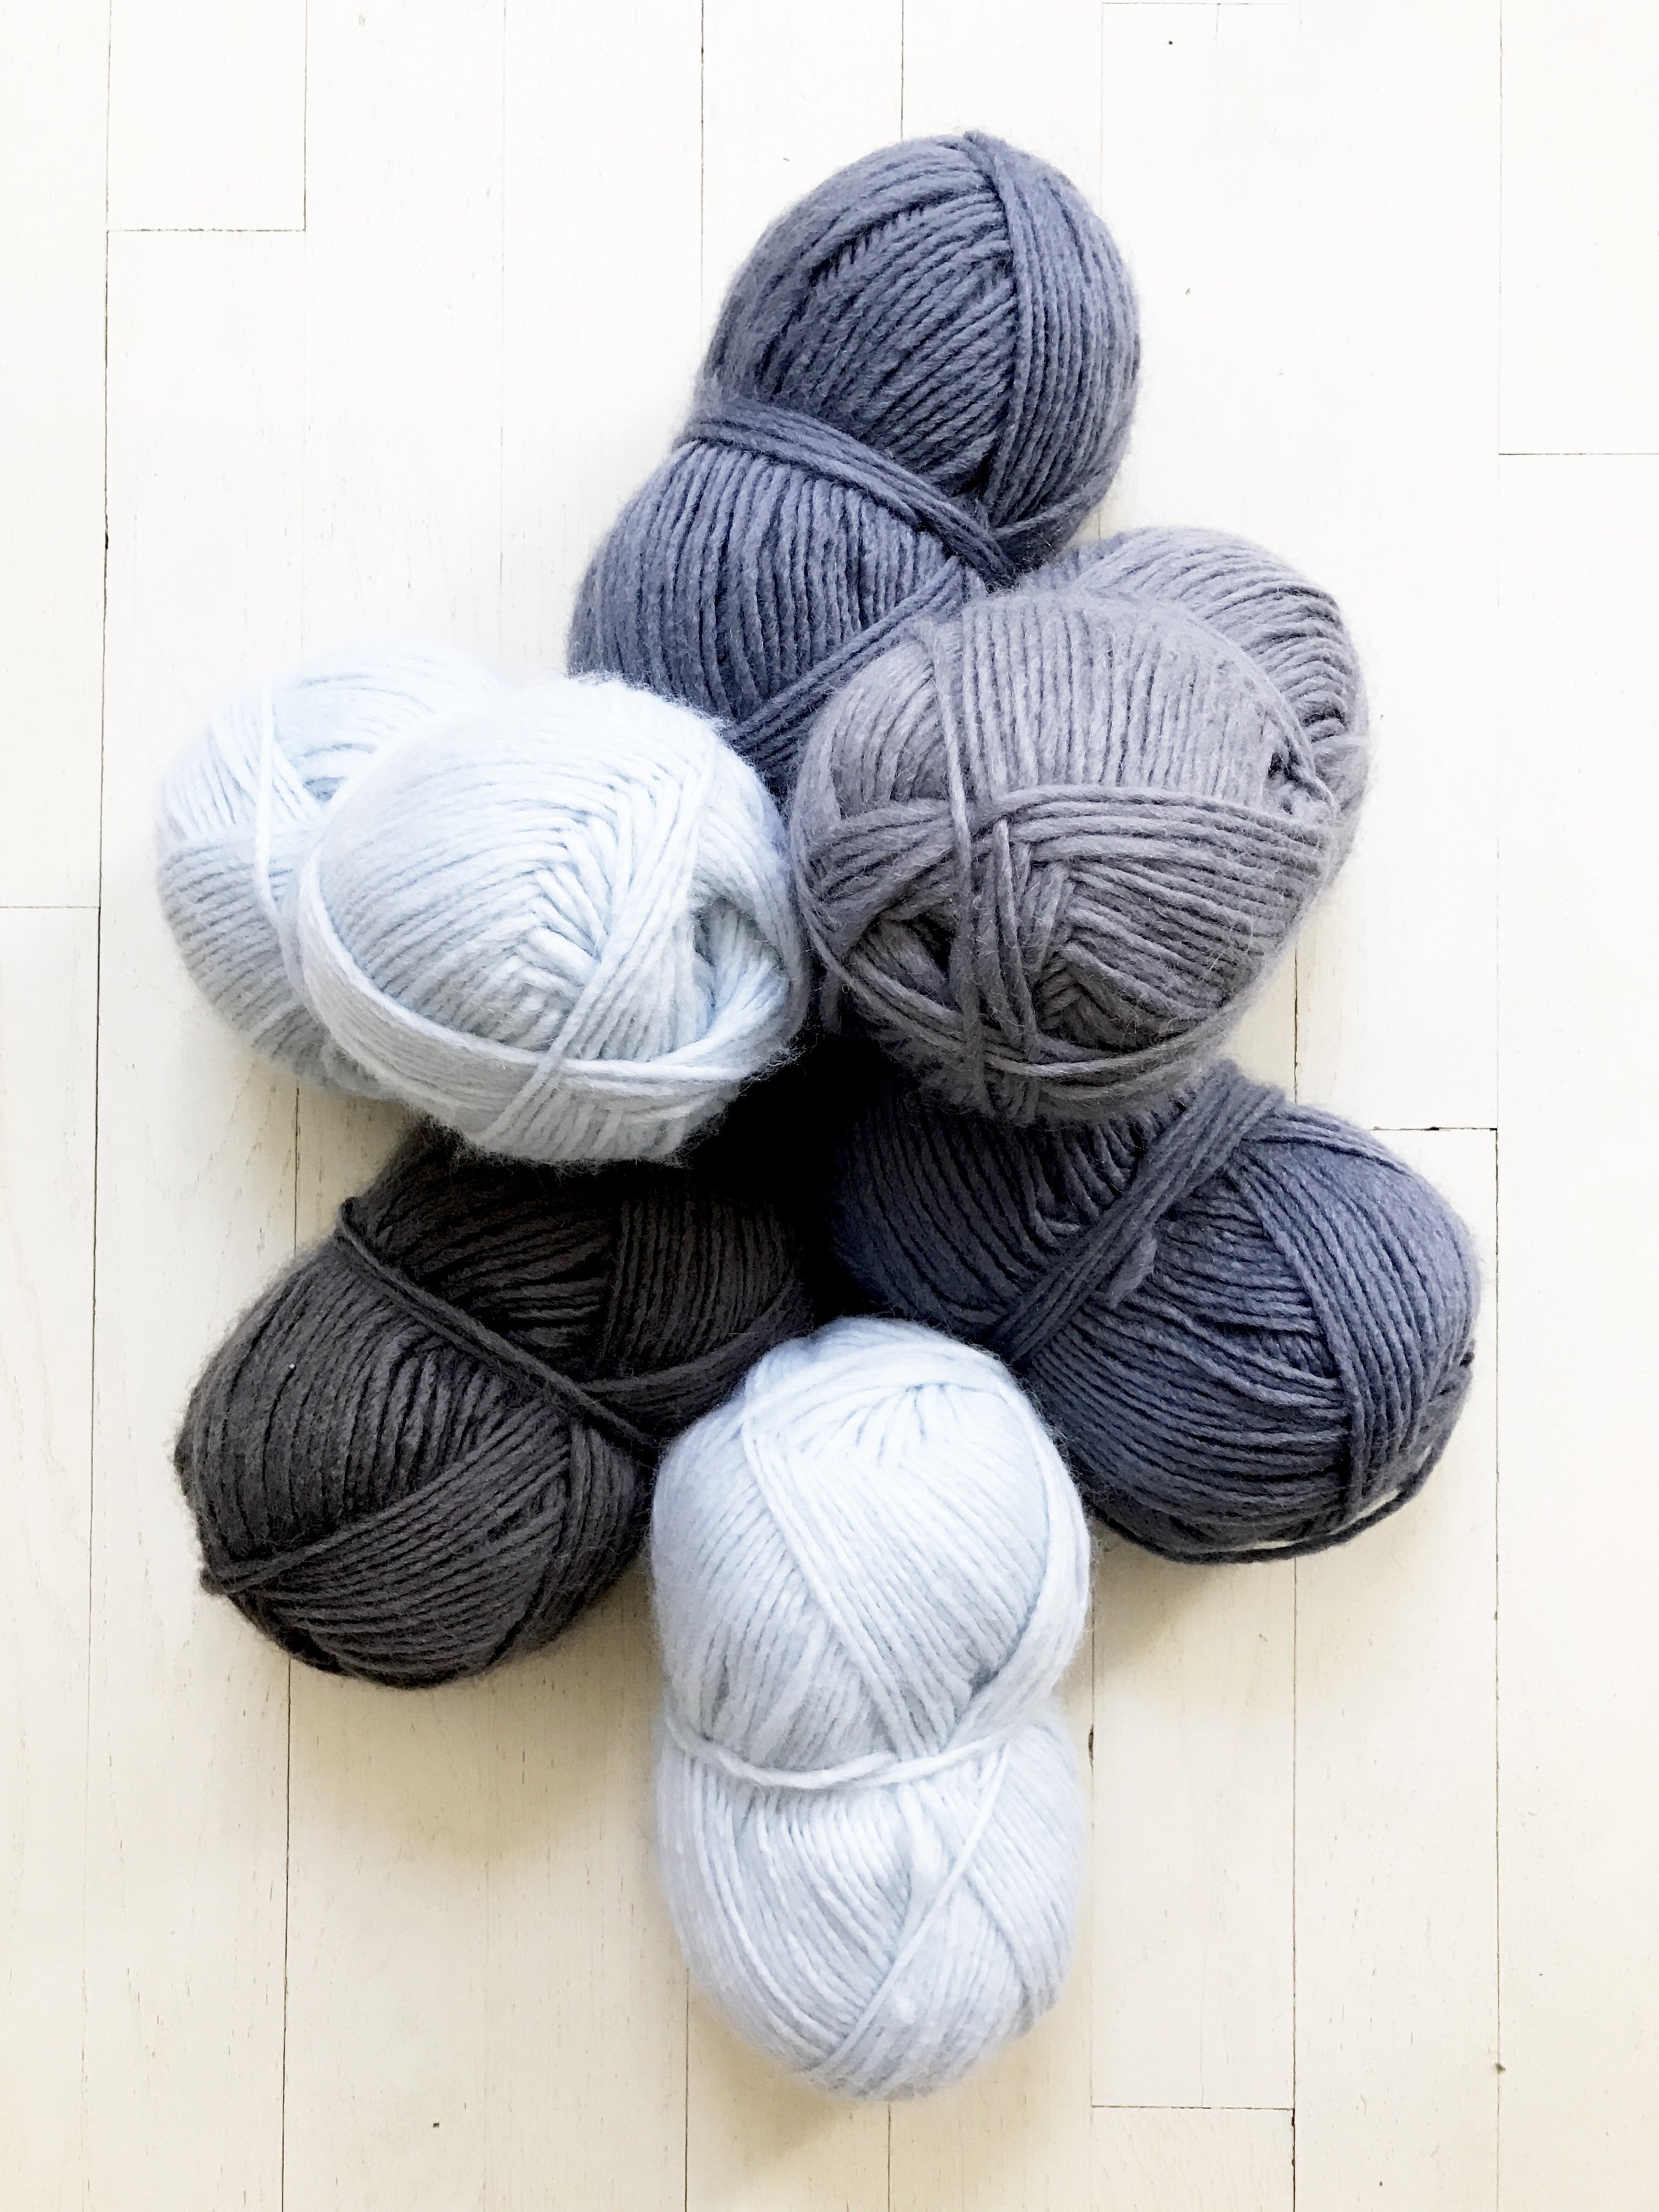
1 skein Lion Brand New Basic 175 in Charcoal or approx. 175yds/ 160m of another worsted weight, cat. 4 yarn for Color A
2 skeins Lion Brand New Basic 175 in Ice or approx. 350yds/ 320m of another worsted weight, cat. 4 yarn for Color B
1 skein Lion Brand New Basic 175 in Grey or approx. 175yds/ 160m of another worsted weight, cat. 4 yarn for Color C
2 skeins Lion Brand New Basic 175 in Slate or approx. 350yds/ 320m of another worsted weight, cat. 4 yarn for Color D
Size US 11 (8mm) circular knitting needles, 29”/75cm or longer
Stitch markers (2)
Tapestry needle

FINISHED SIZE:
Width: 76”/193cm
Length from top to point: 38”/97cm
GAUGE:
12 sts + 17.5 rows = 4”/10cm in stockinette
ABBREVIATIONS:
*All Two of Wands patterns are written in standard US terms*
CO - Cast on
K - Knit
M1L - Make 1 left
M1R - Make 1 right
P - Purl
PM - Place marker
Rep - Repeat
RS - Right side
Sl - Slip
SM - Slip marker
St(s) - stitch(es)
Note: Wrap is worked from the top down, increasing 4 sts on every right side (even) row. All sts are slipped purlwise with yarn in back. When changing colors on striped sections, yarn can be carried up the side instead of cut after every stripe. The bound off edge forms the outer v-shaped sides and it is important to bind off loosely to prevent this edge from pulling and to allow it to drape nicely.
With color A, CO 5 sts.
Row 1: Sl 1, K 1, PM, P 1, PM, K 2.
Row 2 (RS): Sl 1, K 1, M1R, SM, K 1, SM, M1L, K 2. (7 sts)
Row 3 and all odd (wrong side) rows in this section: Sl 1, K to marker, SM, P 1, SM, K to end of row.
Row 4: Sl 1, K 1, M1R, K 1, M1R, SM, K 1, SM, M1L, K 1, M1L, K 2. (11 sts)
Row 6: Sl 1, K 1, M1R, K to marker, M1R, SM, K 1, SM, M1L, K to last 2 sts, M1L, K 2. (15 sts)
Rows 8-20: Rep row 6. (43 sts)
Row 21: Sl 1, K to marker, SM, P 1, SM, K to end of row.
Change to color B, but do not cut color A (carry it up the side of the work until needed again, and continue this for entire striped section).
Row 22: K 2, M1R, K to marker, M1R, SM, K 1, SM, M1L, K to last 2 sts, M1L, K 2. (47 sts)
Row 23: Sl 1, K 1, P to last 2 sts slipping markers, K 2.
Change to color A.
Rows 24 and 25: Rep rows 22 and 23. (51 sts)
Change to color B.
Rows 26 and 27: Rep rows 22 and 23. (55 sts)
Change to color A.
Rows 28 and 29: Rep rows 22 and 23. (59 sts)
Change to color B.
Rows 30 and 31: Rep rows 22 and 23. (63 sts)
Change to color A.
Rows 32 and 33: Rep rows 22 and 23. (67 sts)
Change to color B.
Rows 34 and 35: Rep rows 22 and 23. (71 sts)
Change to color A.
Rows 36 and 37: Rep rows 22 and 23. (75 sts)
Change to color B.
Rows 38 and 39: Rep rows 22 and 23. (79 sts)
Change to color A.
Rows 40 and 41: Rep rows 22 and 23. (83 sts)
Change to color B.
Rows 42 and 43: Rep rows 22 and 23. (87 sts)
Change to color C and cut colors A and B.
Row 44: K 2, M1R, K to marker, M1R, SM, K 1, SM, M1L, K to last 2 sts, M1L, K 2. (91 sts)
Row 45 and all odd (wrong side) rows in this section: Sl 1, K to marker, SM, P 1, SM, K to end of row.
Row 46: Sl 1, K 1, M1R, K to marker, M1R, SM, K 1, SM, M1L, K to last 2 sts, M1L, K 2. (95 sts)
Rows 48-64: Rep row 46. (131 sts)
Row 65: Sl 1, K to marker, SM, P 1, SM, K to end of row.
Change to color B, but do not cut color C (carry it up the side of the work until needed again, and continue this for entire striped section).
Row 66: K 2, M1R, K to marker, M1R, SM, K 1, SM, M1L, K to last 2 sts, M1L, K 2. (135 sts)
Row 67: Sl 1, K 1, P to last 2 sts slipping markers, K 2.
Change to color C.
Rows 68 and 69: Rep rows 66 and 67. (139 sts)
Change to color B.
Rows 70 and 71: Rep rows 66 and 67. (143 sts)
Change to color C.
Rows 72 and 73: Rep rows 66 and 67. (147 sts)
Change to color B.
Rows 74 and 75: Rep rows 66 and 67. (151 sts)
Change to color C.
Rows 76 and 77: Rep rows 66 and 67. (155 sts)
Change to color B.
Rows 78 and 79: Rep rows 66 and 67. (159 sts)
Change to color C.
Rows 80 and 81: Rep rows 66 and 67. (163 sts)
Change to color B.
Rows 82 and 83: Rep rows 66 and 67. (167 sts)
Change to color C.
Rows 84 and 85: Rep rows 66 and 67. (171 sts)
Change to color B.
Rows 86 and 87: Rep rows 66 and 67. (175 sts)
Change to color D and cut colors B and C.
Row 88: K 2, M1R, K to marker, M1R, SM, K 1, SM, M1L, K to last 2 sts, M1L, K 2. (179 sts)
Row 89 and all odd (wrong side) rows in this section: Sl 1, K to marker, SM, P 1, SM, K to end of row.
Row 90: Sl 1, K 1, M1R, K to marker, M1R, SM, K 1, SM, M1L, K to last 2 sts, M1L, K 2. (183 sts)
Rows 92-108: Rep row 90. (219 sts)
Row 109: Sl 1, K to marker, SM, P 1, SM, K to end of row.
Change to color B, but do not cut color D (carry it up the side of the work until needed again, and continue this for entire striped section).
Row 110: K 2, M1R, K to marker, M1R, SM, K 1, SM, M1L, K to last 2 sts, M1L, K 2. (223 sts)
Row 111: Sl 1, K 1, P to last 2 sts slipping markers, K 2.
Change to color D.
Rows 112 and 113: Rep rows 110 and 111. (227 sts)
Change to color B.
Rows 114 and 115: Rep rows 110 and 111. (231 sts)
Change to color D.
Rows 116 and 117: Rep rows 110 and 111. (235 sts)
Change to color B.
Rows 118 and 119: Rep rows 110 and 111. (239 sts)
Change to color D.
Rows 120 and 121: Rep rows 110 and 111. (243 sts)
Change to color B.
Rows 122 and 123: Rep rows 110 and 111. (247 sts)
Change to color D.
Rows 124 and 125: Rep rows 110 and 111. (251 sts)
Change to color B.
Rows 126 and 127: Rep rows 110 and 111. (255 sts)
Change to color D.
Rows 128 and 129: Rep rows 110 and 111. (259 sts)
Change to color B.
Rows 130 and 131: Rep rows 110 and 111. (263 sts)
Change to color A and cut colors B and D.
Row 132: K 2, M1R, K to marker, M1R, SM, K 1, SM, M1L, K to last 2 sts, M1L, K 2. (267 sts)
Row 133 and all odd (wrong side) rows in this section: Sl 1, K to marker, SM, P 1, SM, K to end of row.
Row 134: Sl 1, K 1, M1R, K to marker, M1R, SM, K 1, SM, M1L, K to last 2 sts, M1L, K 2. (271 sts)
Rows 136-144: Rep row 134. (291 sts)
Bind off loosely. Secure and weave in all ends.
To make tassels, cut ninety 14”/36cm lengths of color B and six 18”/46cm lengths of color D. Divide the 14”/36cm lengths into 3 groups of 30.
Tie each bundle at the middle point with one of the 18”/46cm lengths. Fold each bundle in half so that the tie is at the tip of the loop created with the fold.
Tie crosswise around each folded bundle about 1”/2.5cm below top of fold with remaining 18”/ 46cm lengths. Wrap the tails of the ties around and around the bundles and then thread them inside and down the middle of the bundles with a tapestry needle.
Tie the tops of the tassels onto the 3 corners of the wrap and knot to secure. Thread the tails inside and down the middle of the tassels using a tapestry needle. Trim tassels to desired length.
Purchase the printable, ad-free pattern here.
Don't forget to share your projects made using Two of Wands patterns on Instagram with the hashtag #crewofwands so your post will get featured on my site and you'll be in the running for monthly pattern giveaways!
Check out the #crewofwands community page here.
The patterns and photographs of items on this site are the property of Two of Wands and are for personal, non-commercial use only. These patterns files are protected by US copyright, and you may not distribute or sell them electronically or physically.
Small batch sales of finished pieces made from these patterns are permitted, but seller must use their own photographs and credit must be given to Two of Wands as the designer.