
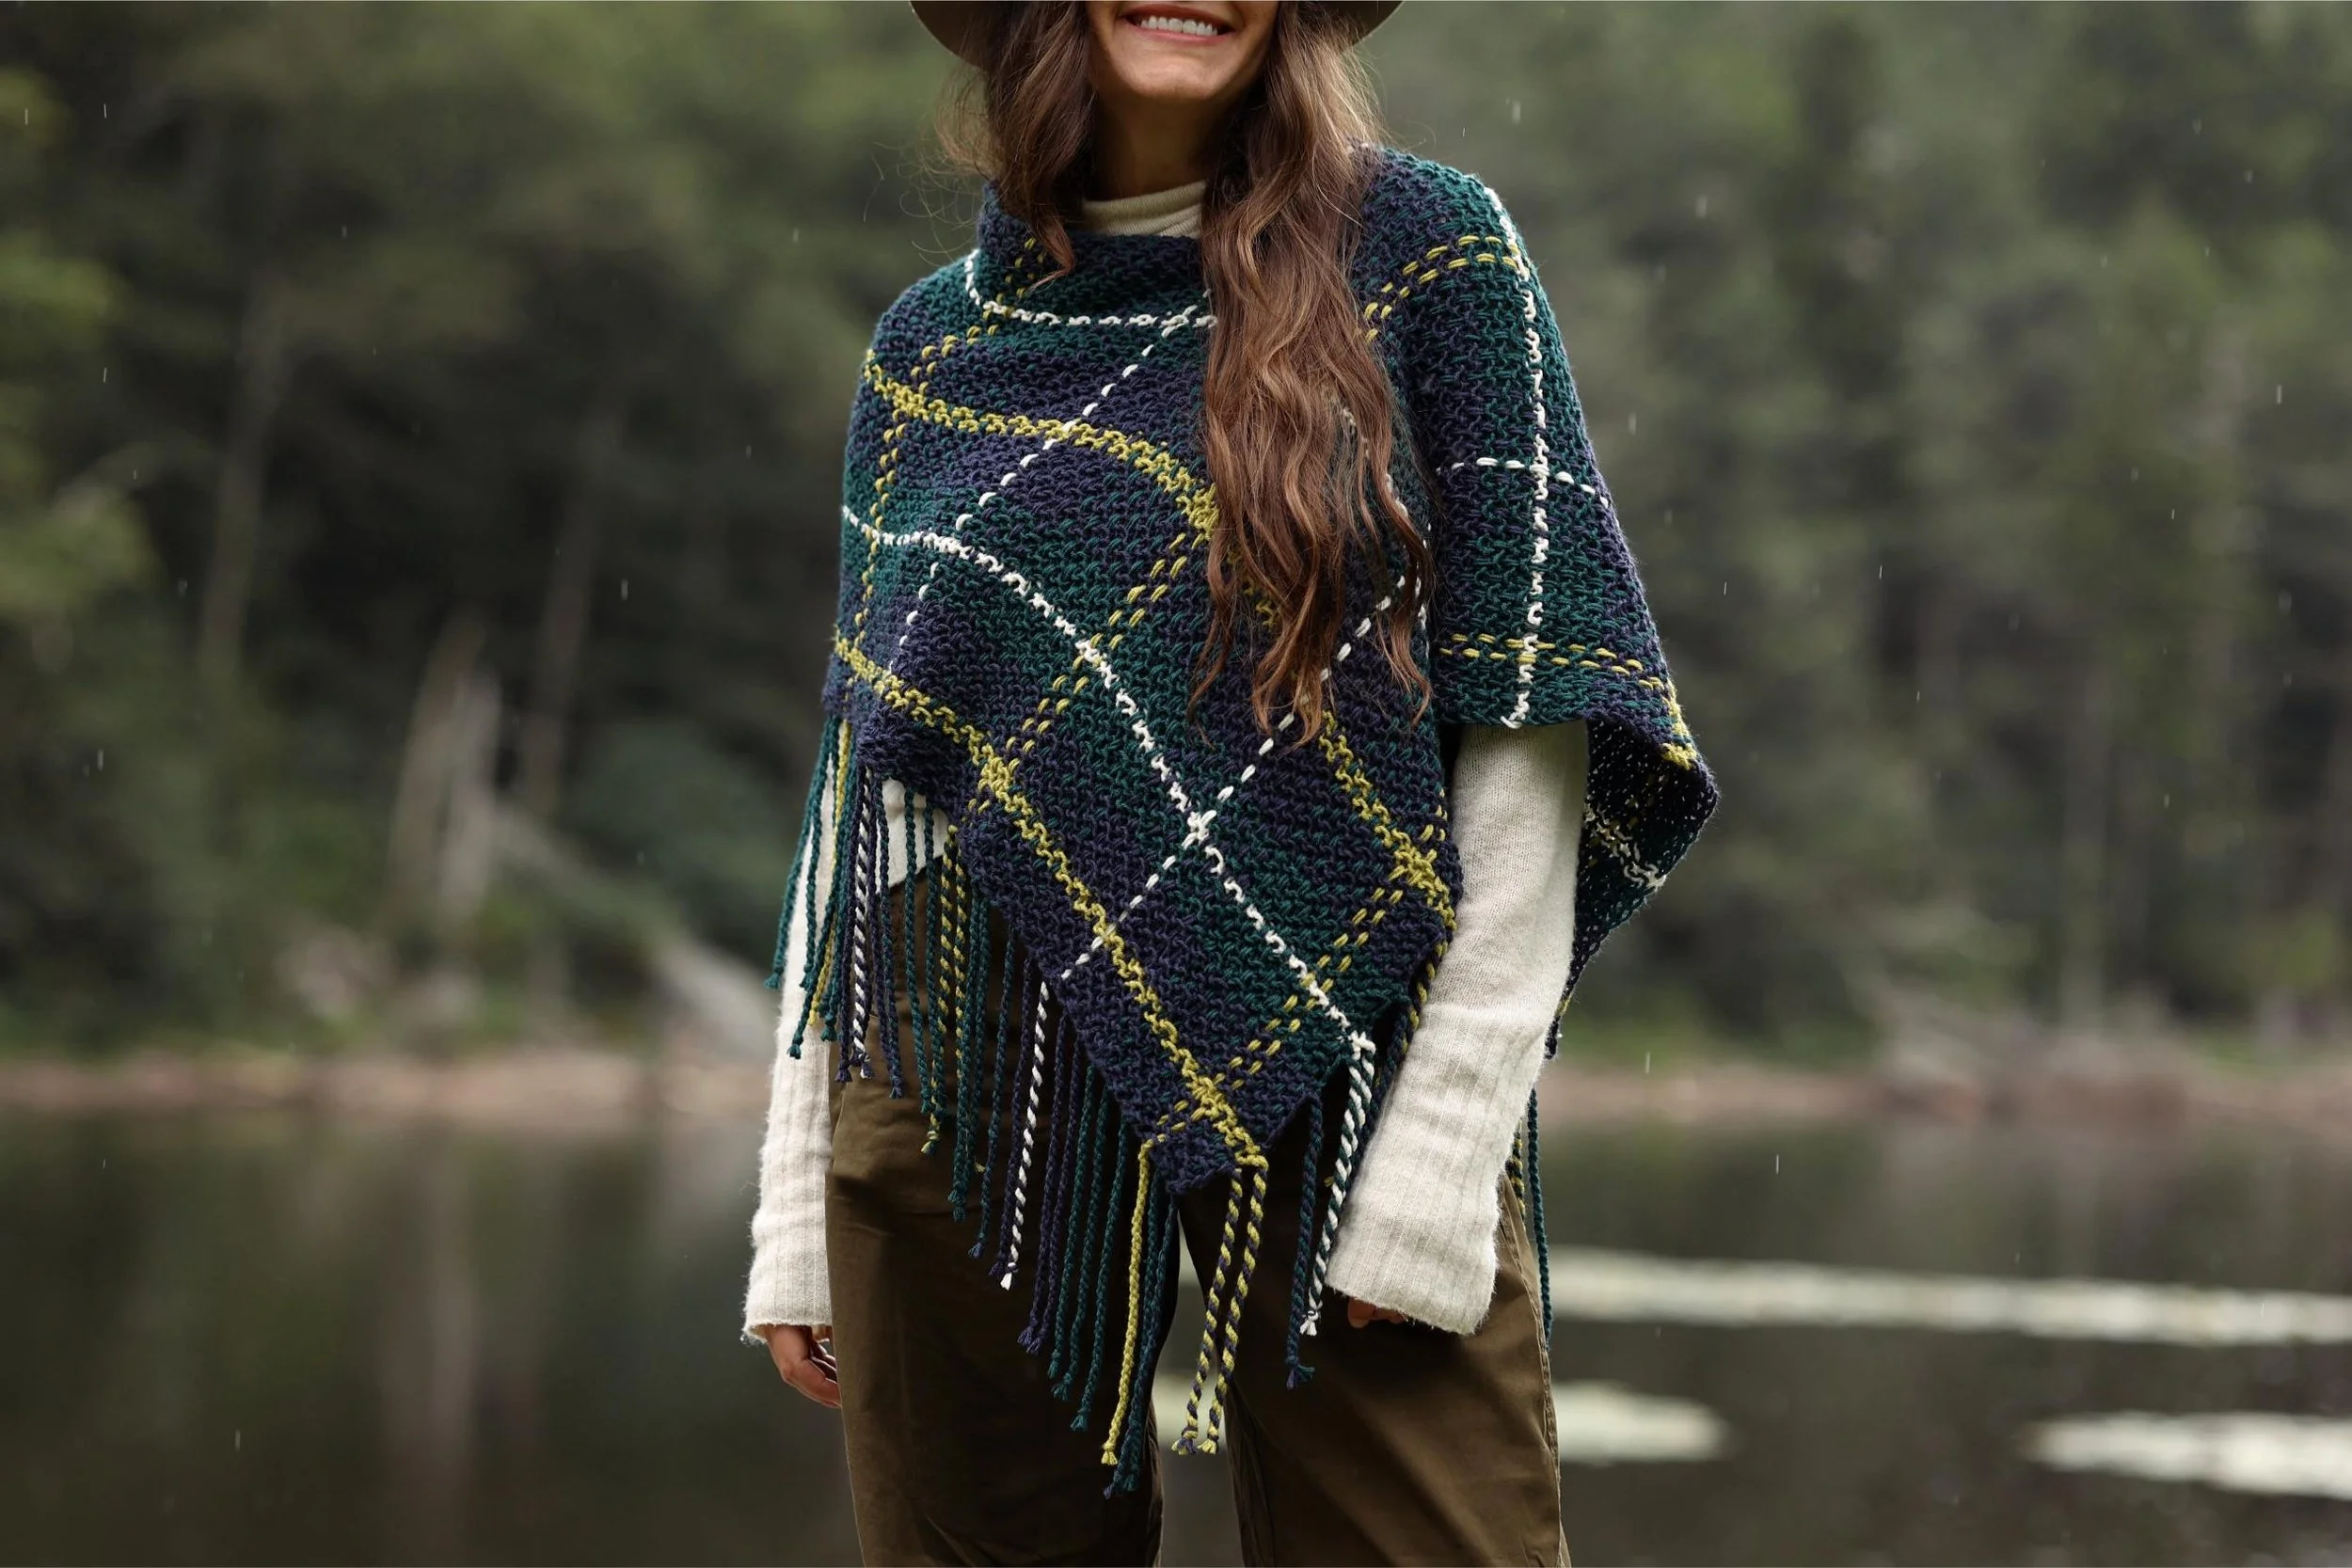
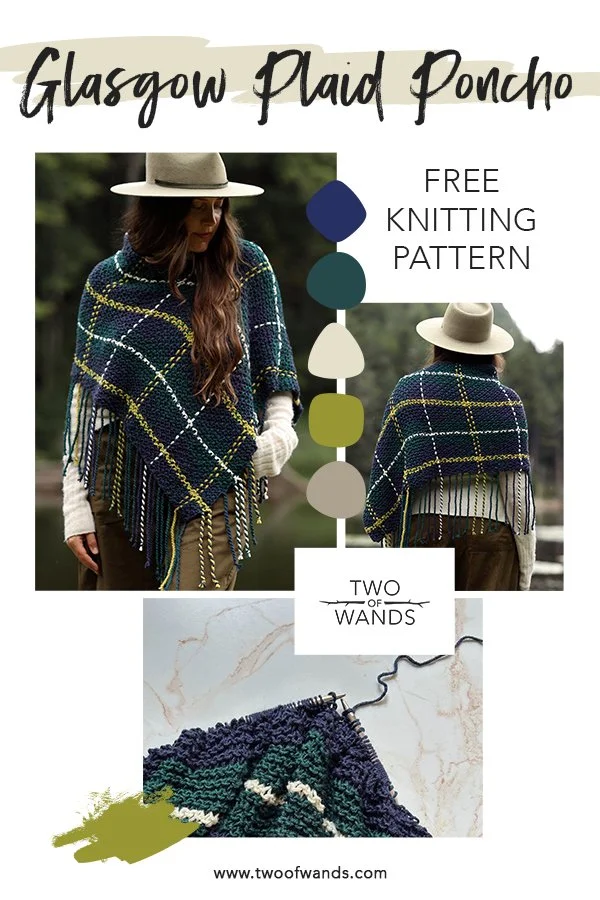
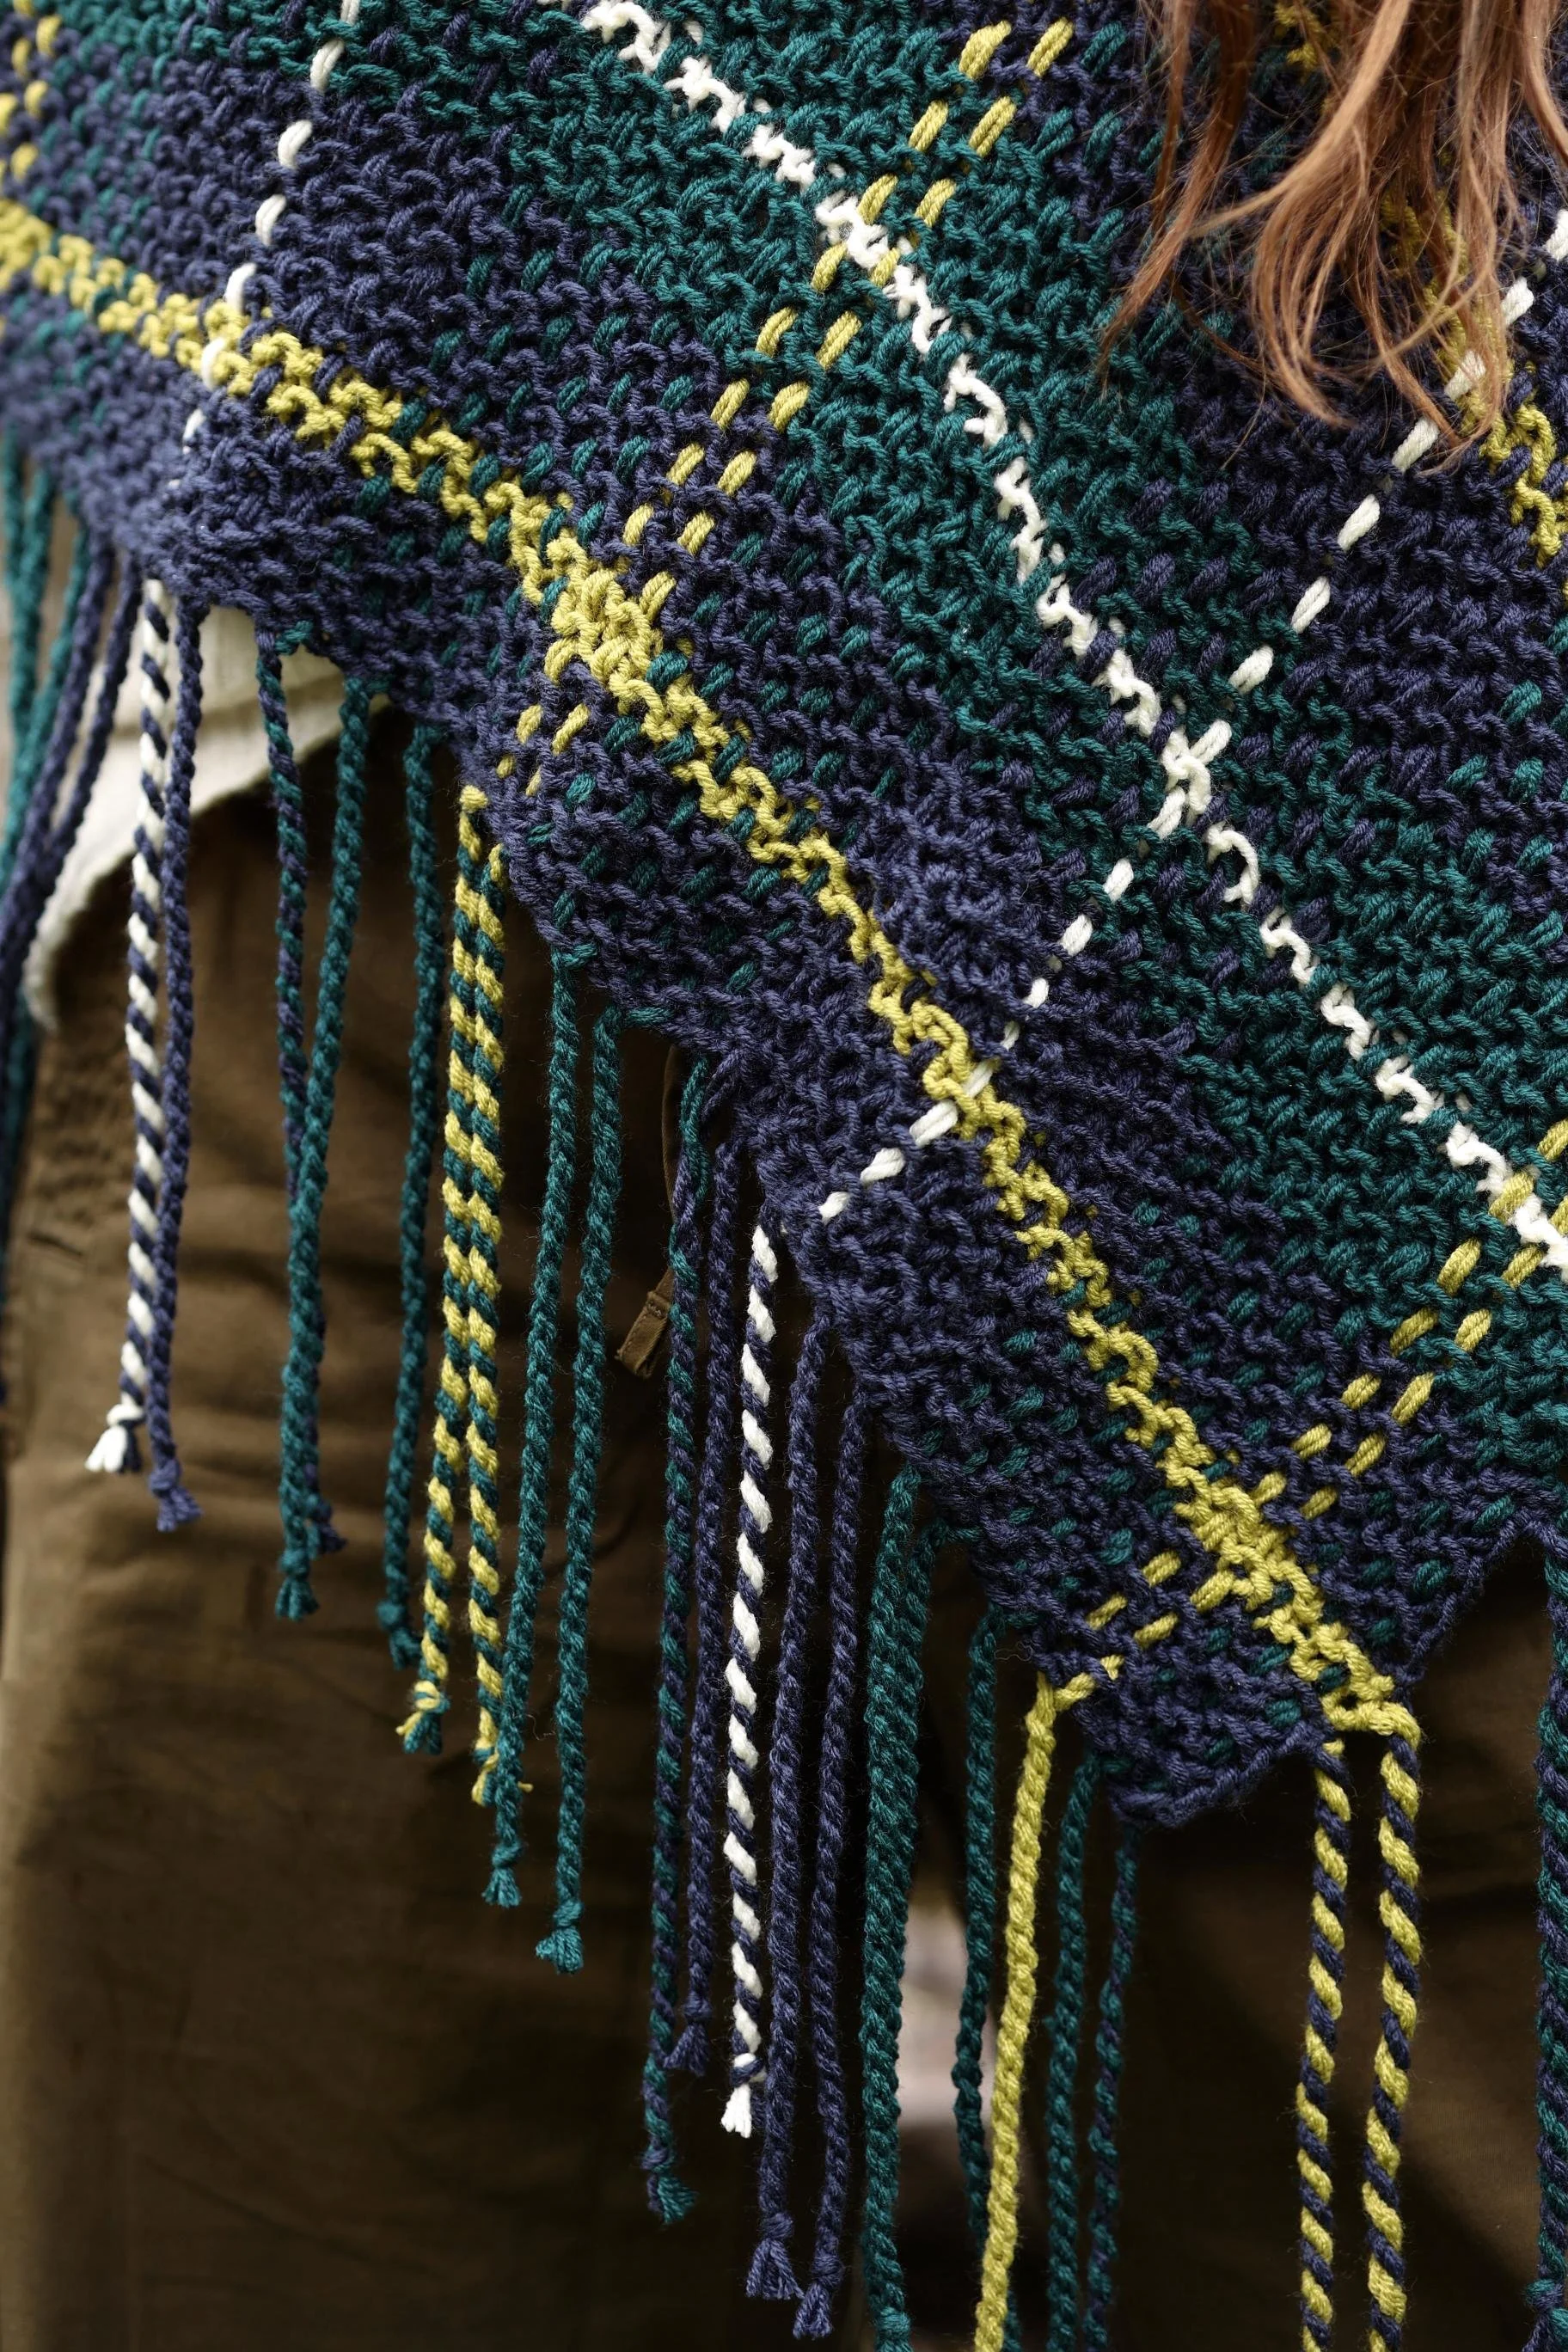
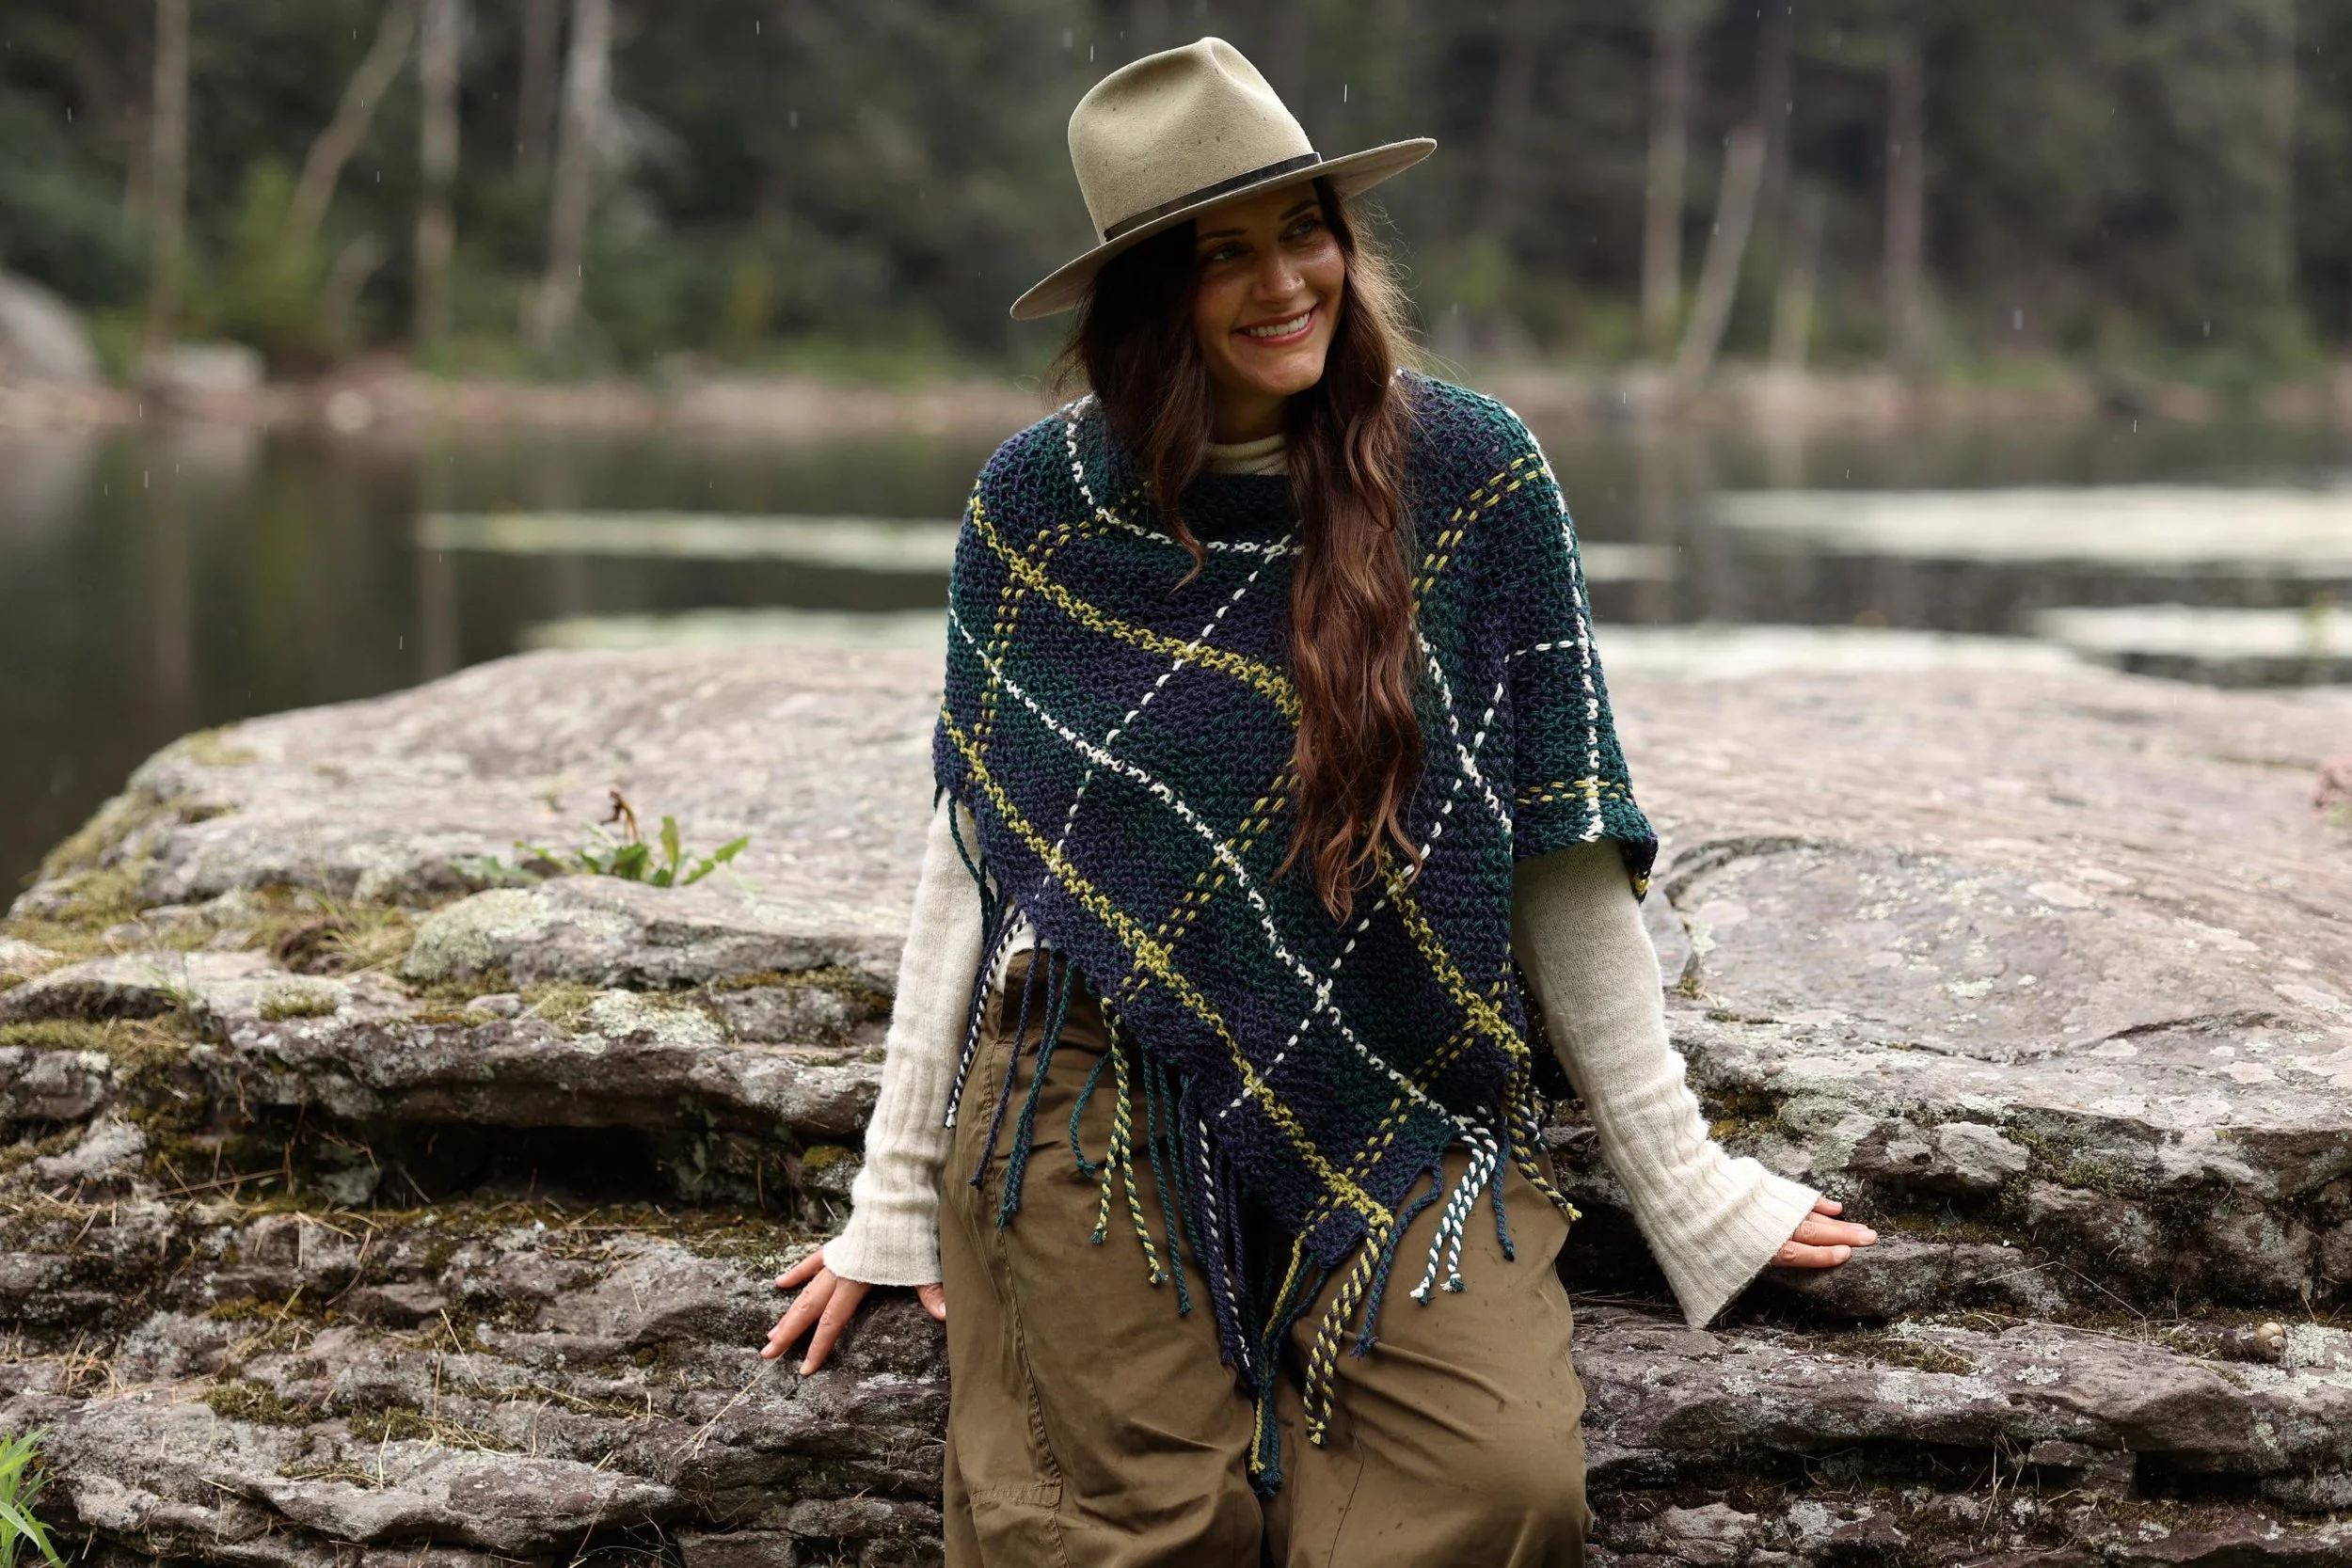
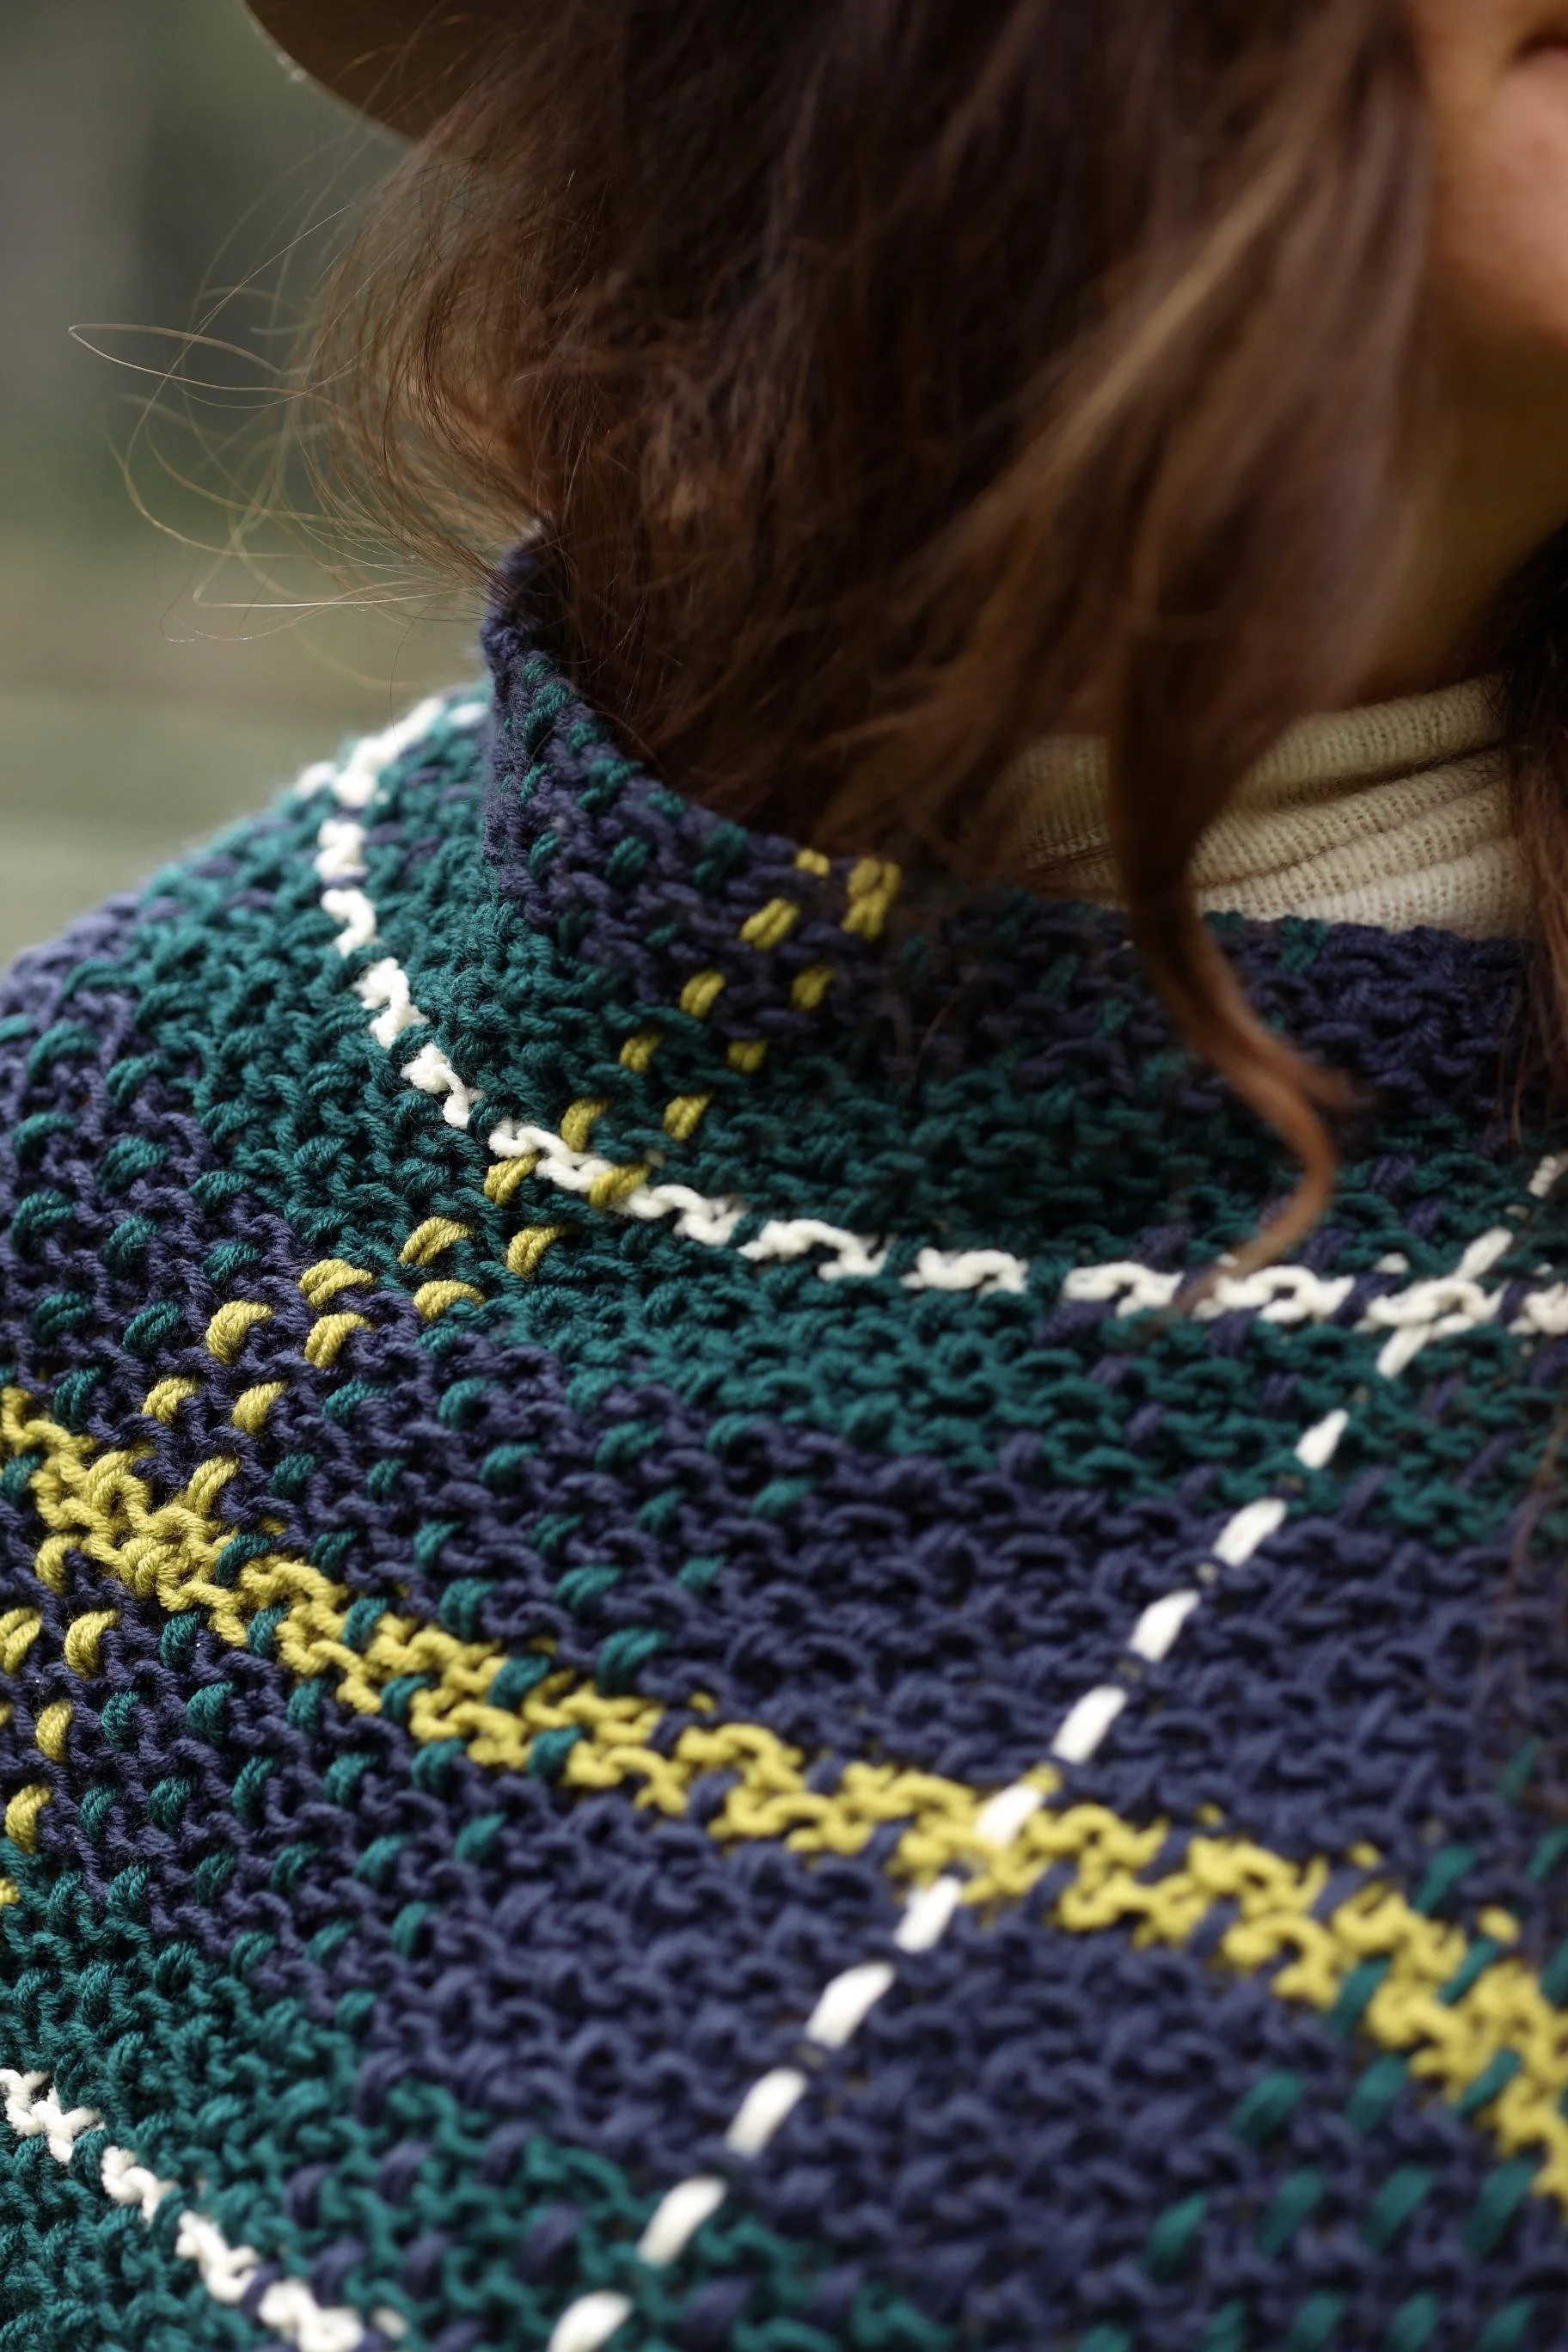
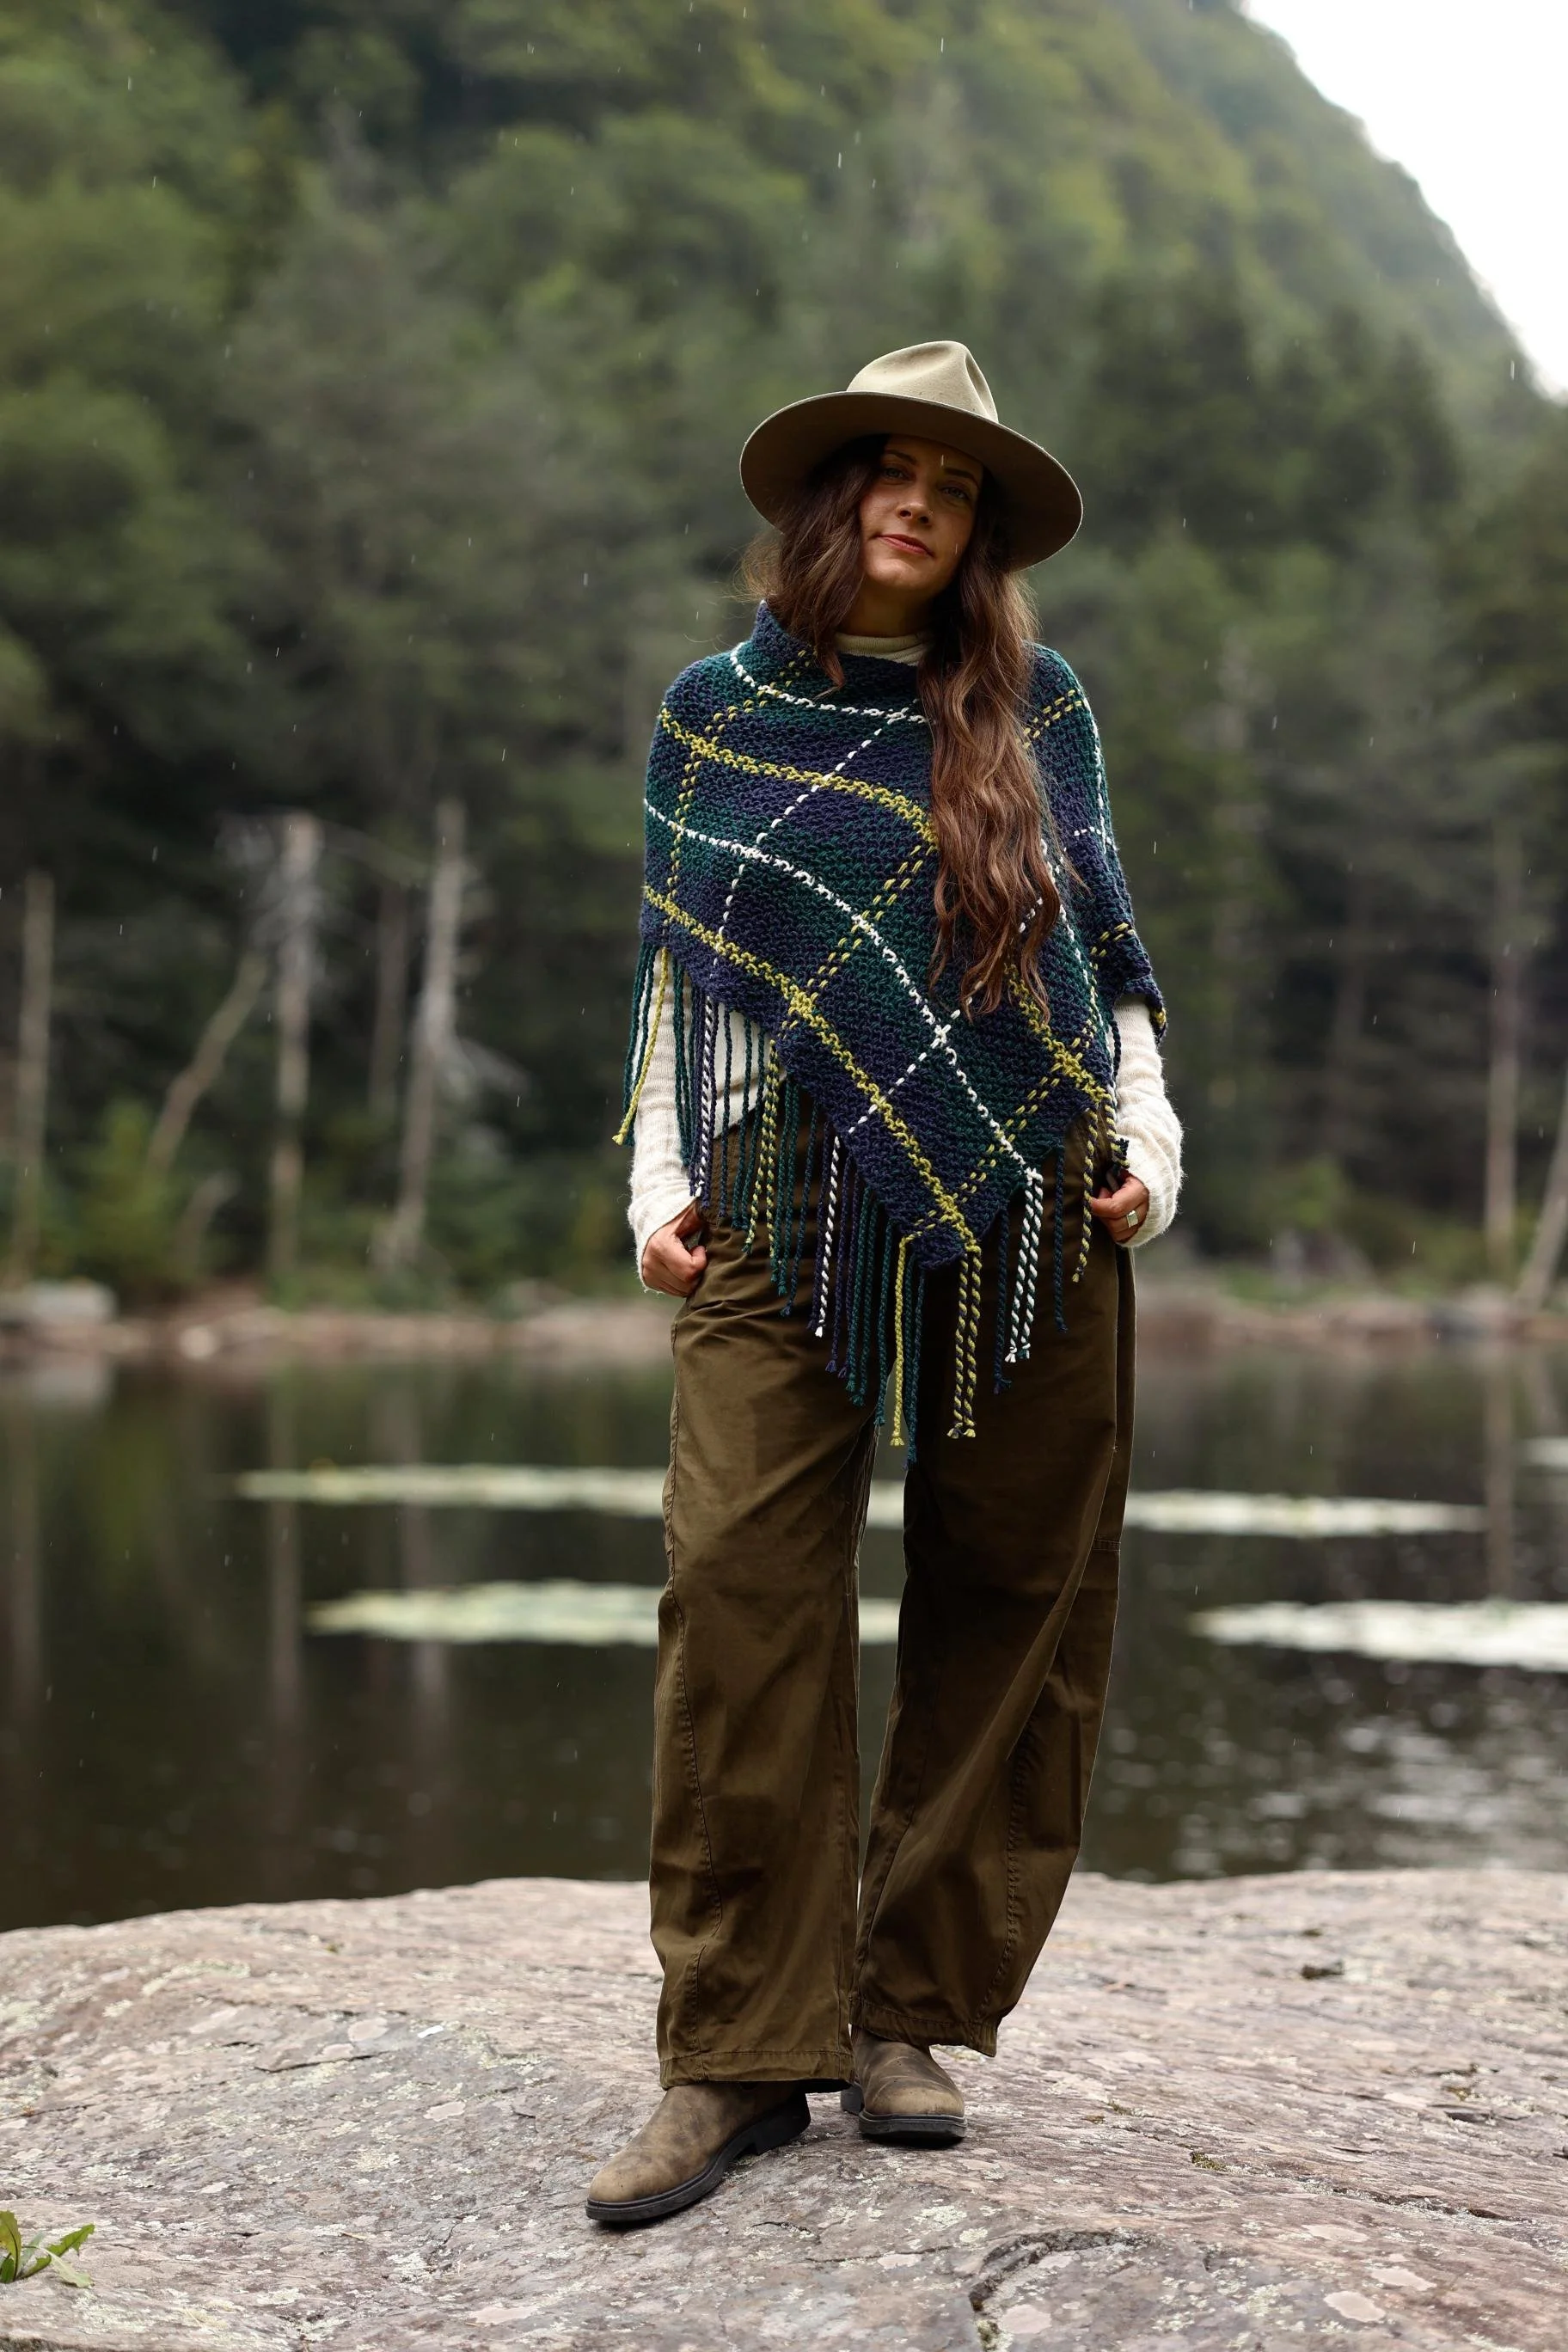
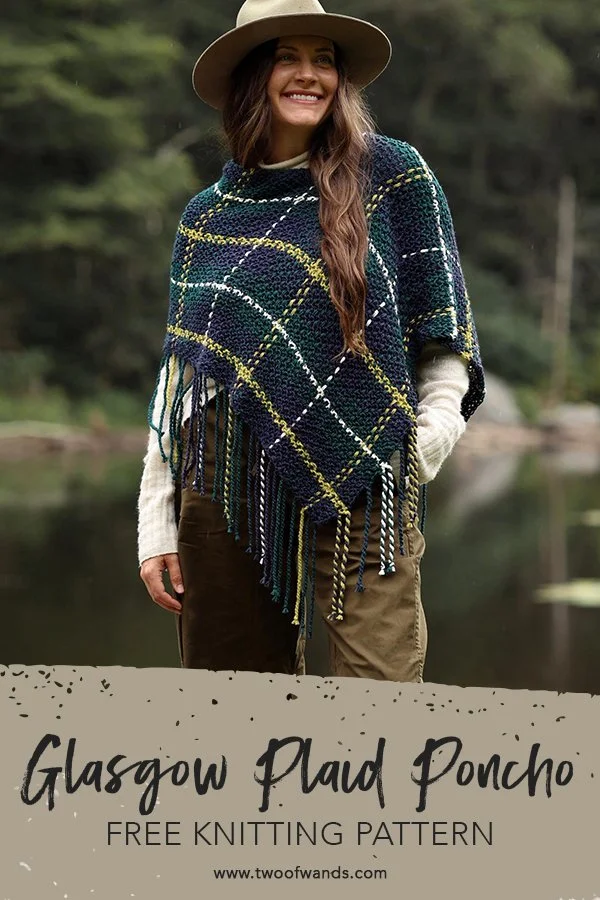
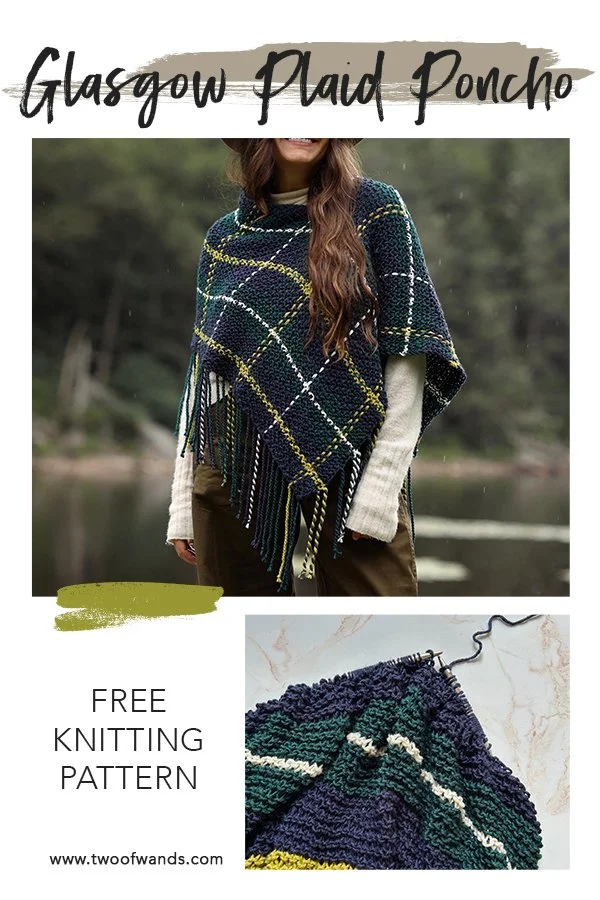
Glasgow Plaid Poncho
The first two things that come to mind when I think of fall clothes are knitwear (obvi) and plaid. There’s something so classic and elegant about a tartan fabric! So when I started planning my projects for the upcoming fall season, my first instinct was to combine these two themes using a tried and true weaving technique that transforms basic striped garter stitch into mesmerizing plaid. It didn’t hurt that this also gave me the opportunity to showcase the new six colors of Color Theory and a selection of some seriously stunning combos. Without further ado, please welcome the new Glasgow Plaid Poncho! You can find the free pattern below, or you can purchase the printer-friendly PDF here or the full yarn kit with pattern included here. And if you’re looking for the crochet Aberdeen Plaid Poncho, head here.
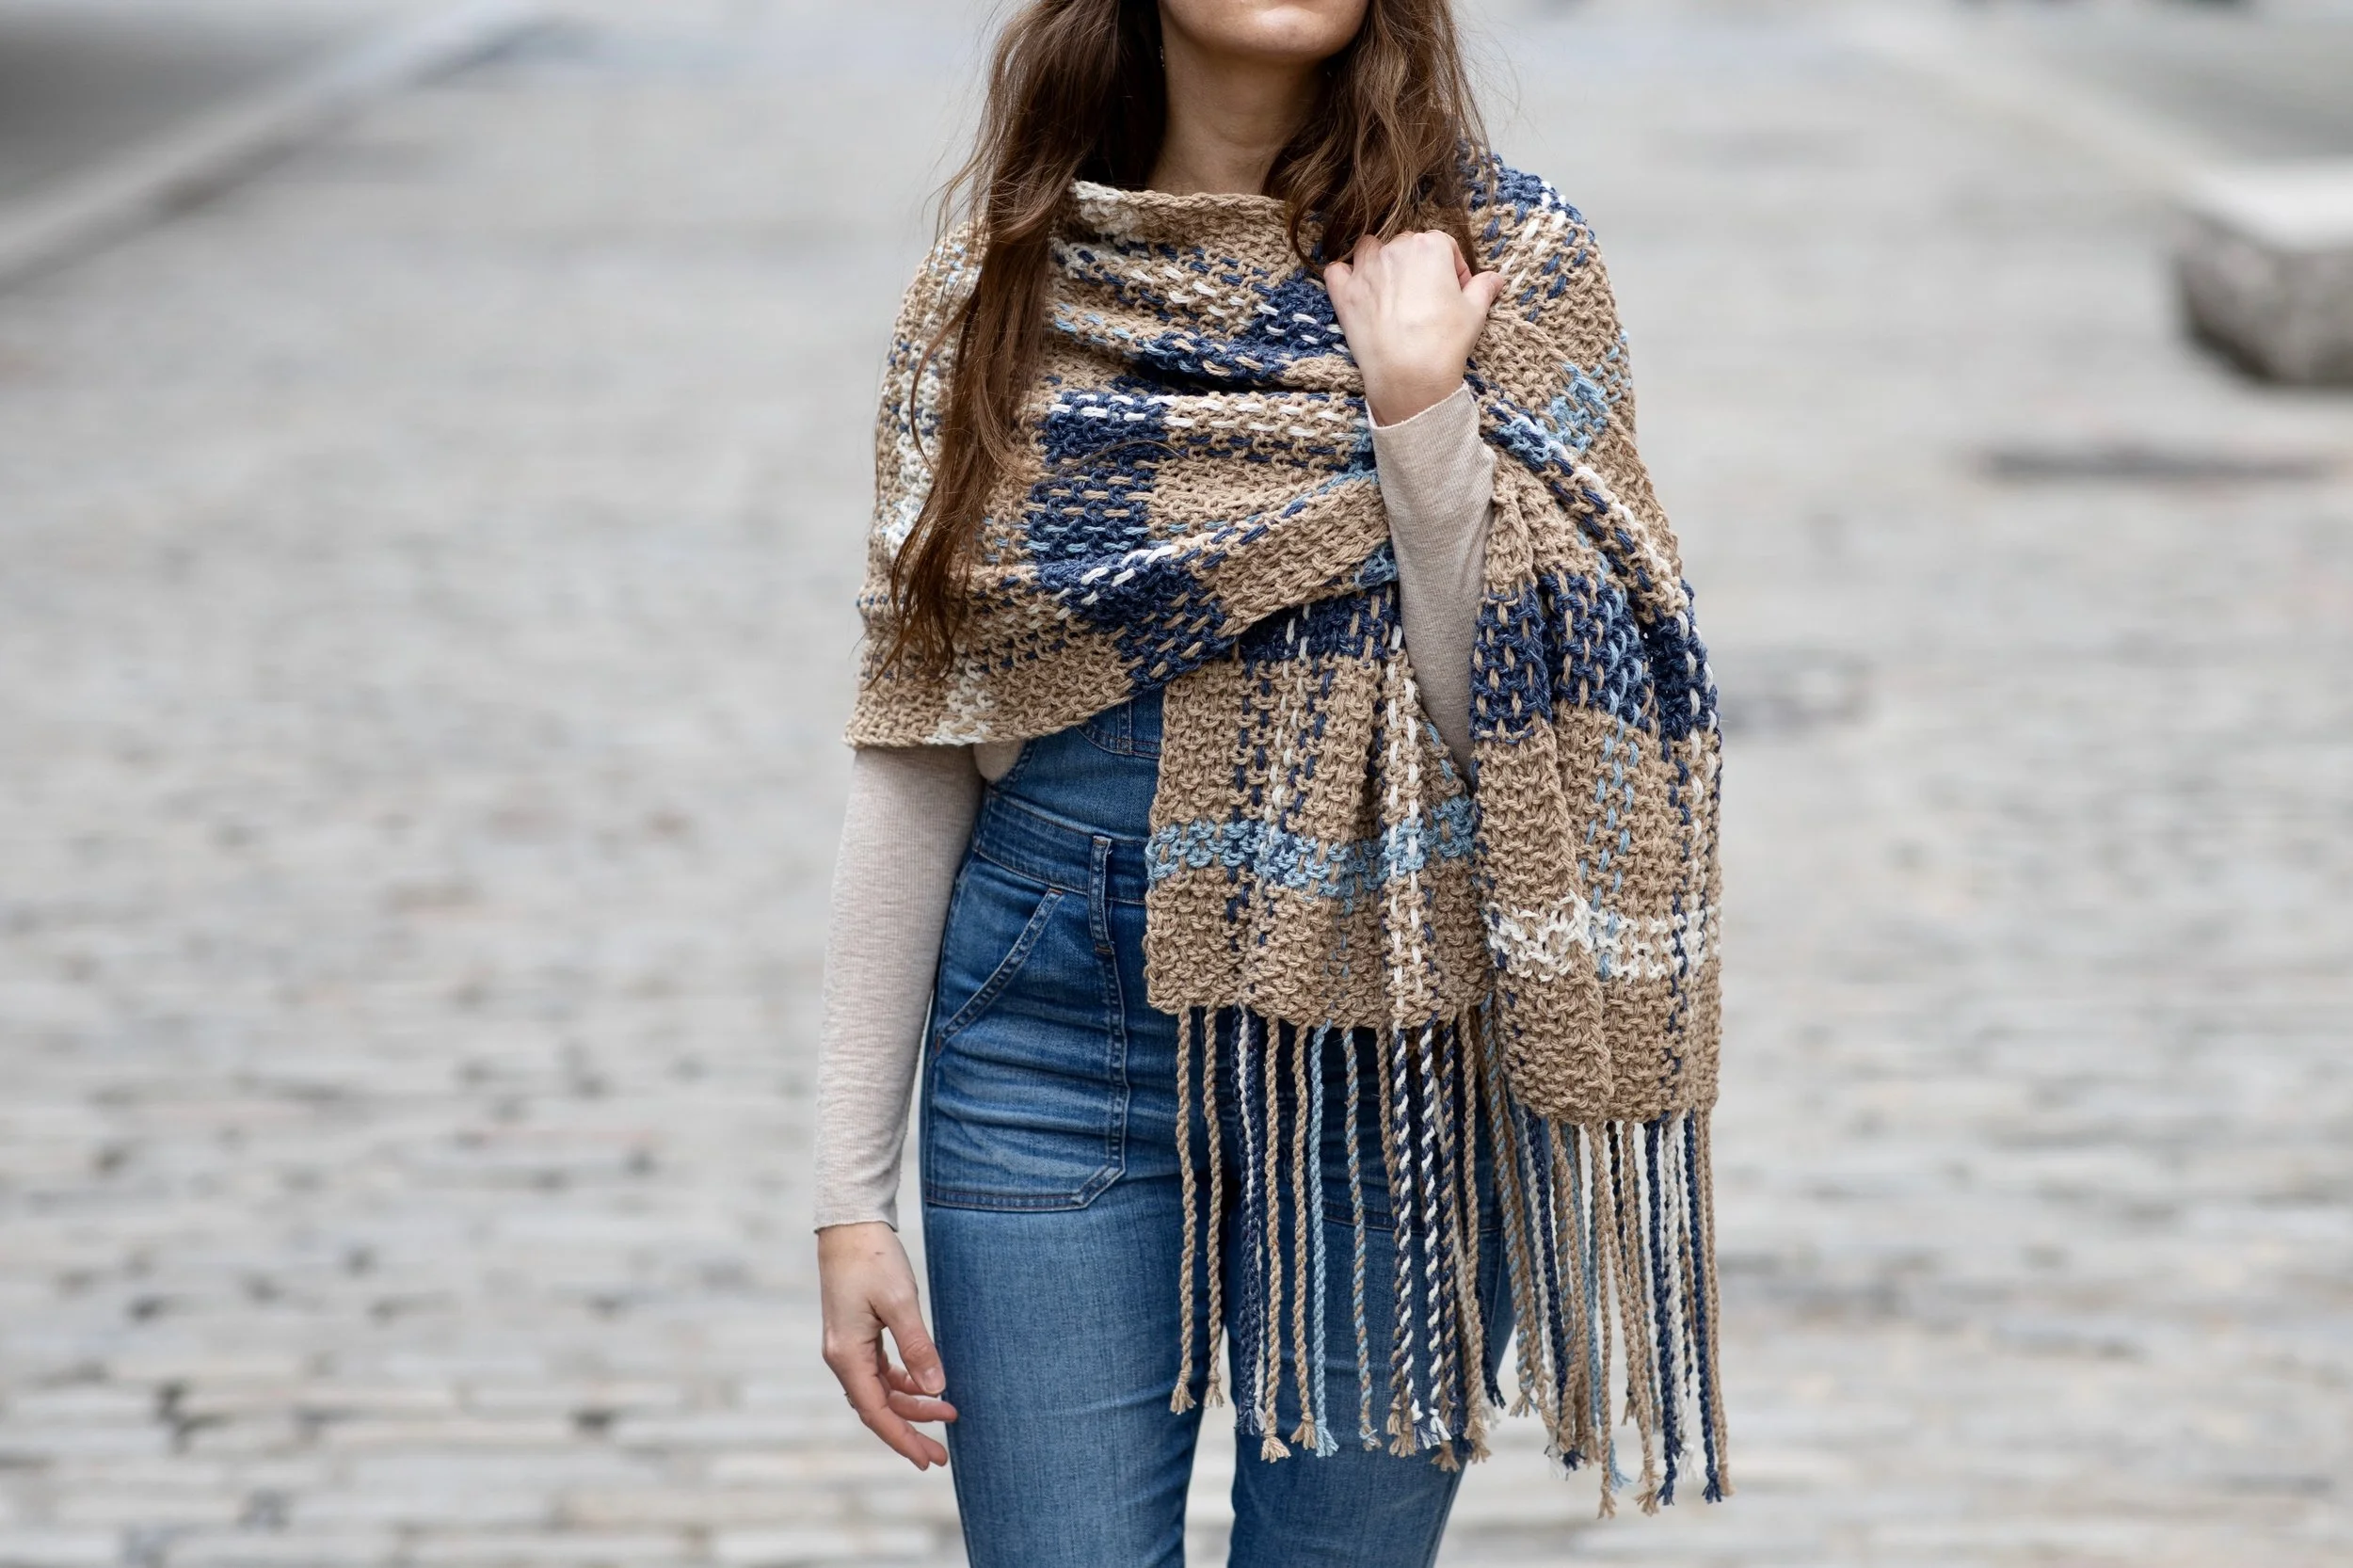
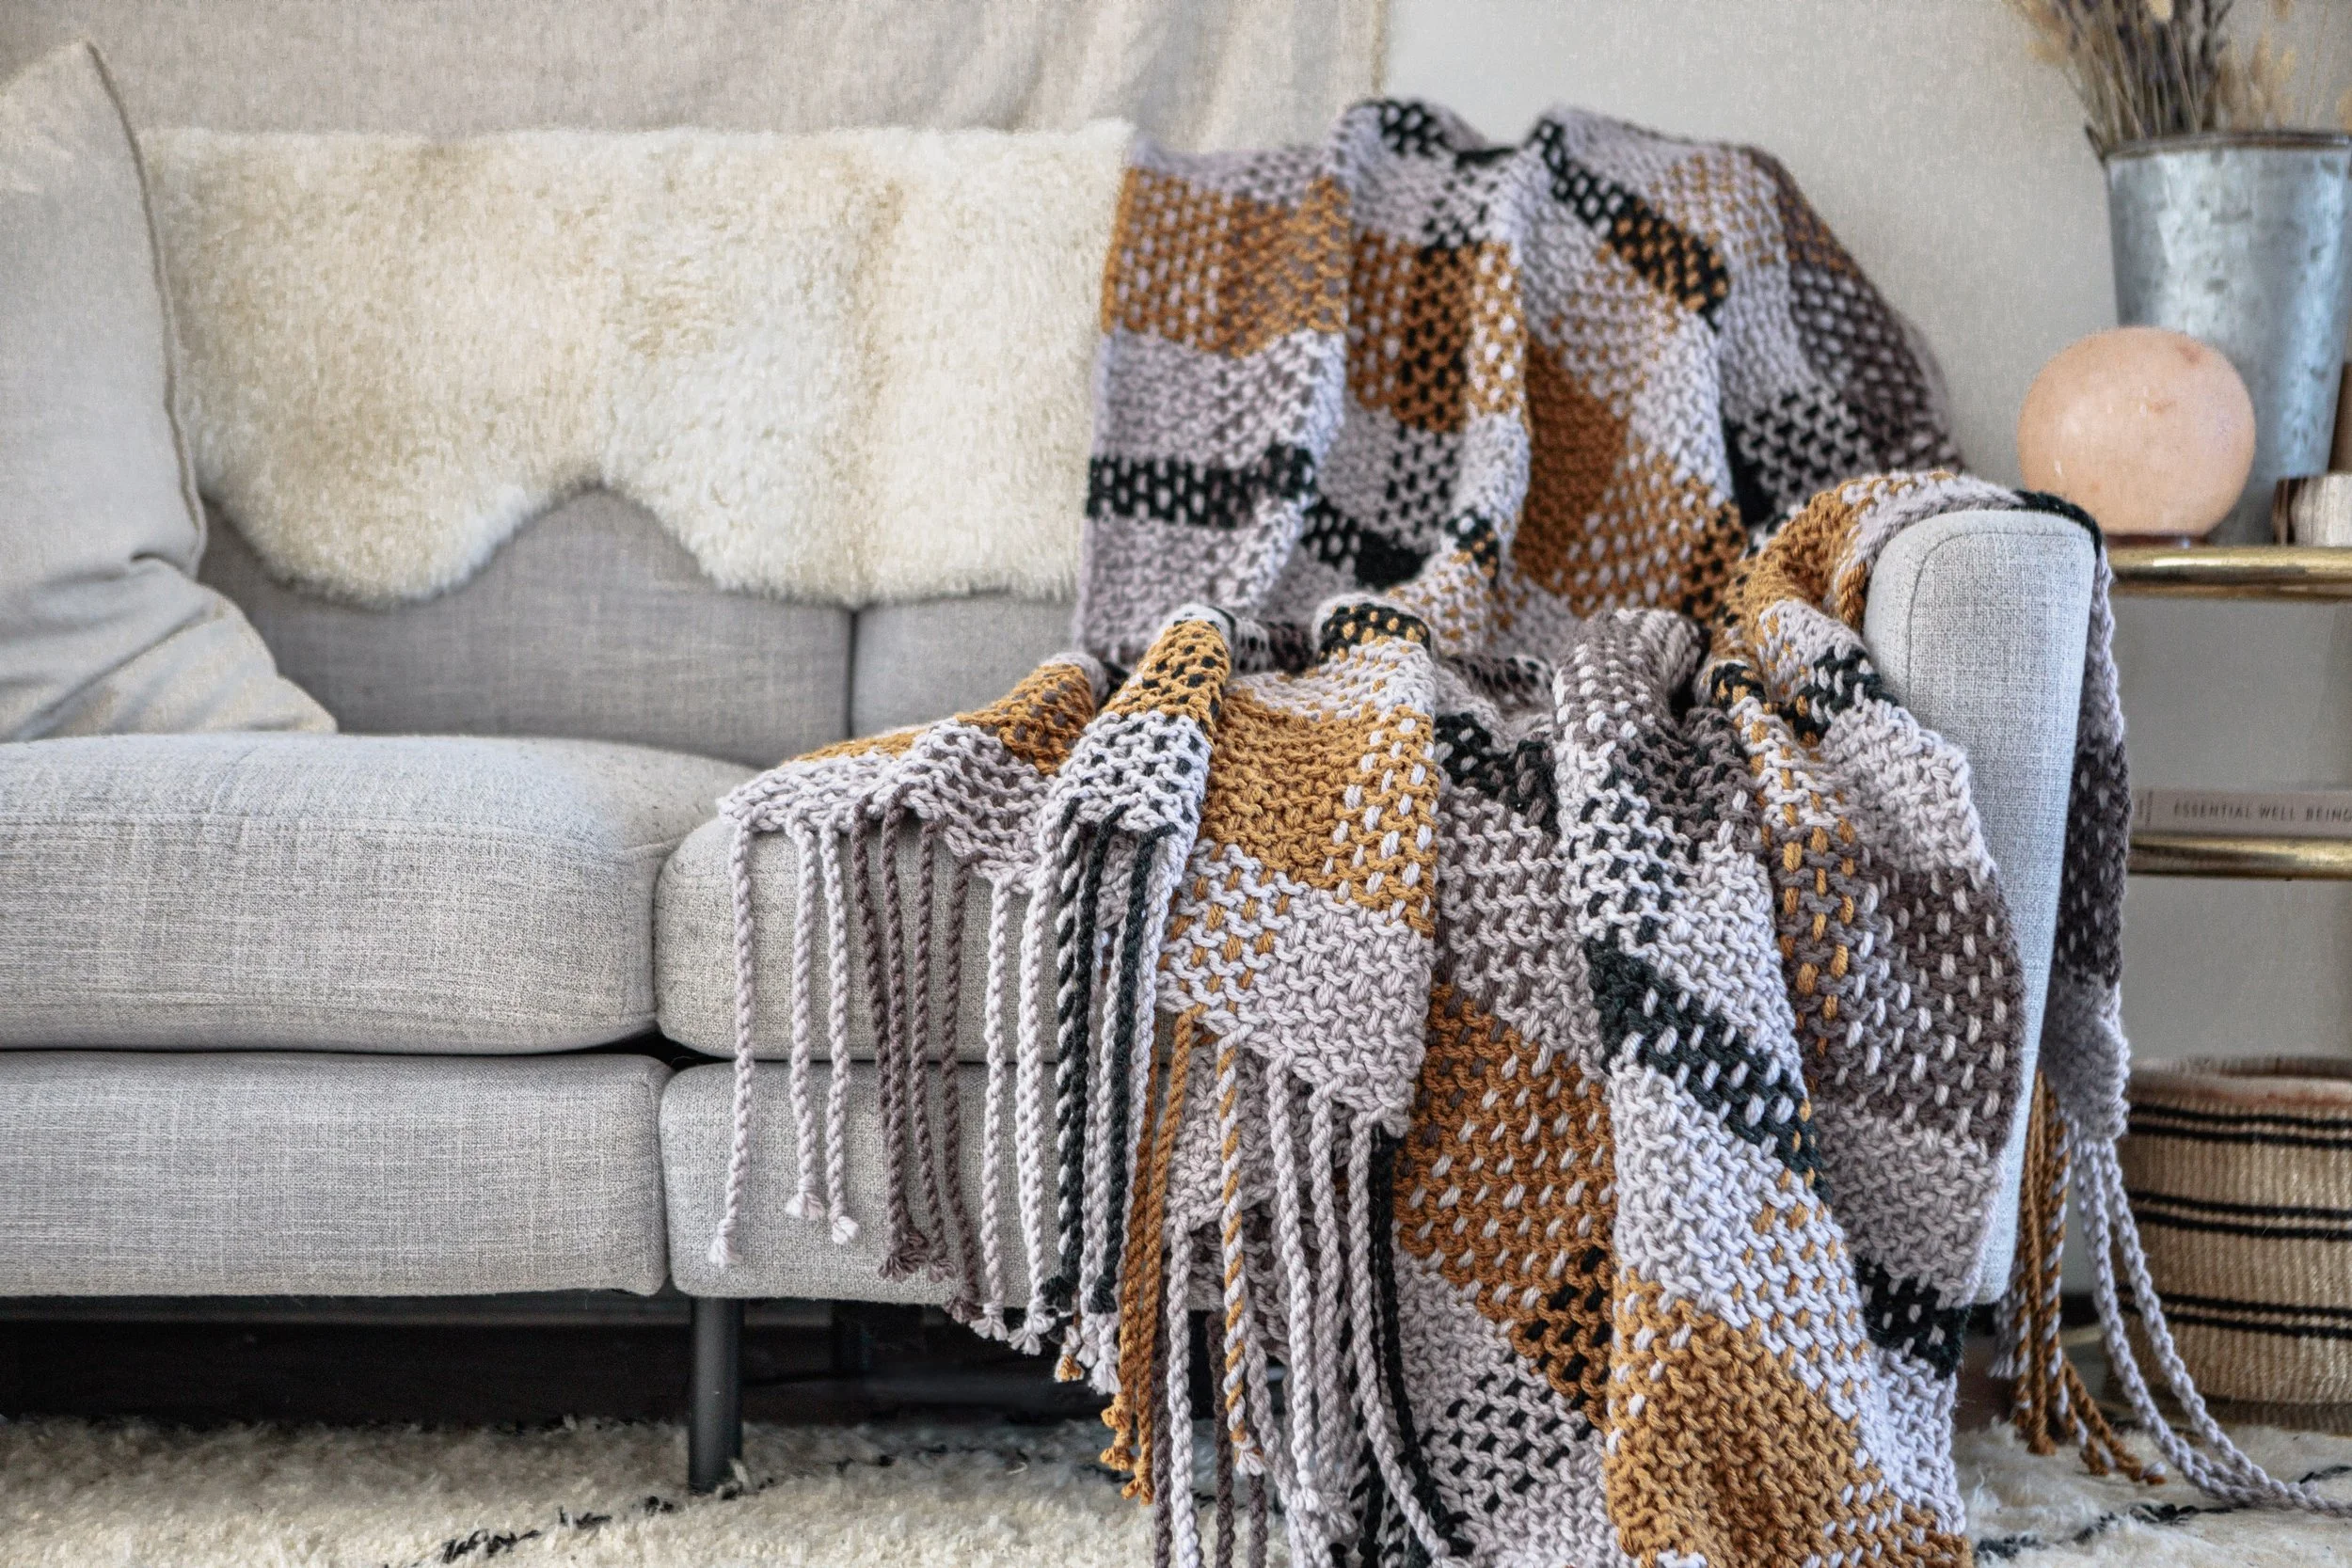
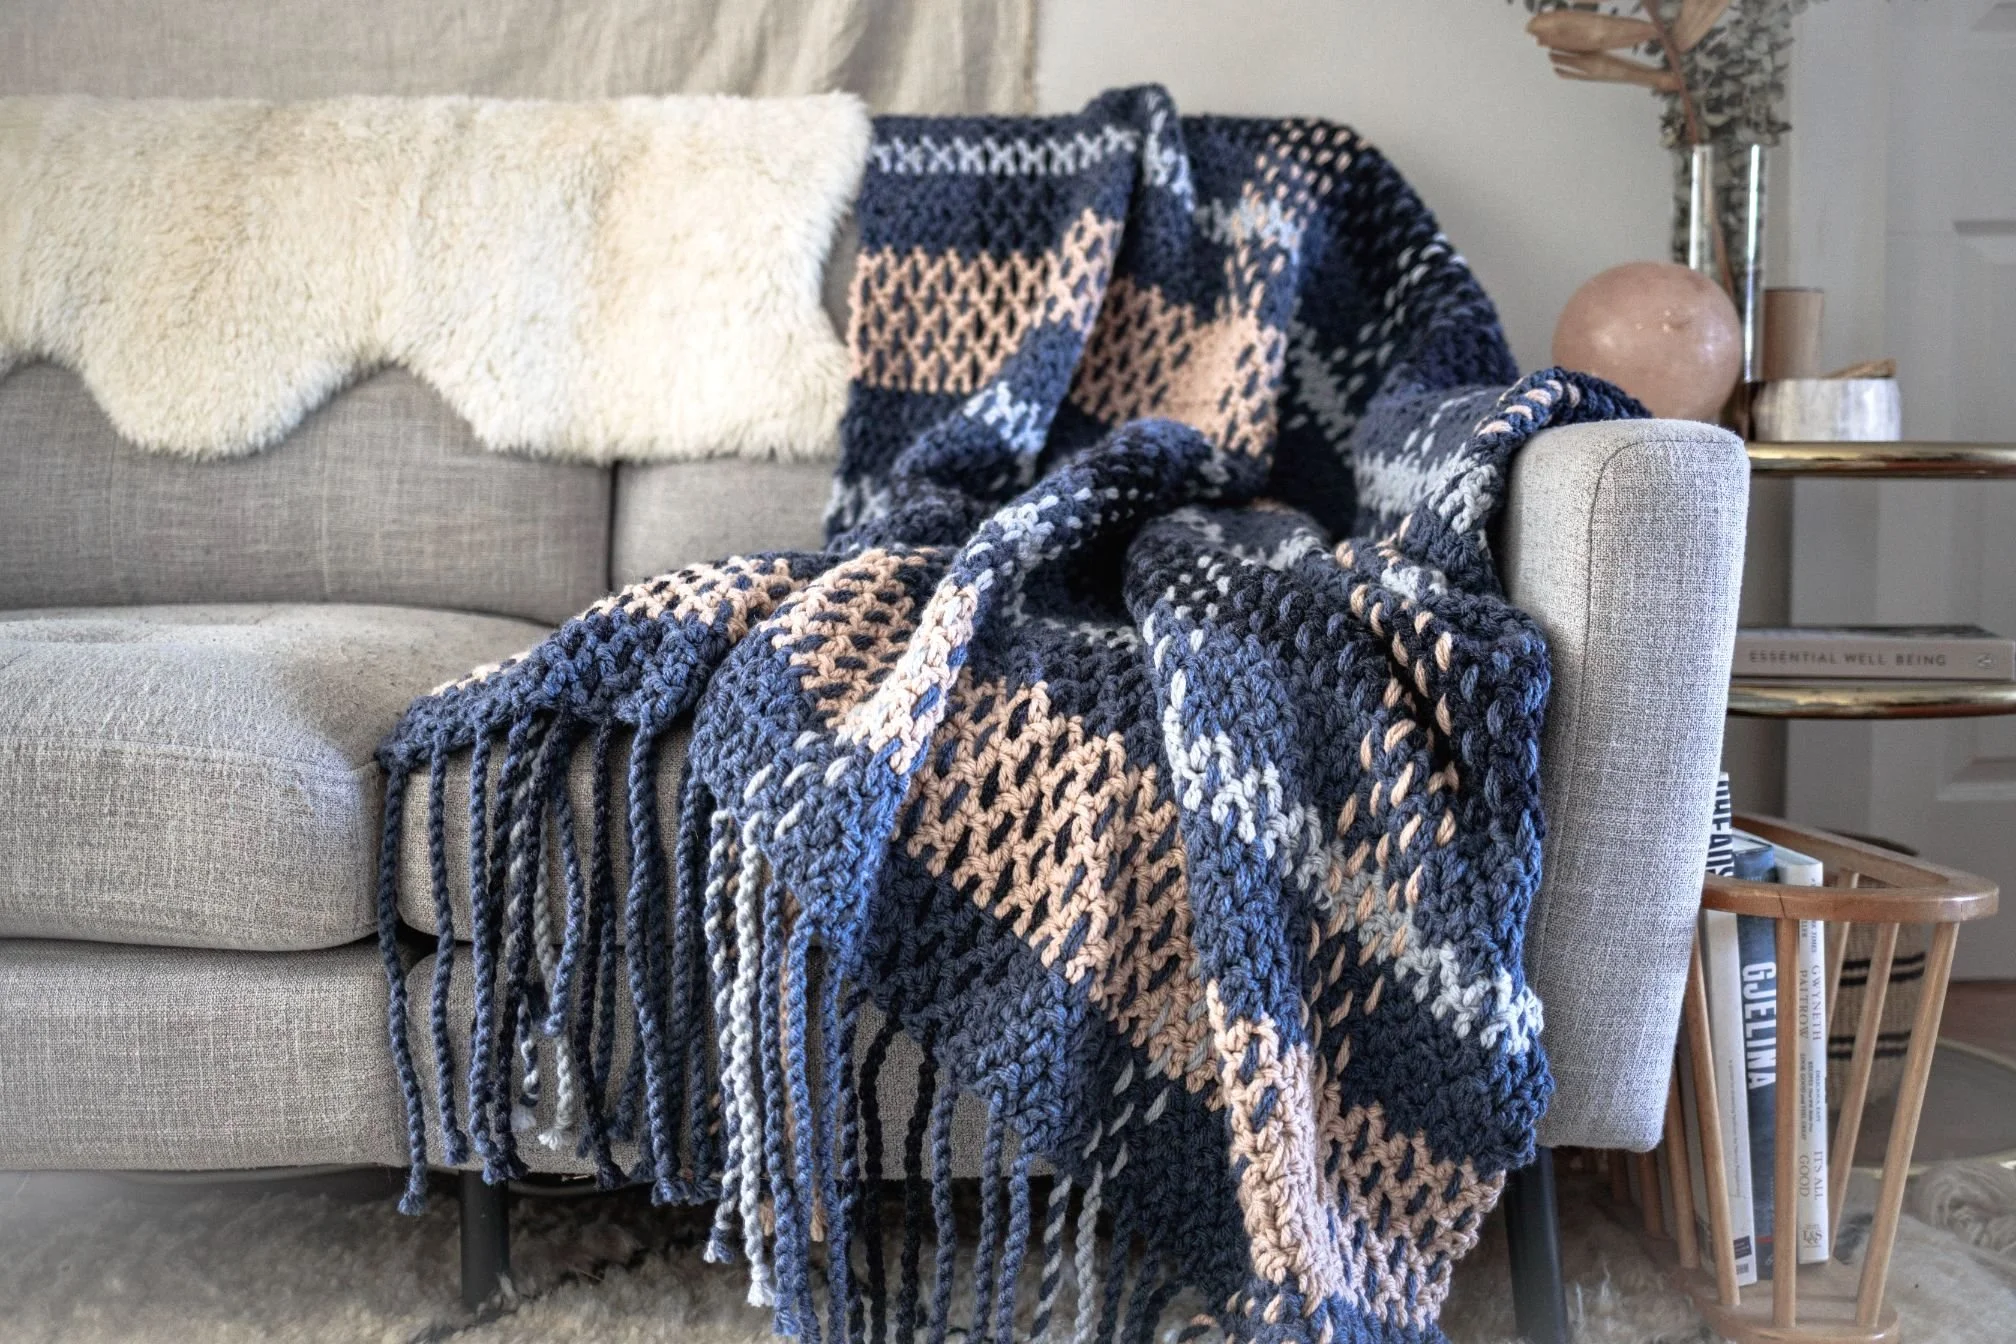
This isn’t the first time I’ve used this technique to create knitted plaid fabric. I first introduced it with my Waterbury (knit) and Rosebridge (crochet) Plaid Blanket Scarves in 2020 and then again in 2021 with my Moonstone (knit) and Wildwood (crochet) Plaid Blankets. It’s such a simple way to add incredible visual interest and create a fabric that looks WAY more complicated than it actually is (which happens to be my favorite kind of technique!).
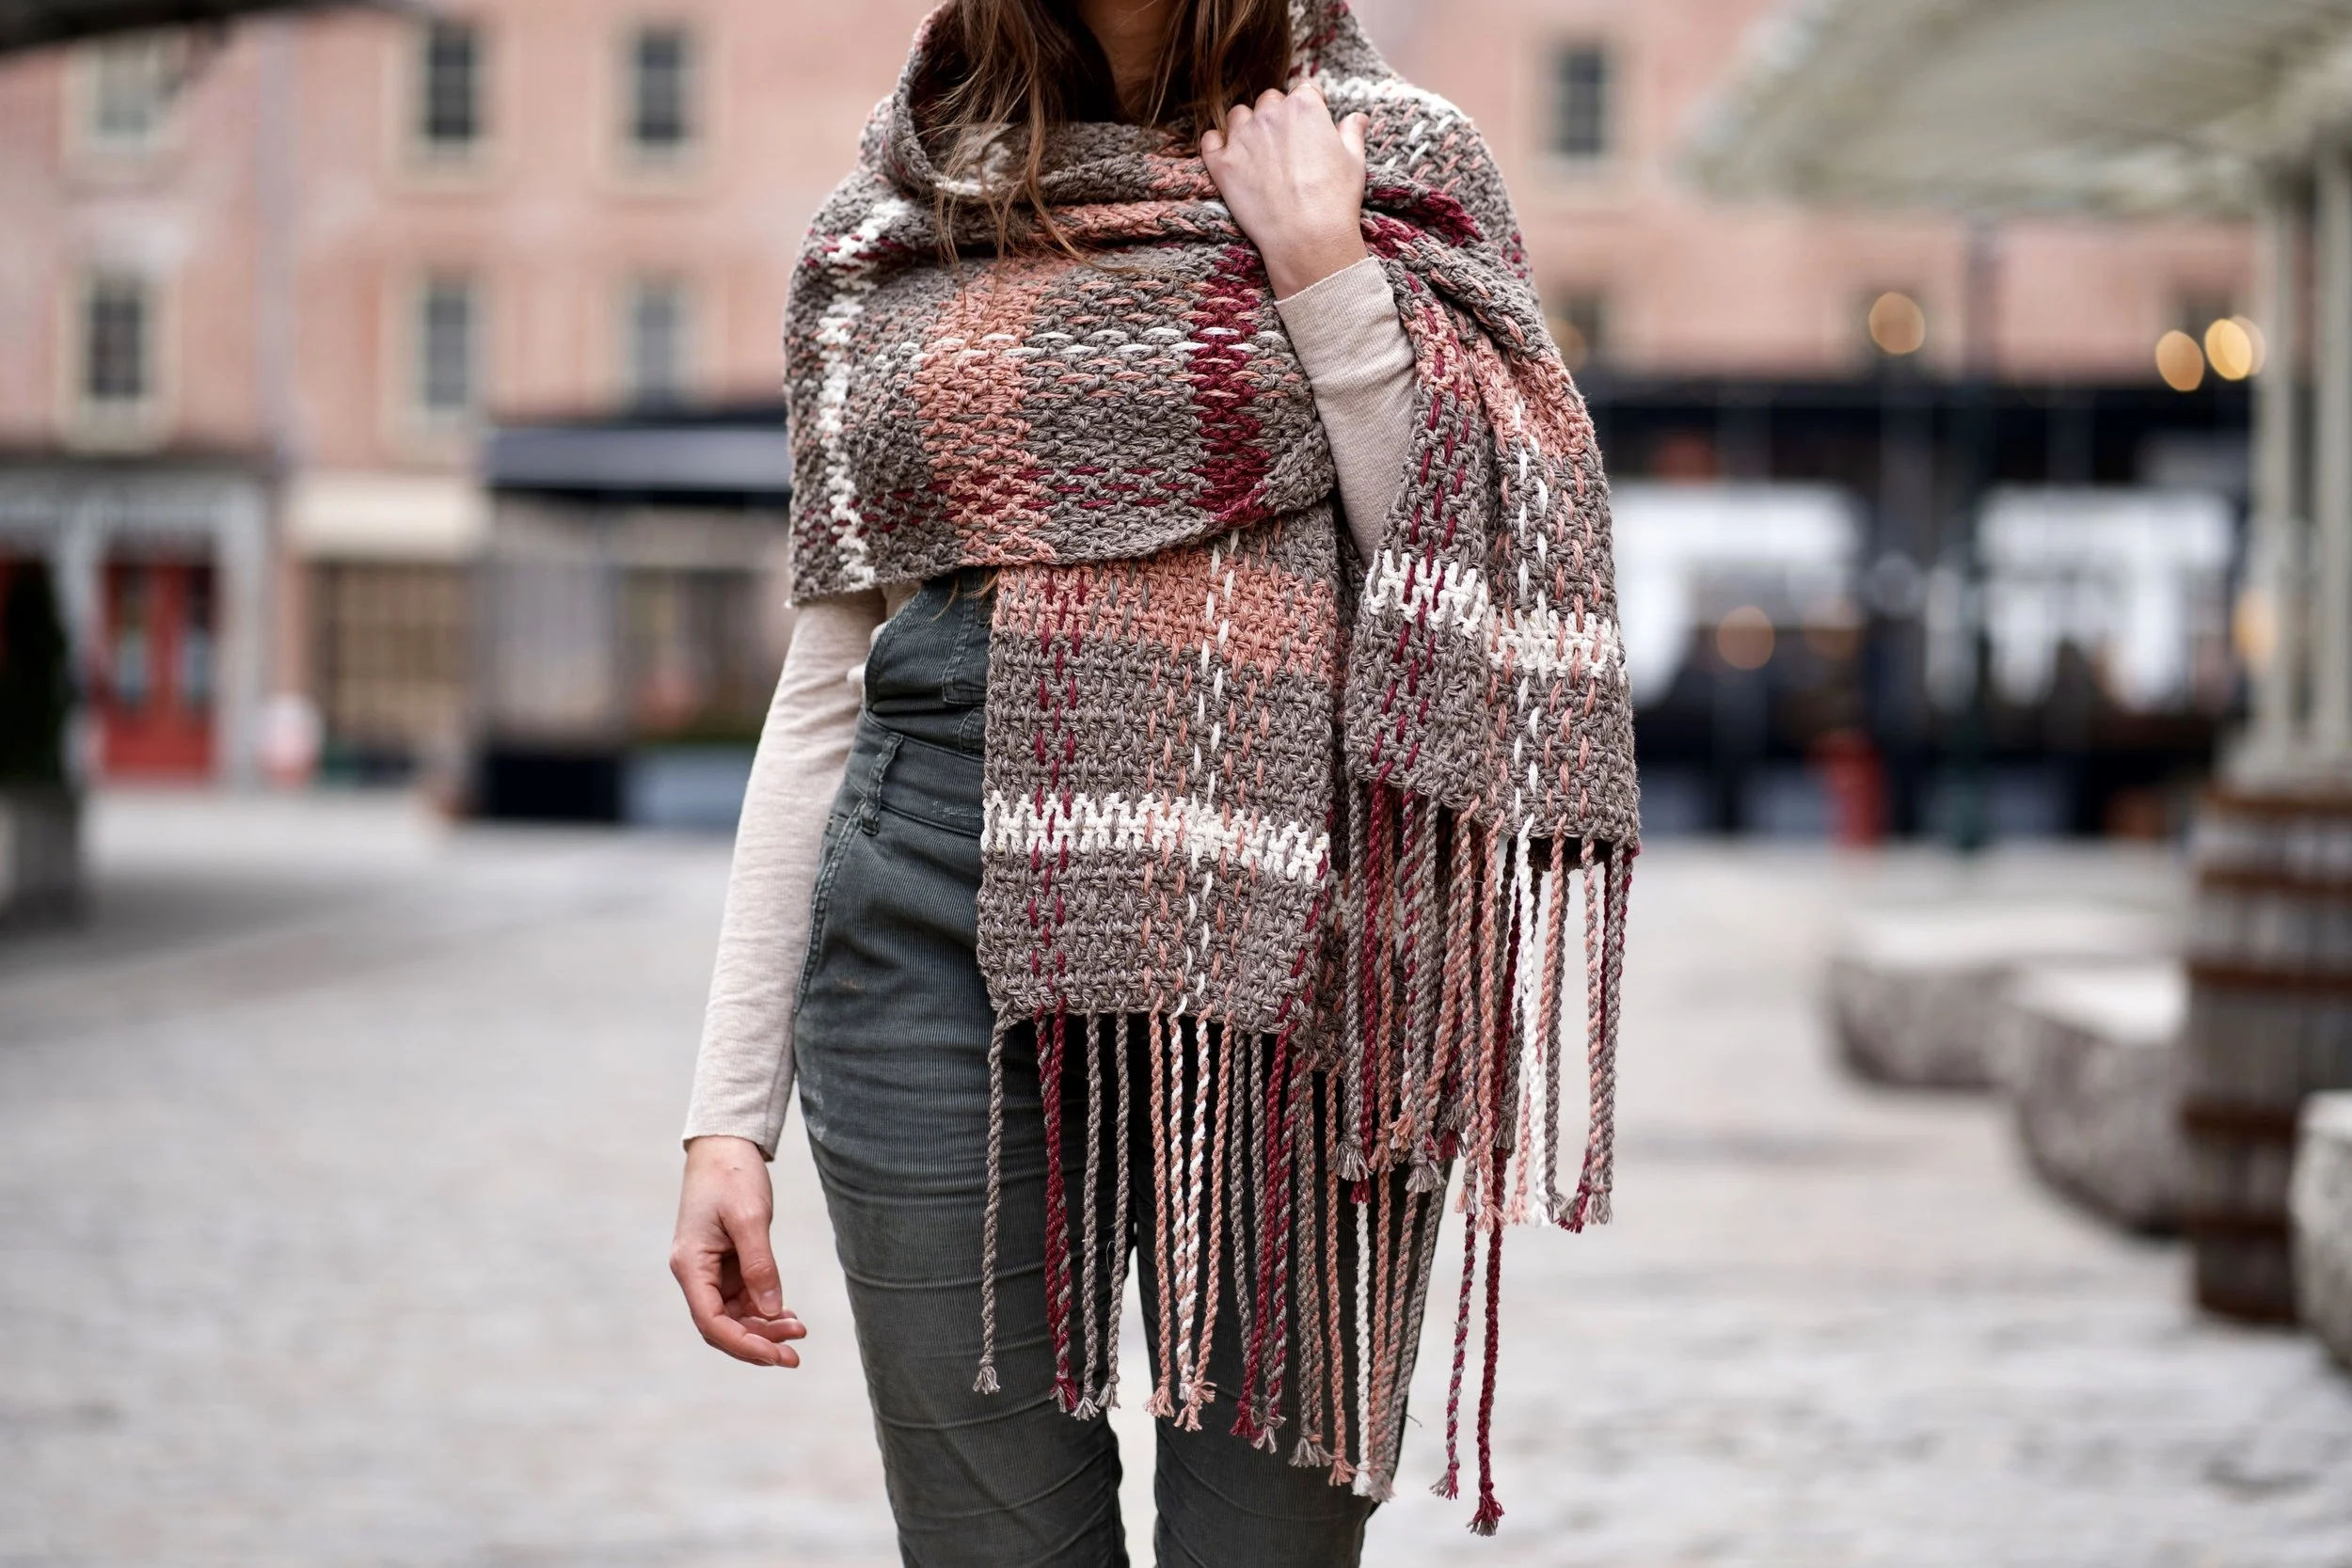
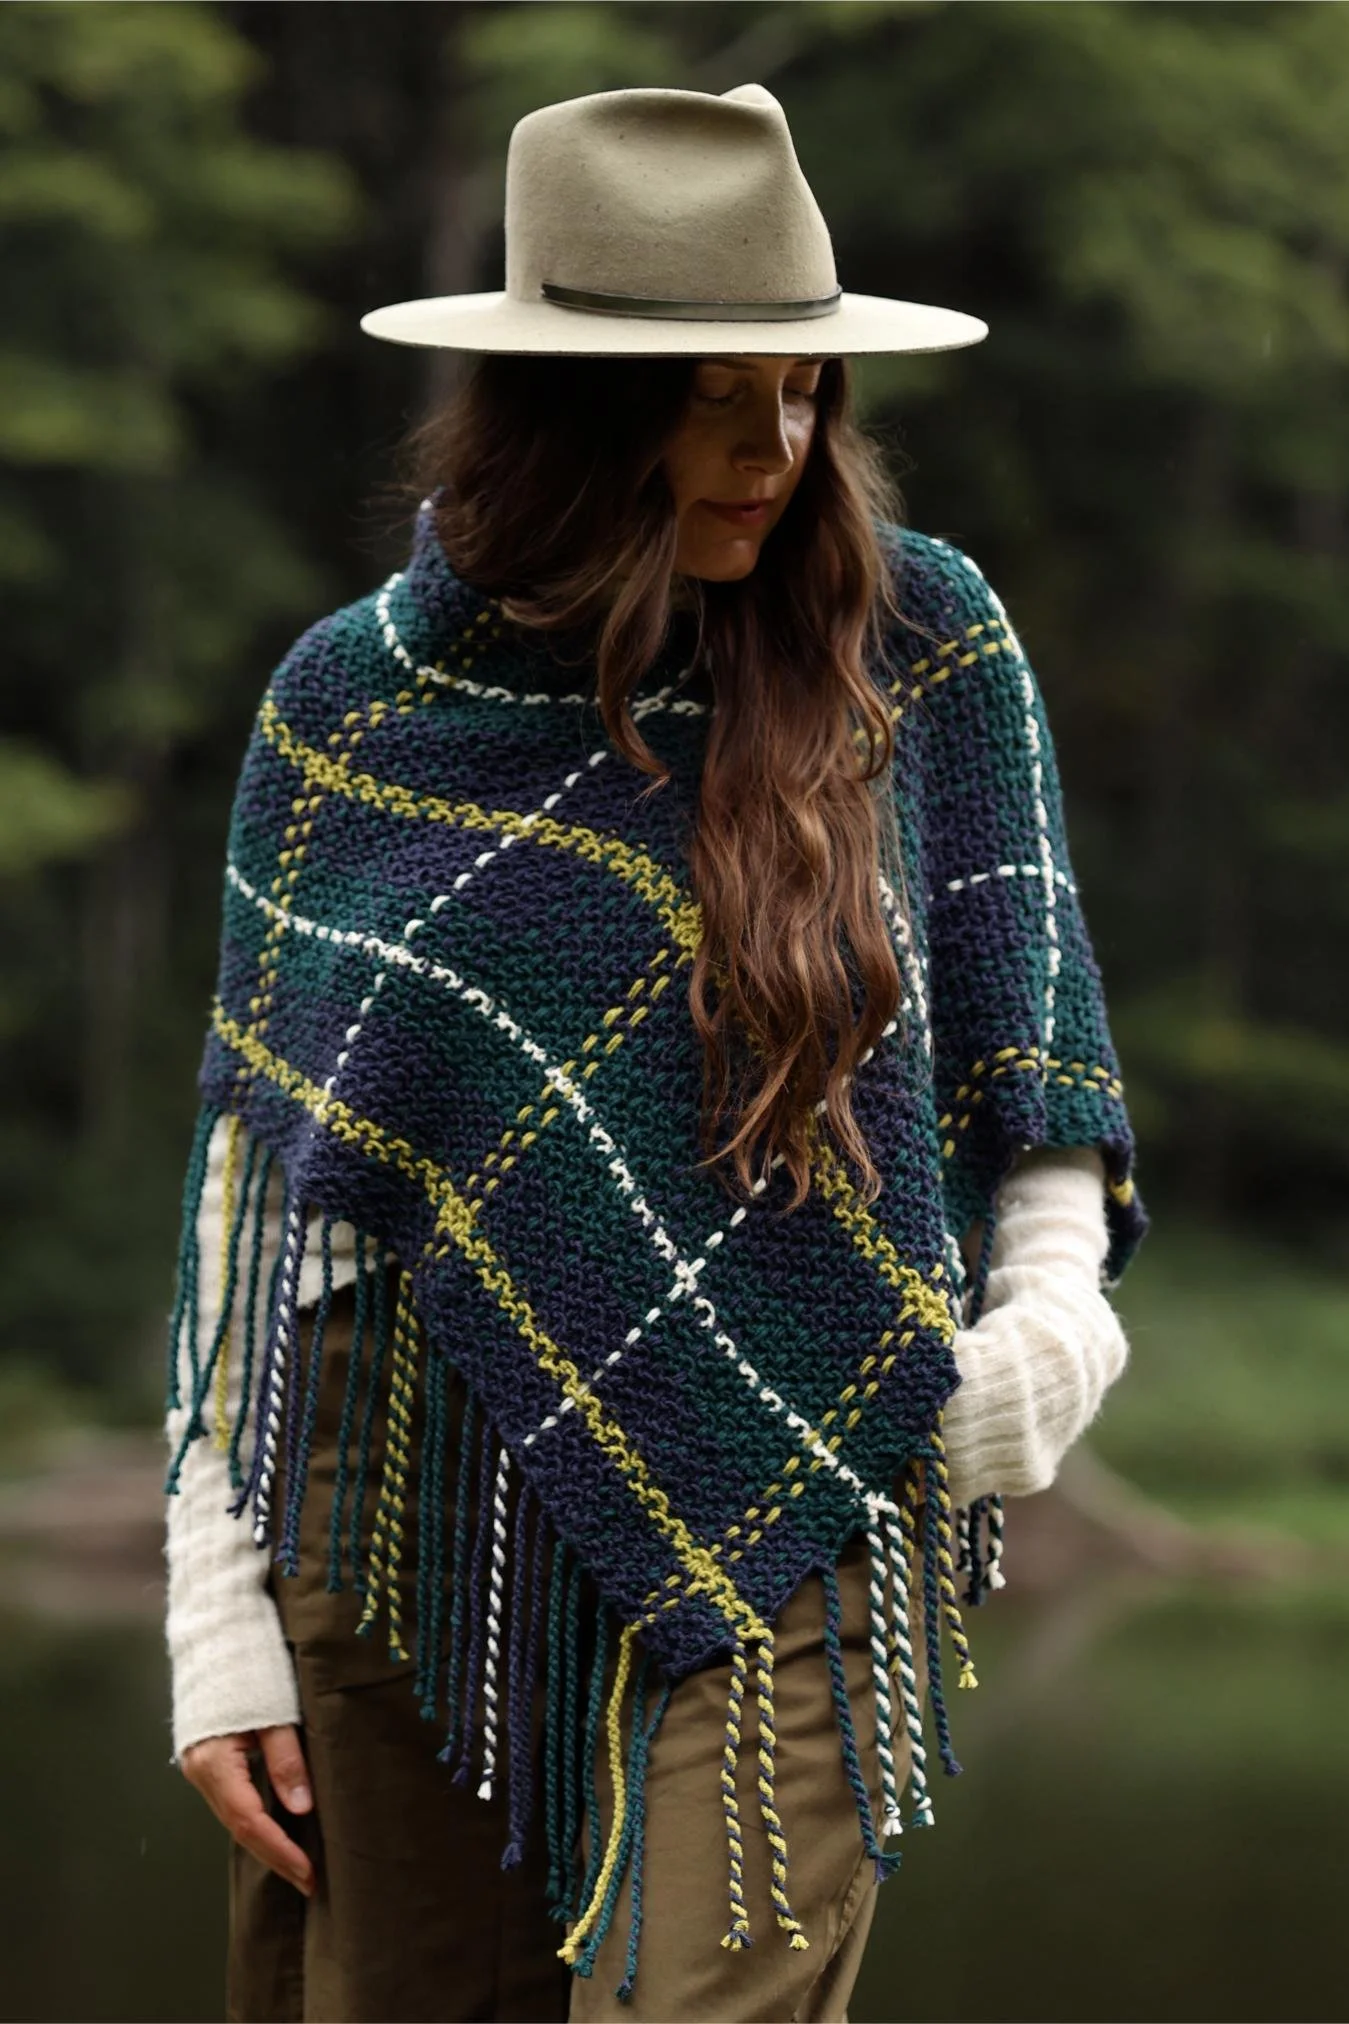
I settled on ponchos for this go round of plaid because I was looking for something that would be effortless to throw on and could be the perfect piece for transitional weather leading up to fall. These are such a lightweight but cozy layer to top any outfit, and it’s the perfect way to cover your shoulders in the event of a slight chill. The twisted fringe adds so much personality, AND it means that there are virtually no ends to weave in (ok, there’s one end to weave in, but in a project with a lot of color changes, that’s pretty miraculous).
The finishing details of weaving and twisting the fringe do take a bit of time, but the base of the poncho whips up so fast that it all evens out to be fairly low on the time commitment scale for something of this level of beauty. And even though those last steps seem to take a little longer than the actual knitting, the process of watching the plaid and fringe come to life is SO FUN that it will keep you engaged and excited the whole time.
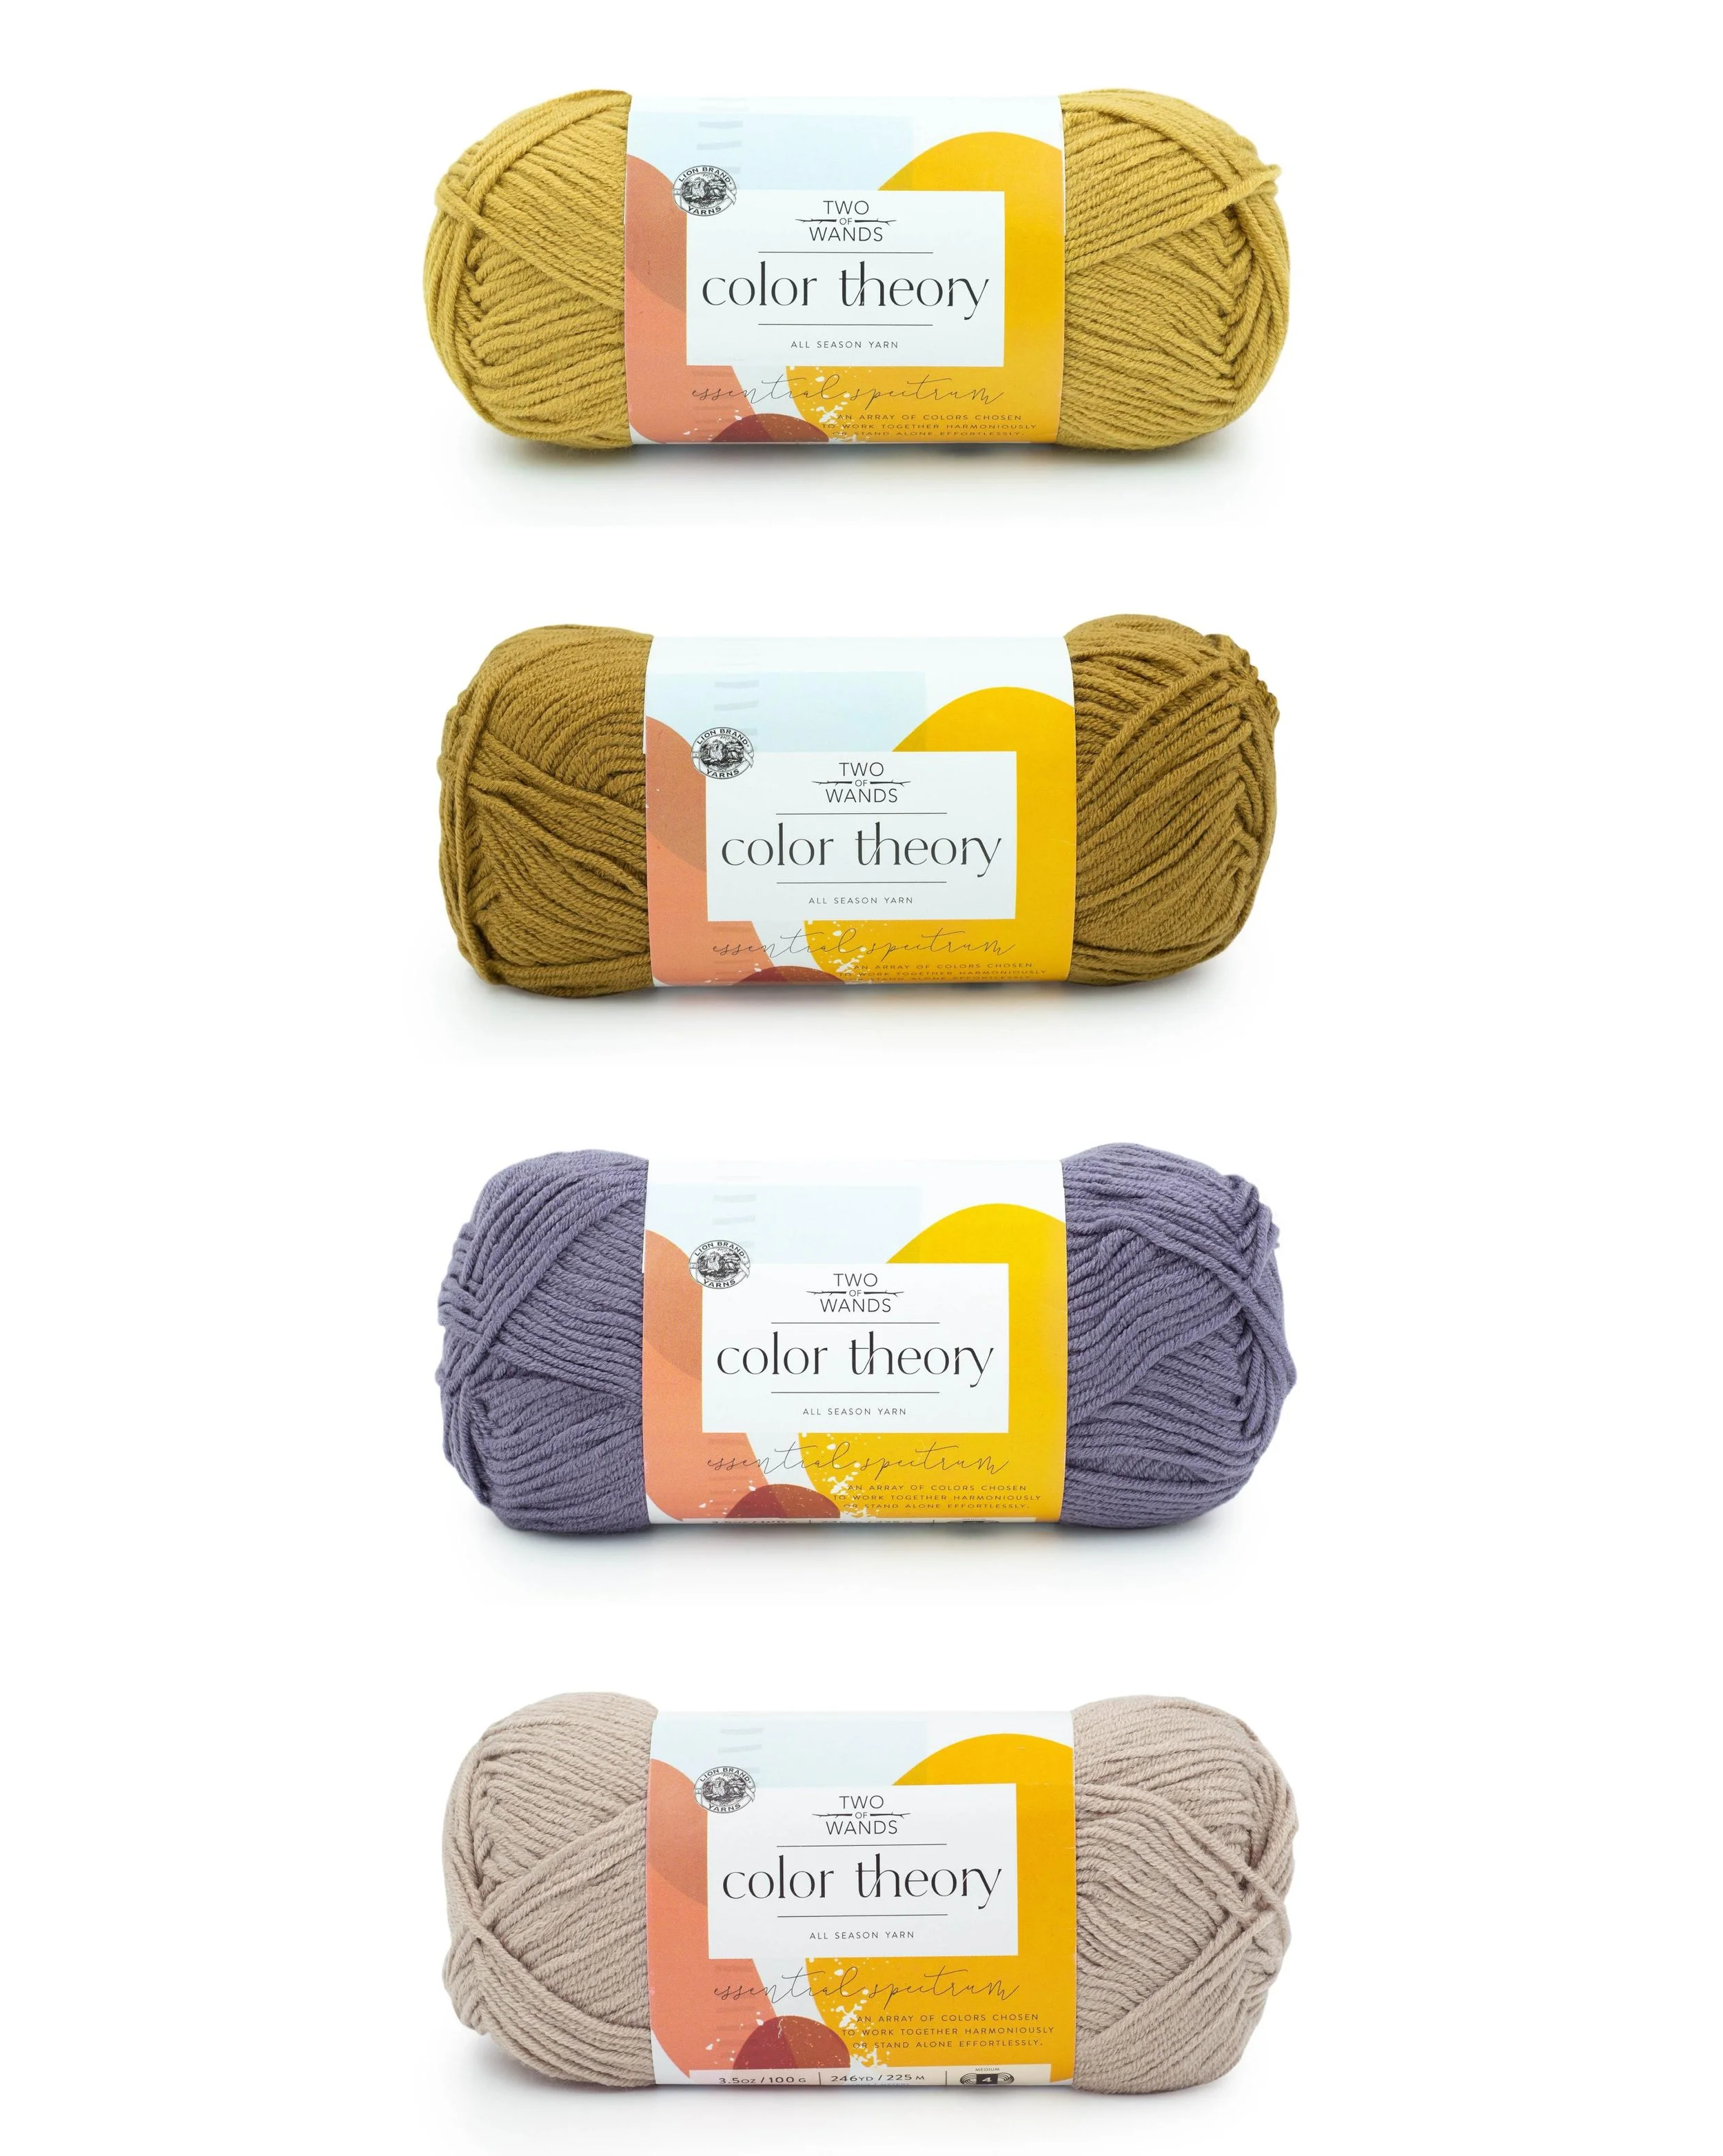
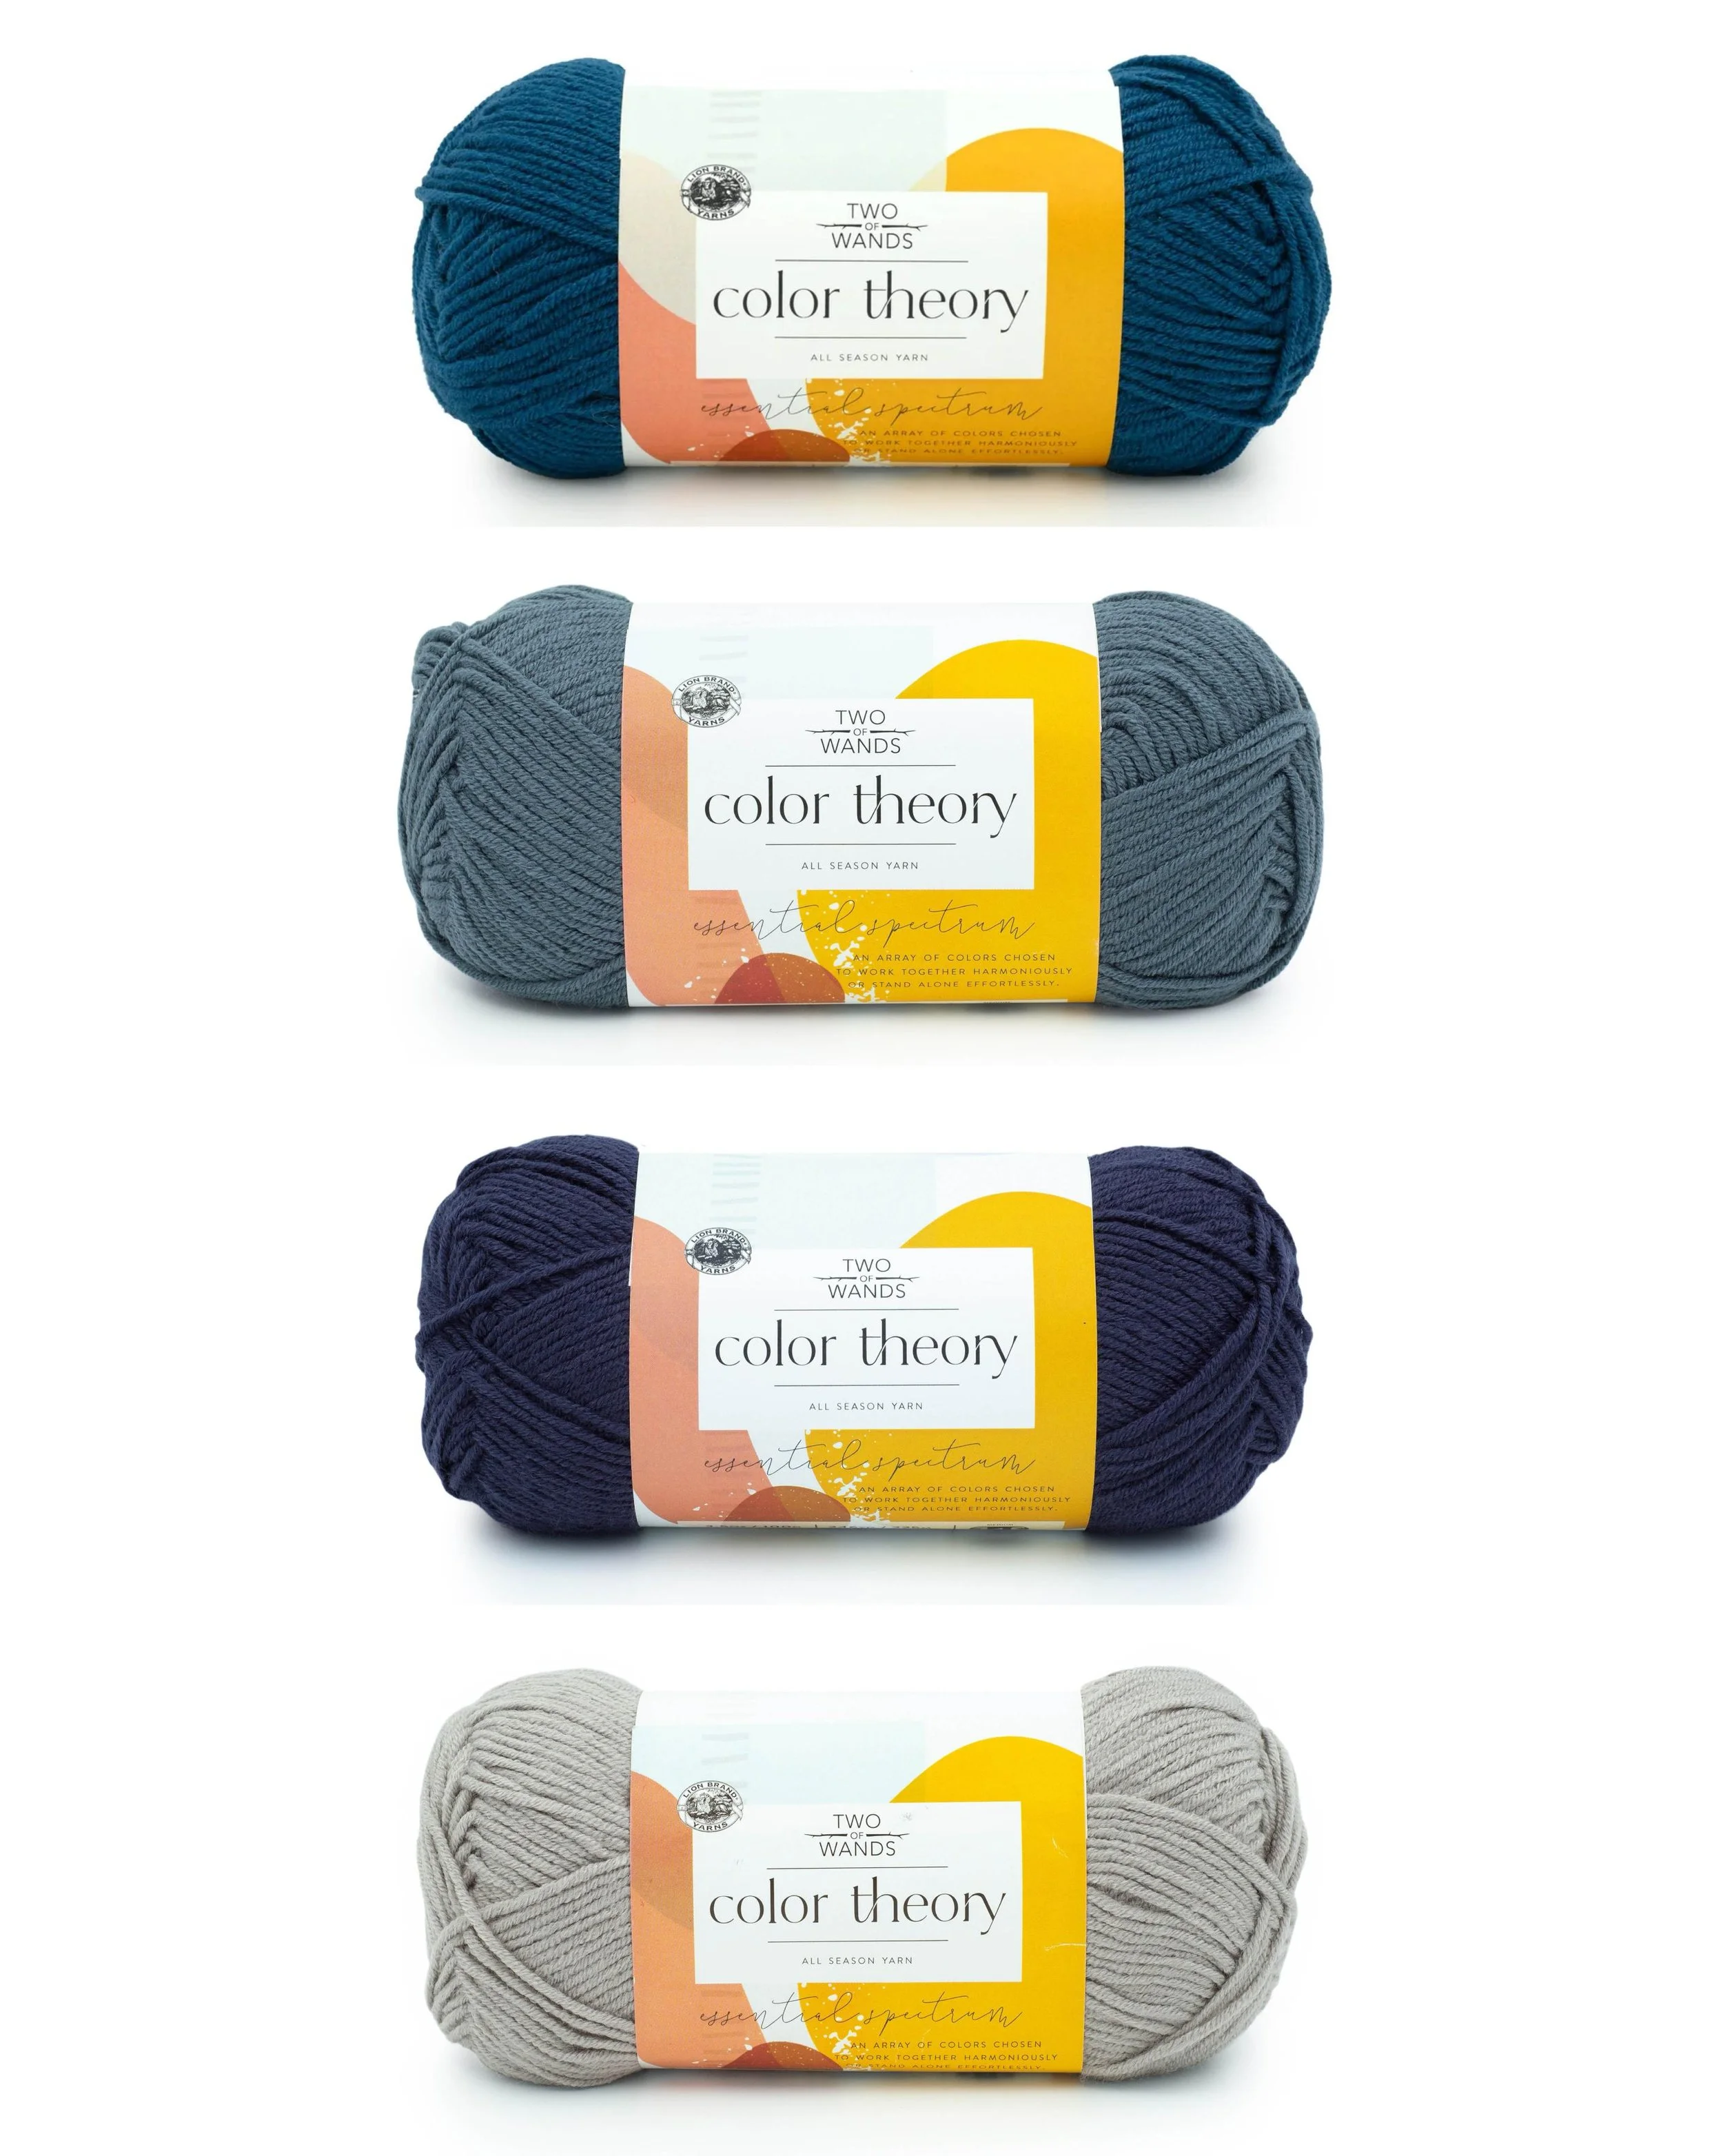
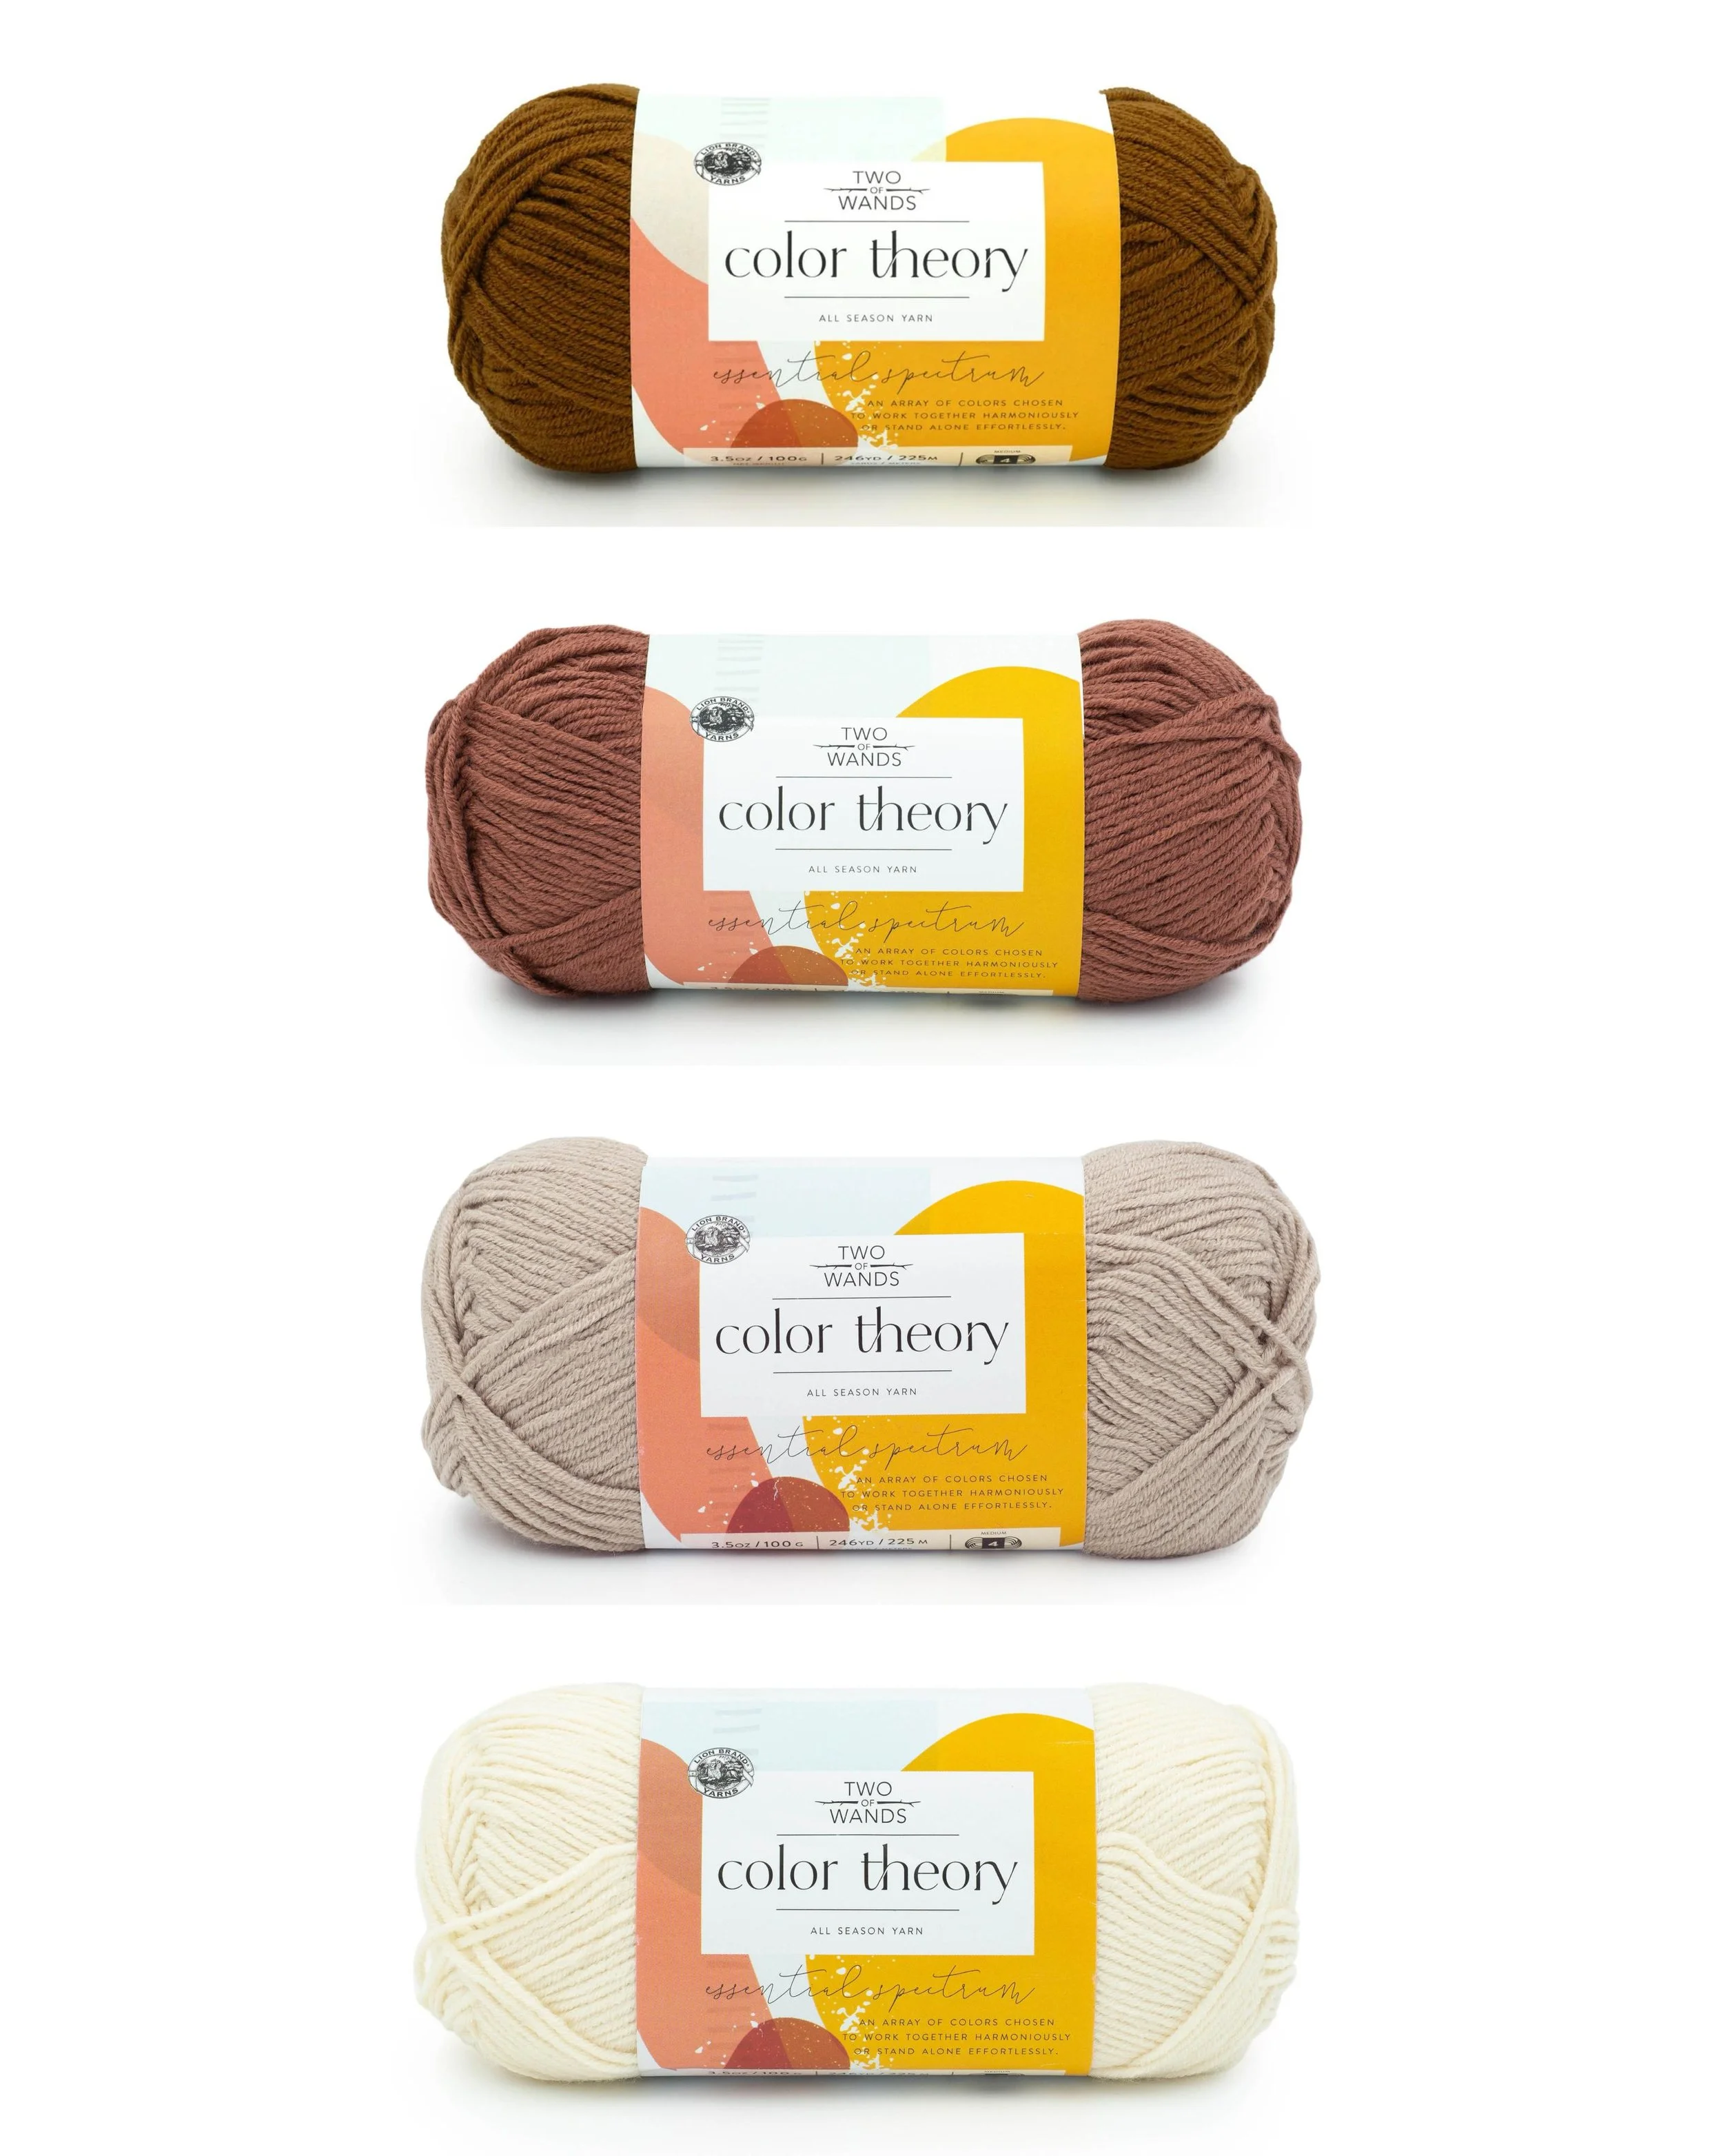
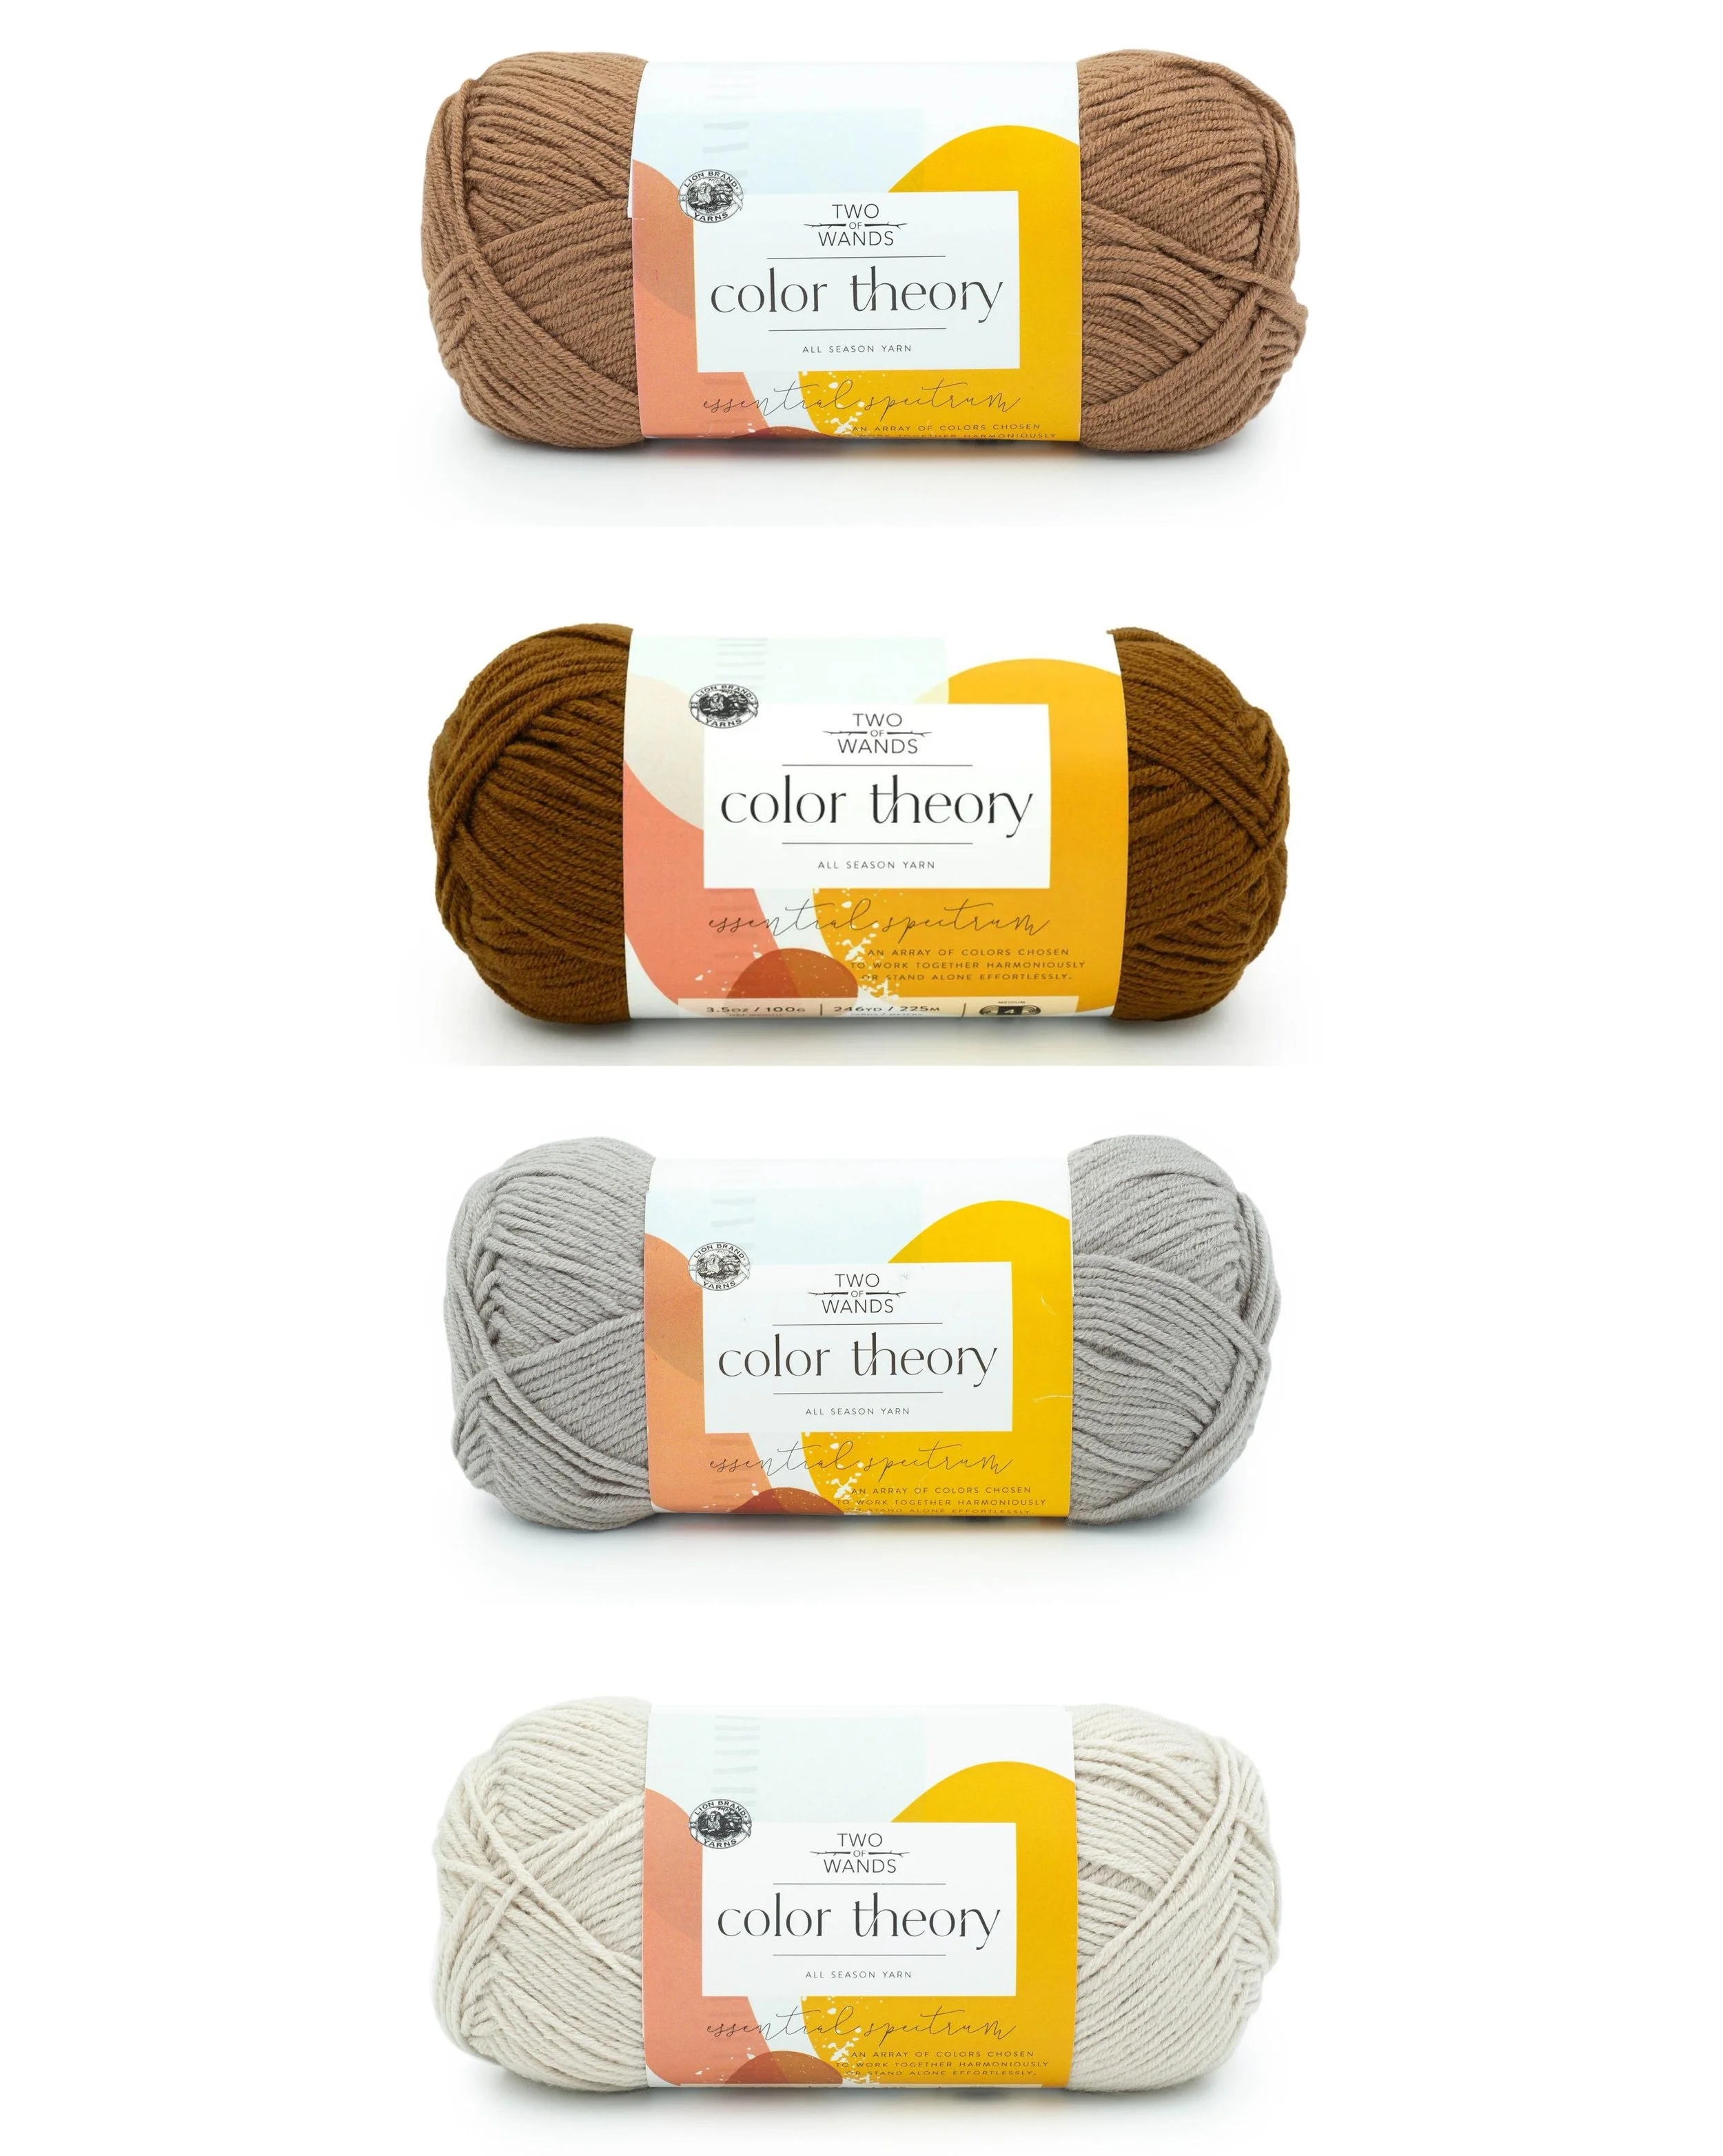
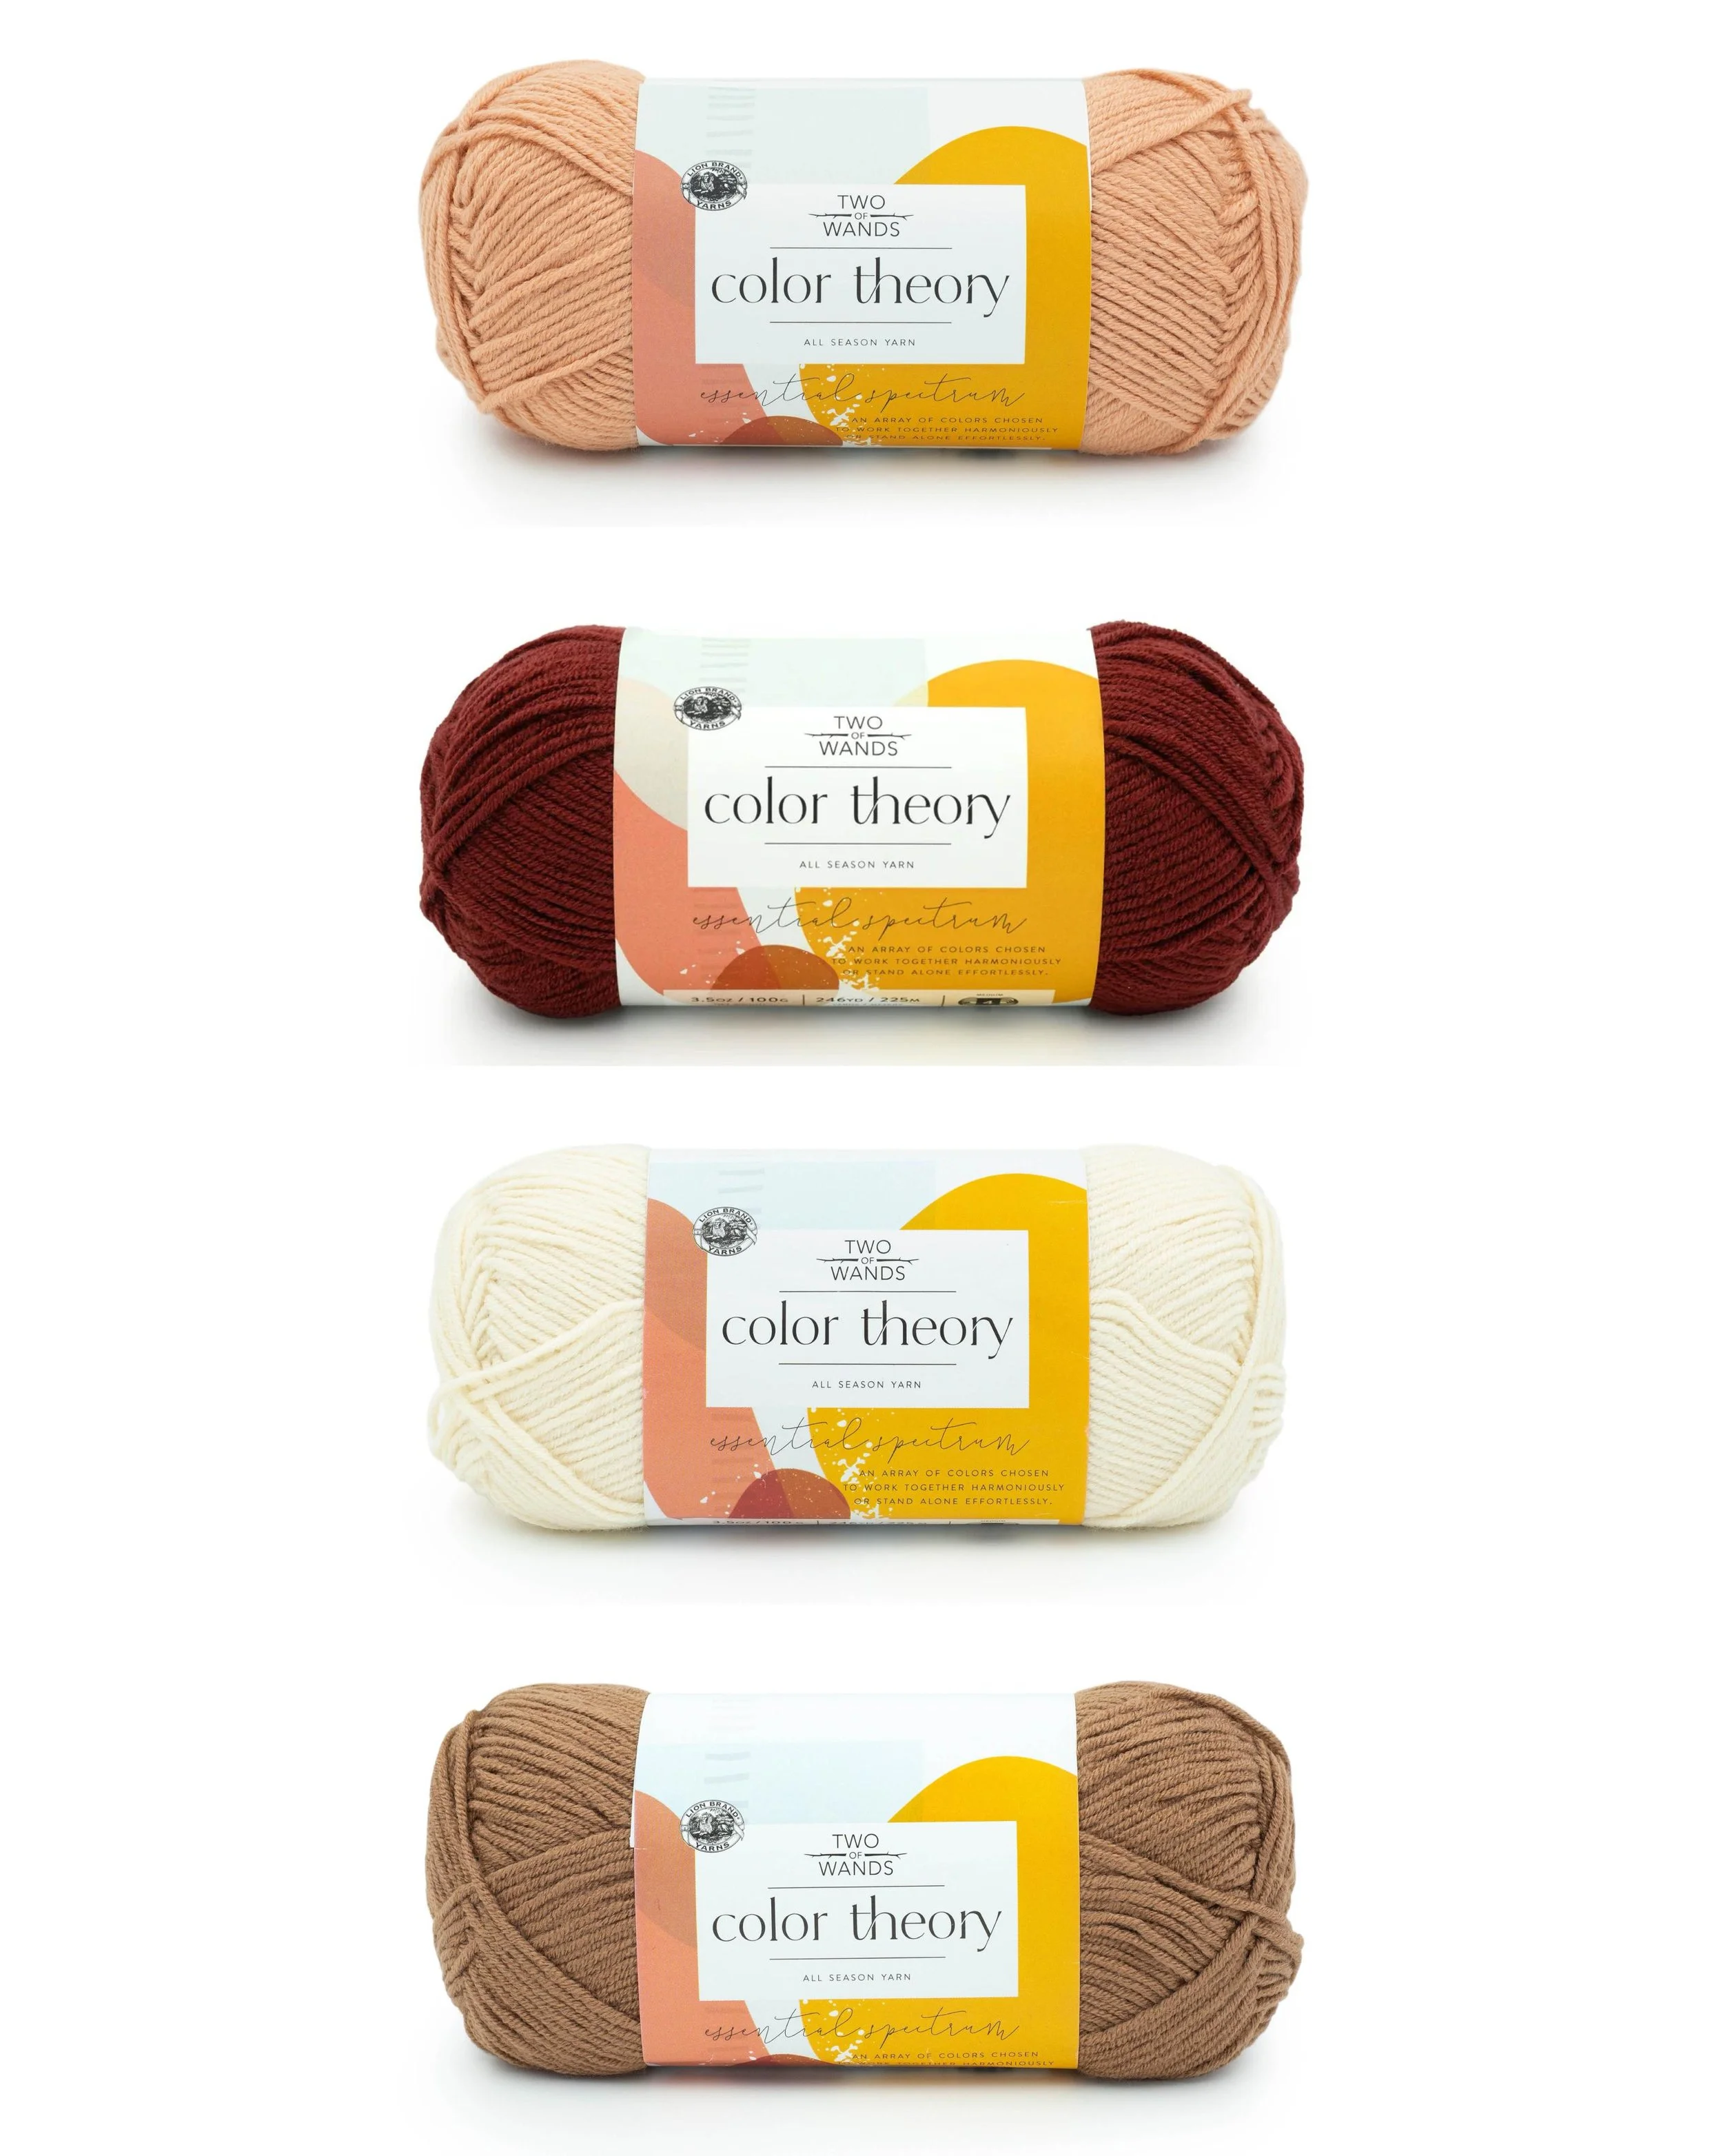
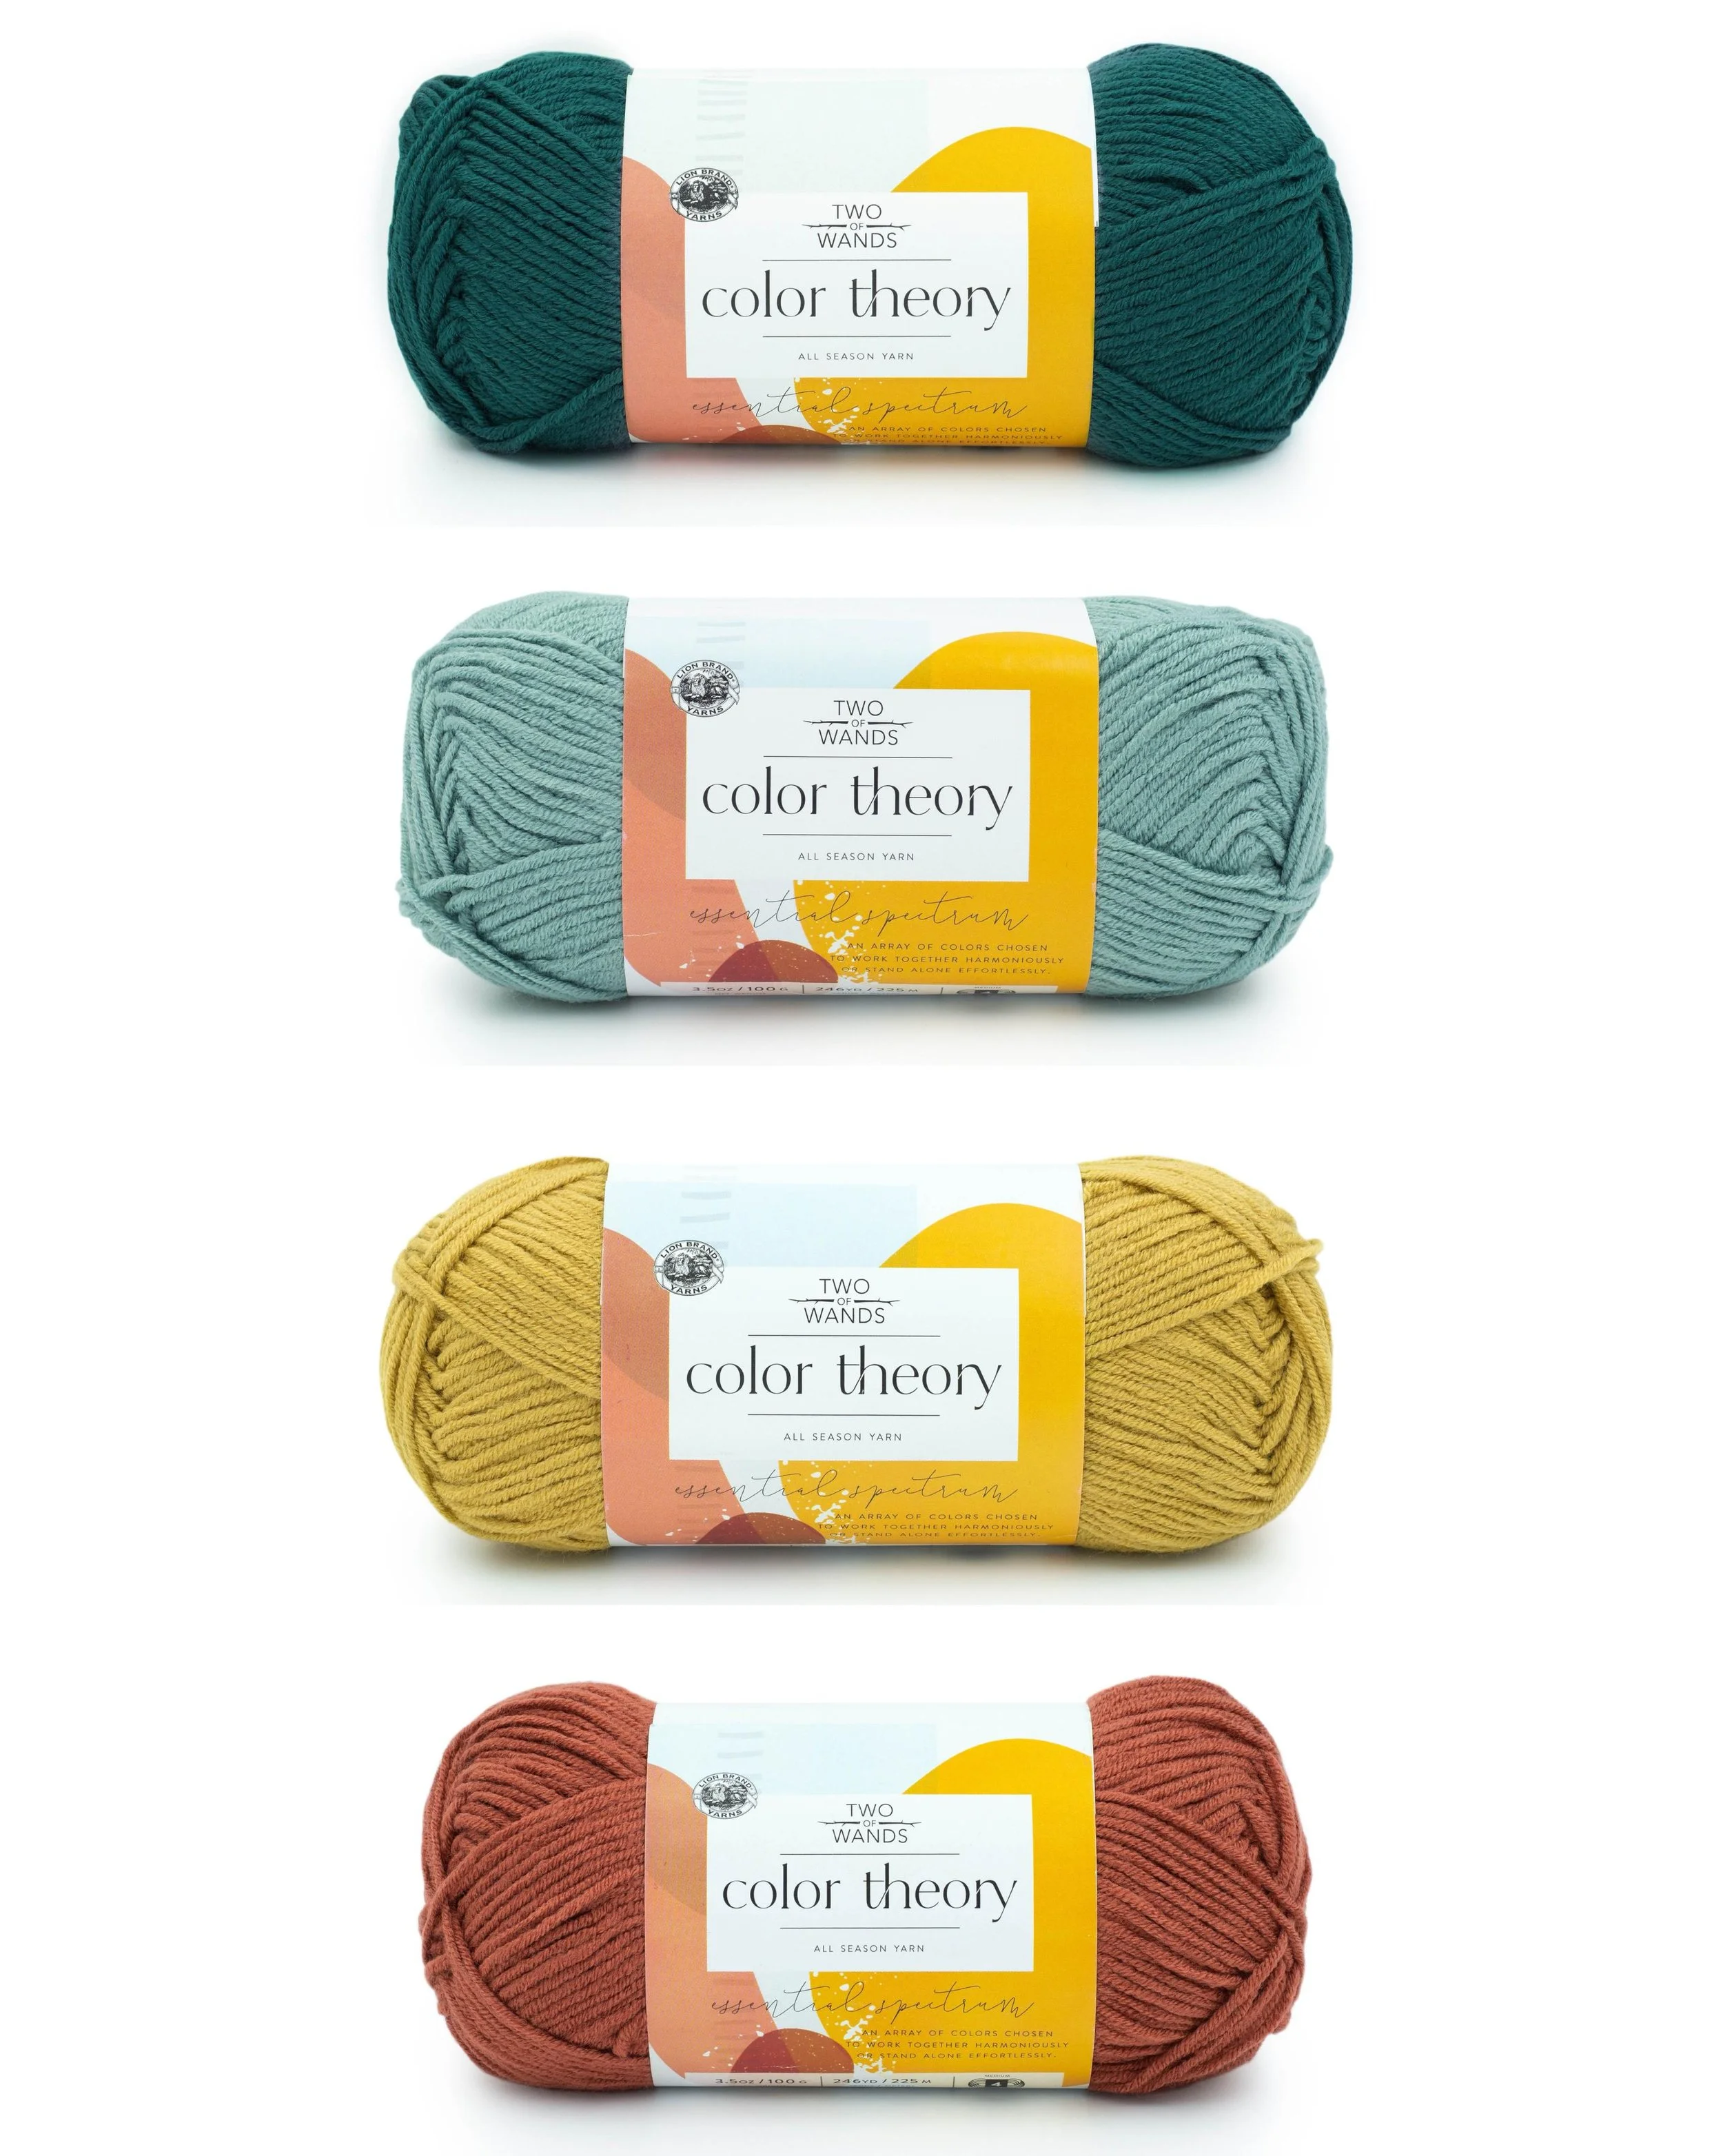
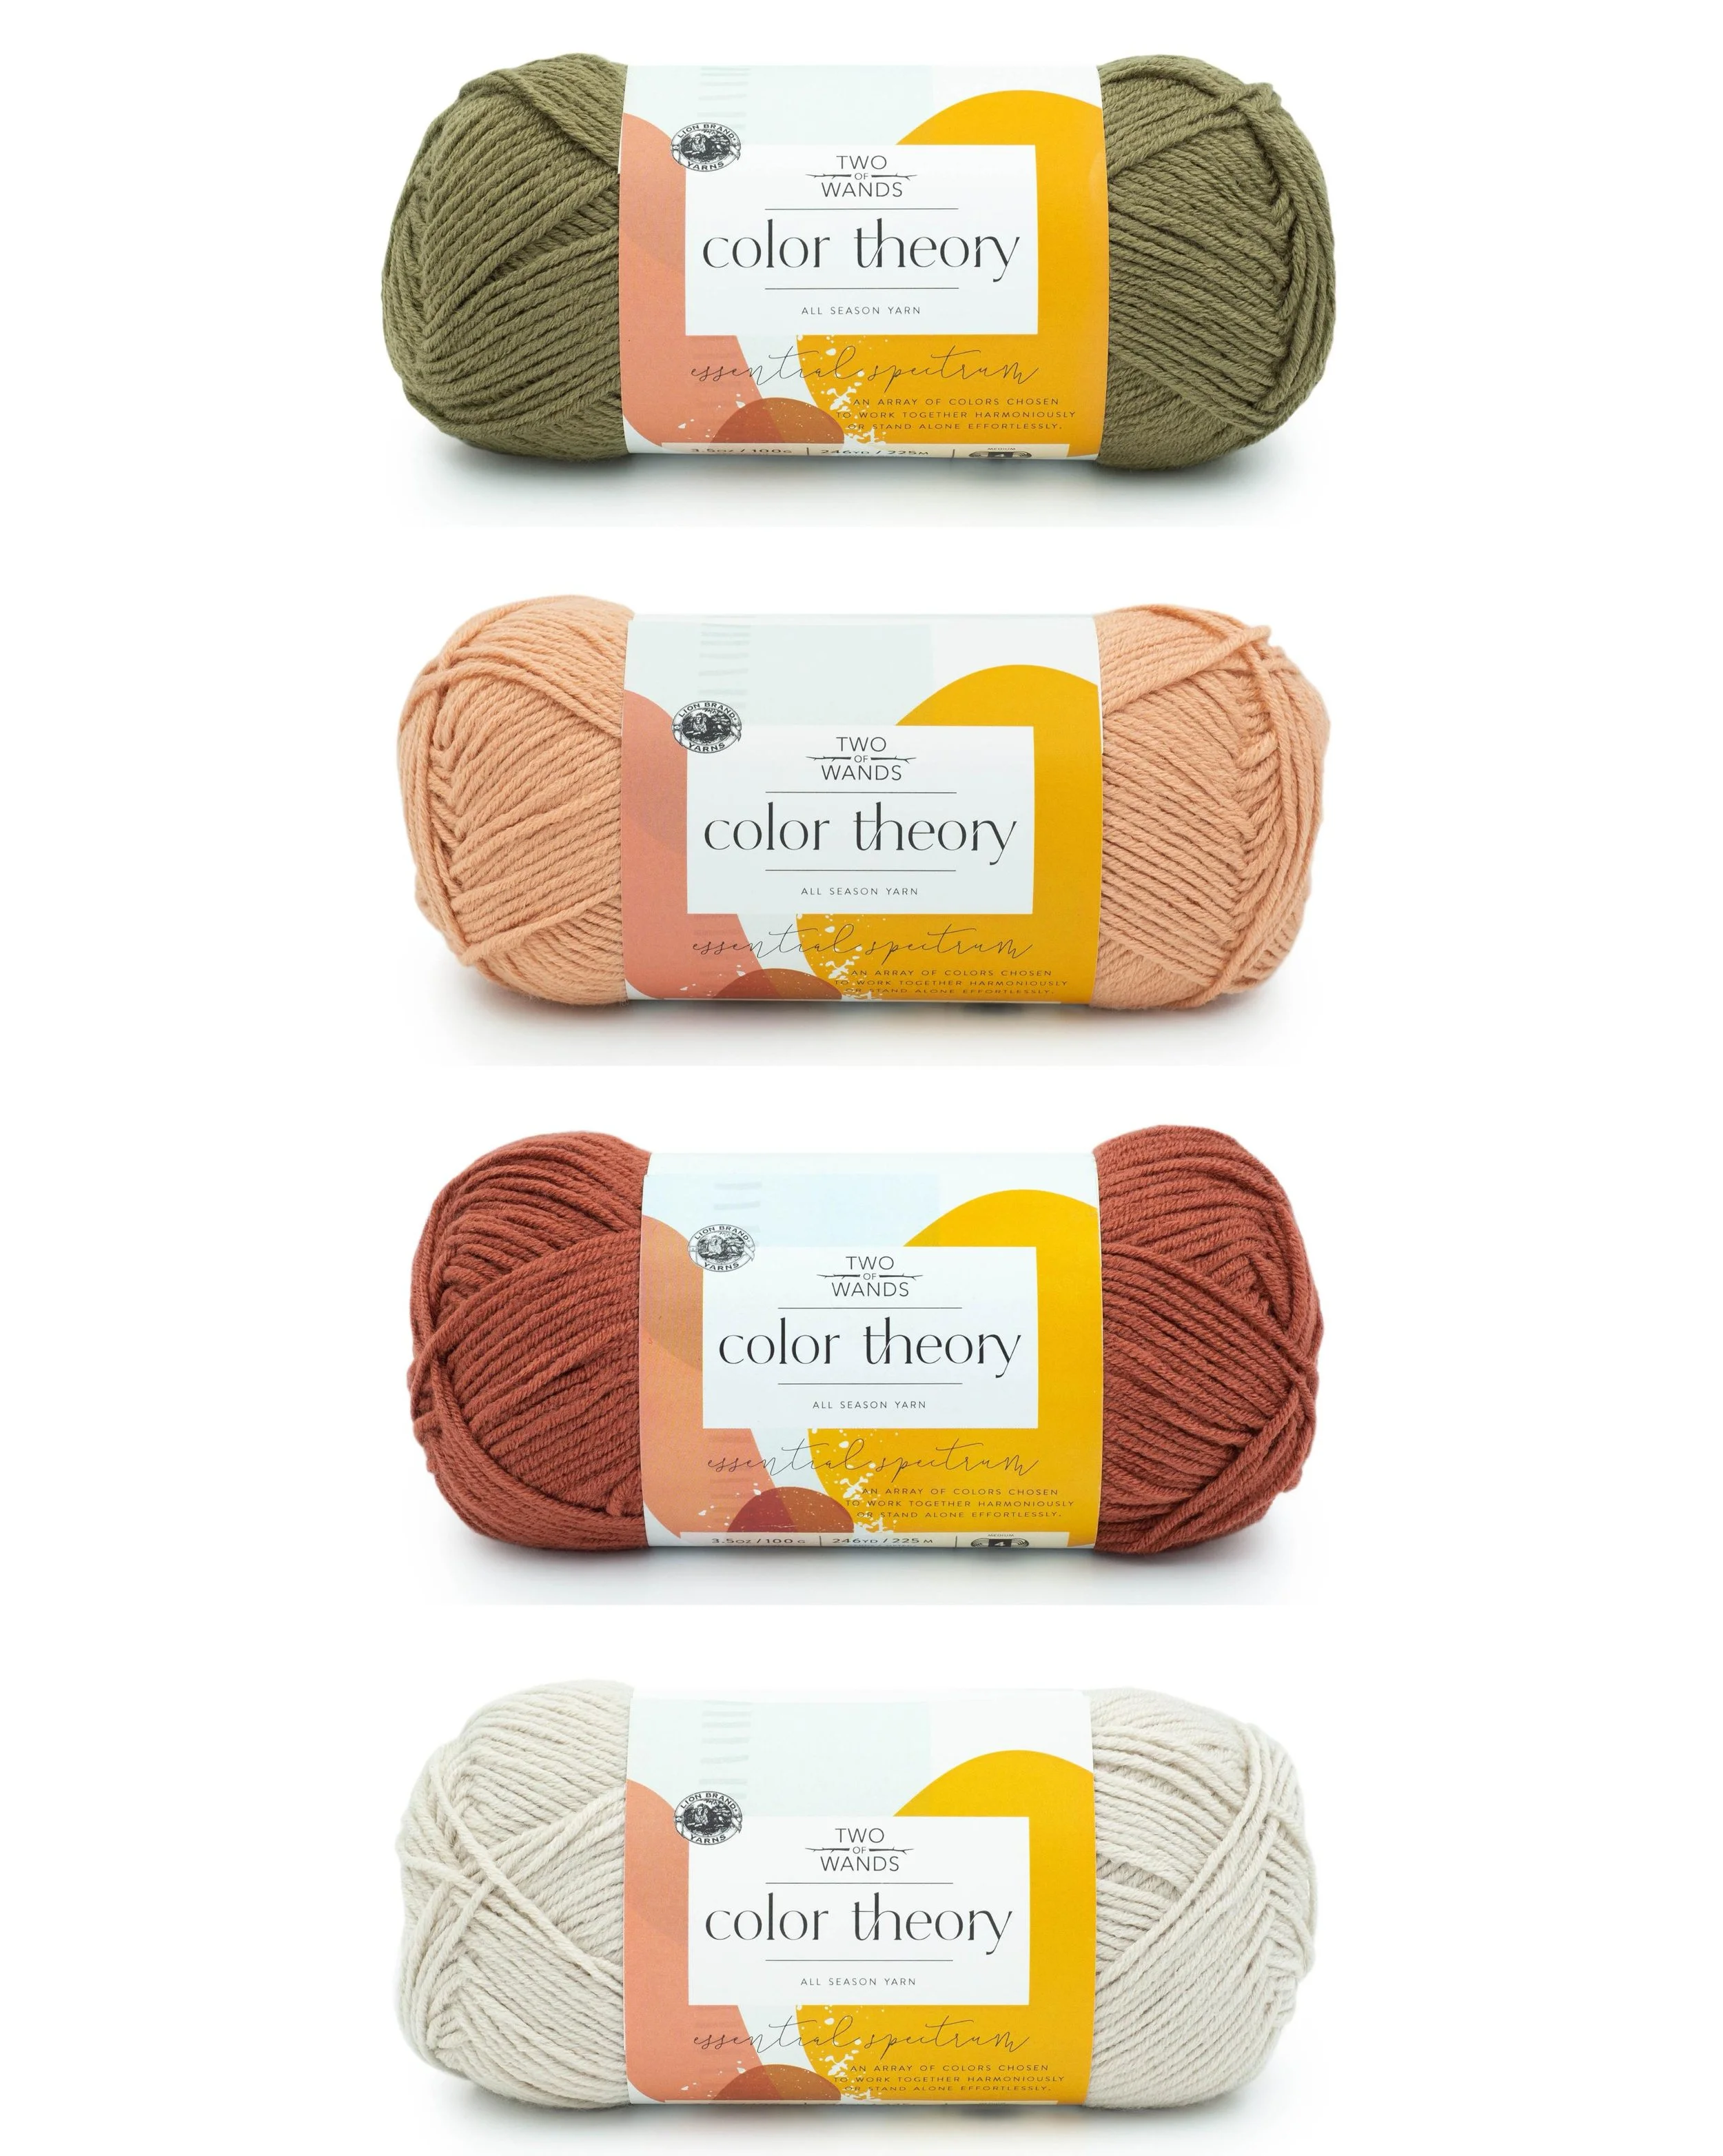
Like I mentioned at the top, another impetus for these ponchos was the opportunity to feature lots of the new colors of Color Theory. This yarn is my second-born (it debuted in 2022 after my first-born Hue + Me launched in 2020), and this summer is the first time we added to the original palette of 18 colors. Six new colors dropped in July and to say I was thrilled would be a massive understatement! I couldn’t wait to work these babies into my upcoming projects. Between the last two patterns I released and these ponchos, I’ve showcased all six – my Castaway Cardigan features Lagoon, the Serata Wrap features Paradiso, the crochet Aberdeen Plaid Poncho features Beaujolais, Fig, and Spice, and the Glasgow Plaid Poncho features the final color, Citron.
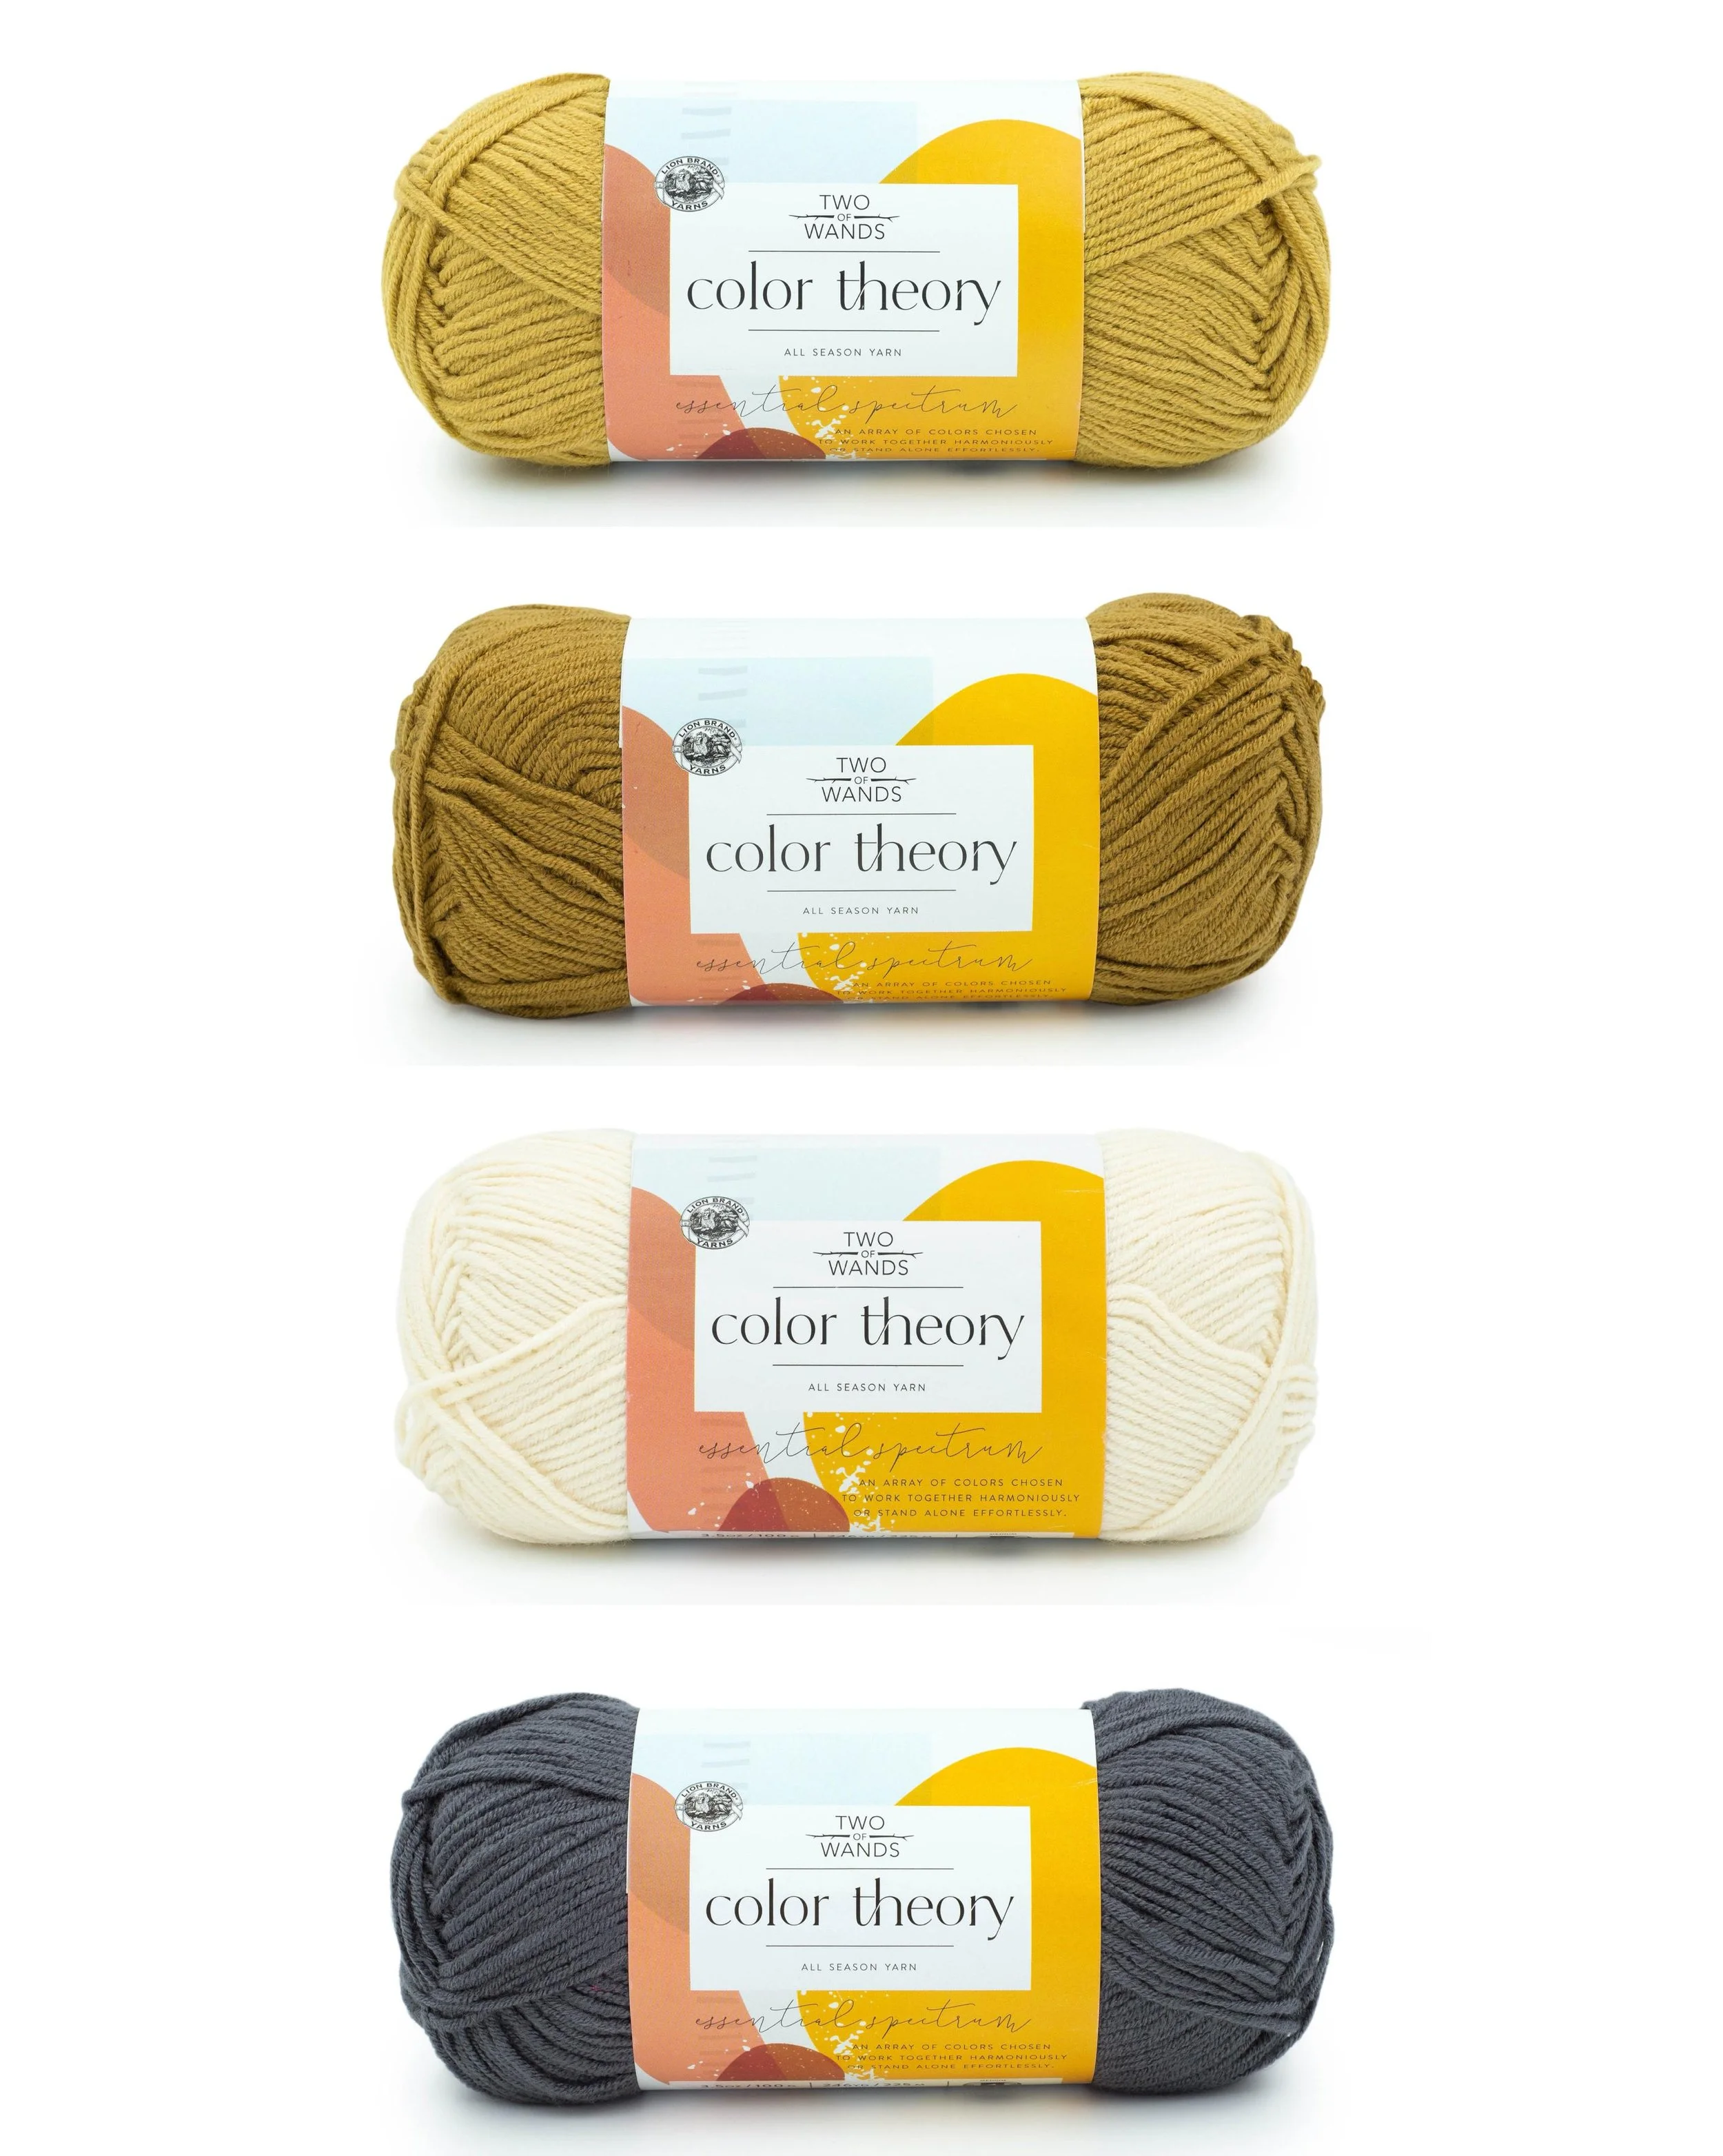
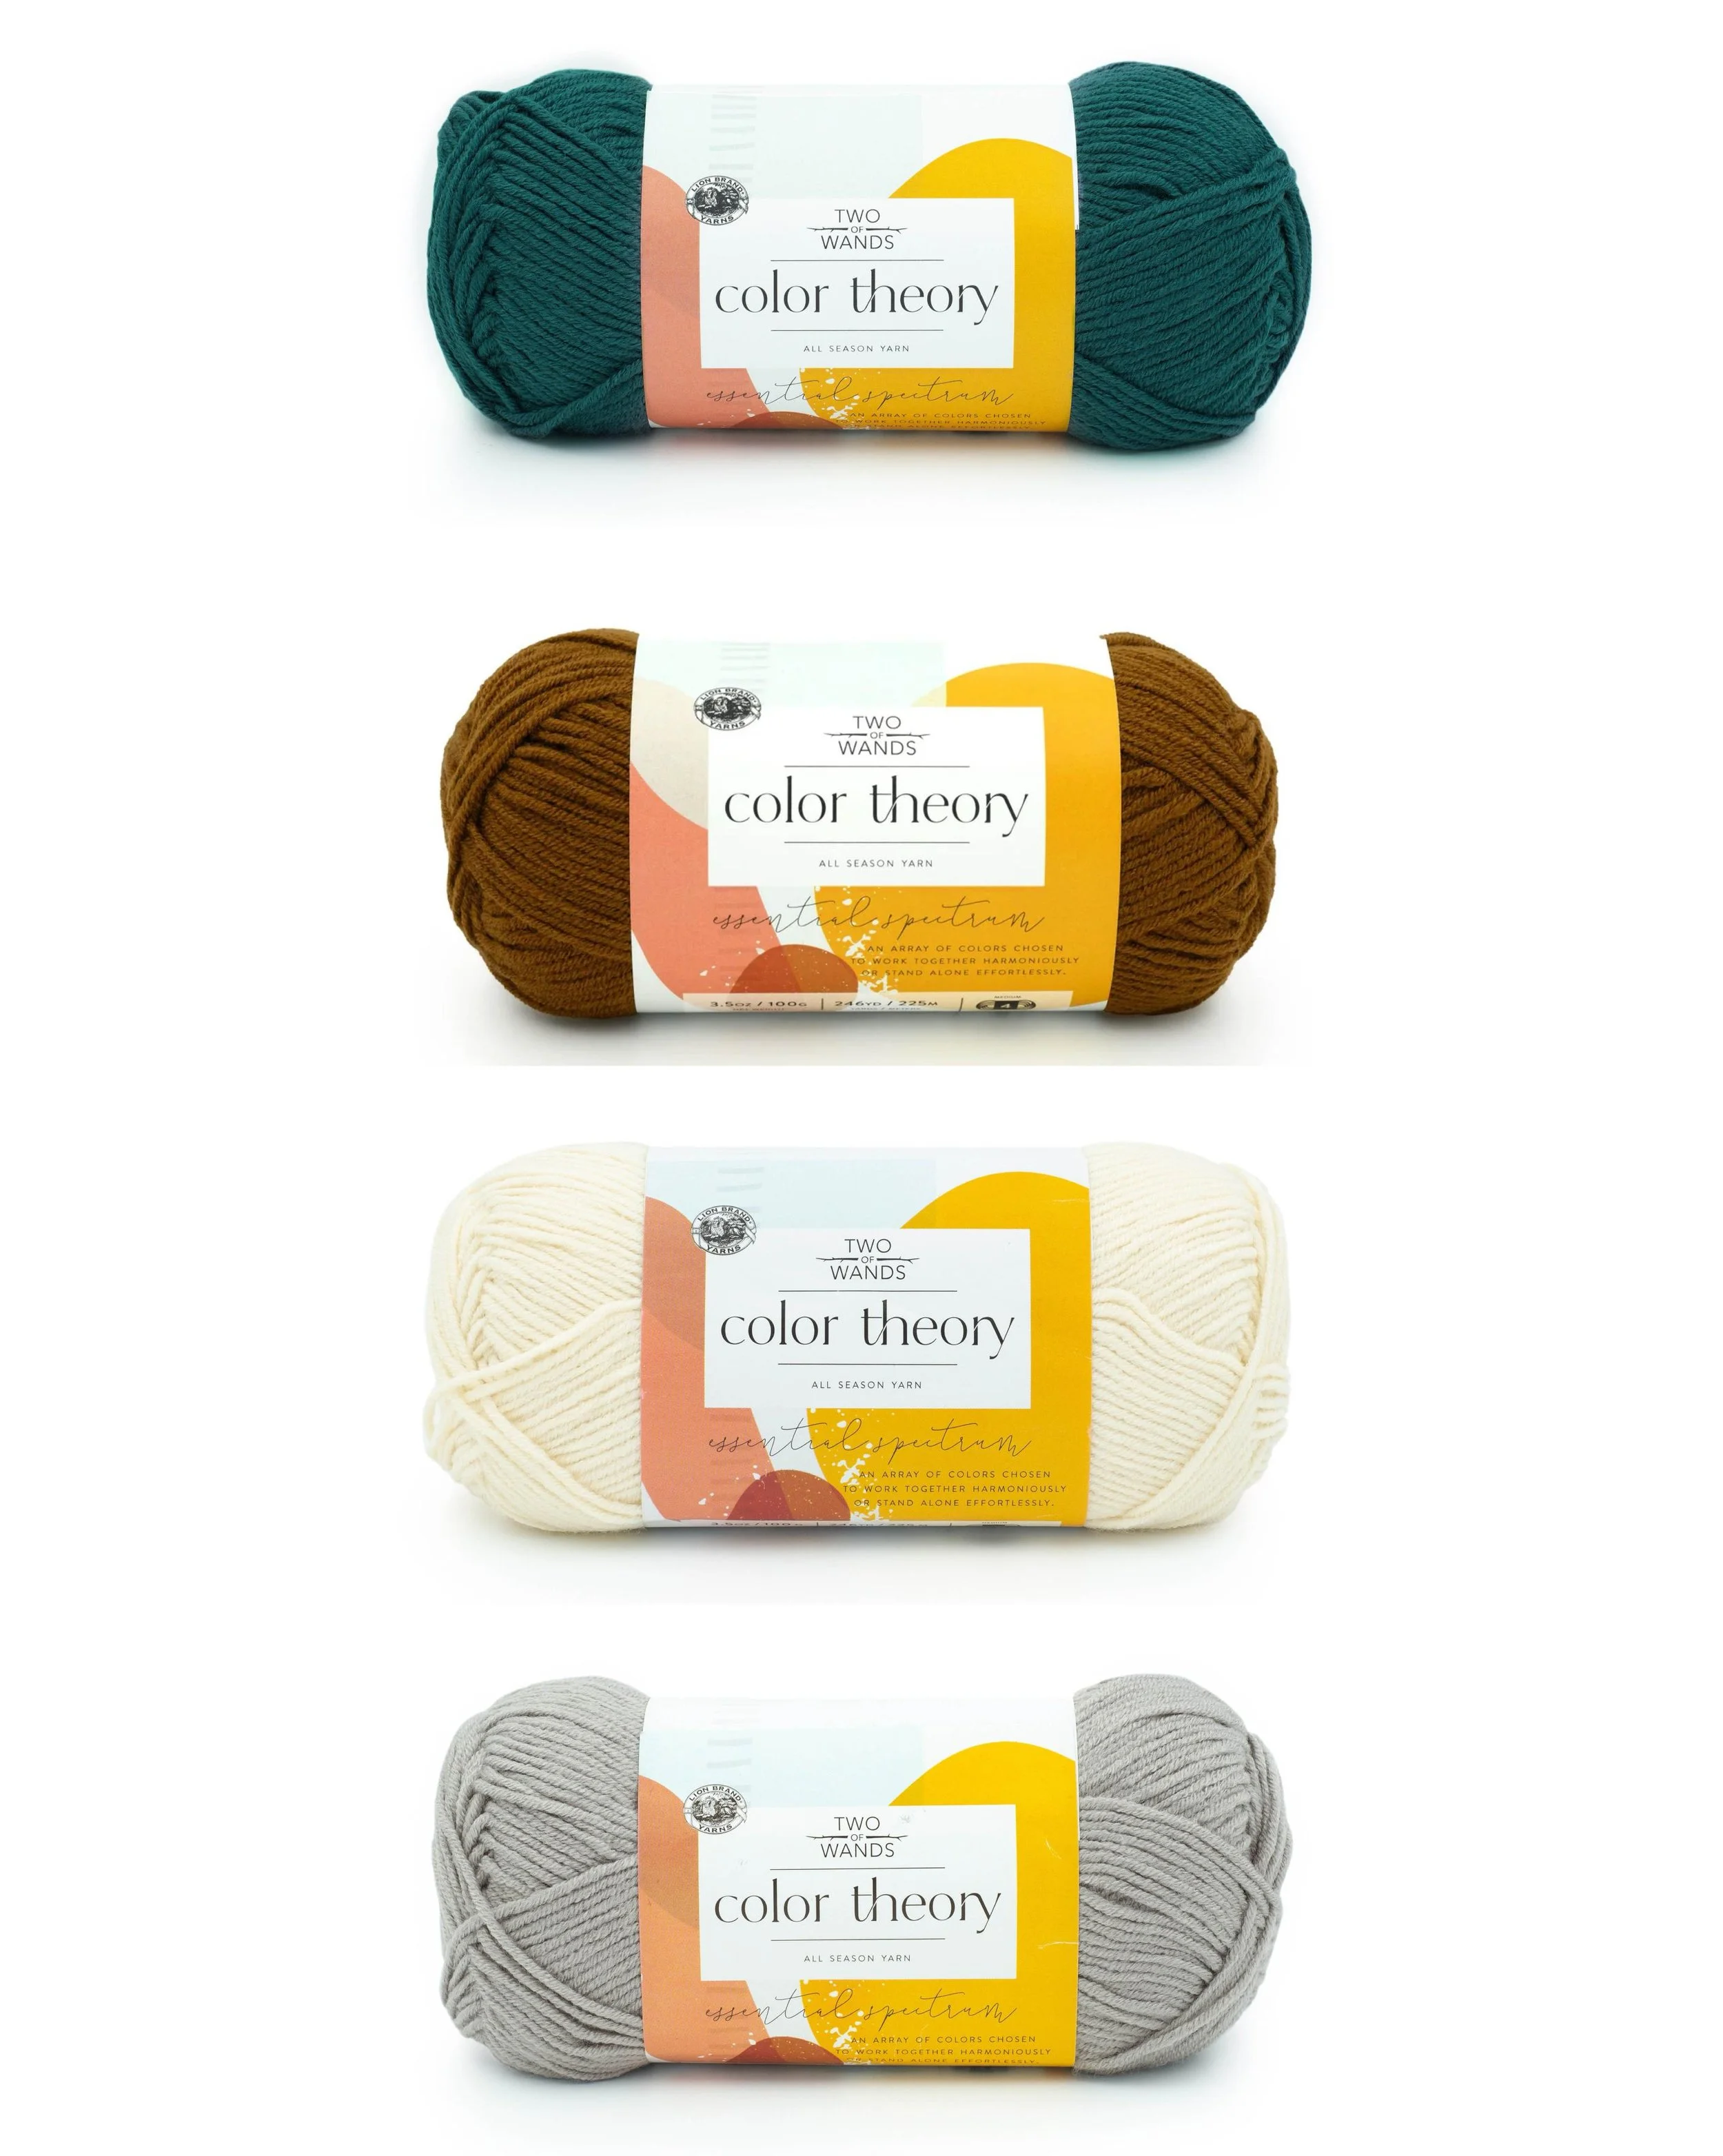
Like Hue + Me, there are seemingly endless color combinations to put together with Color Theory. These figures always blow my mind, but out of the now 24 colors in the palette, there are literally 10,626 ways to put together four colors for this poncho!! If that sounds overwhelming, don’t fear because I have put together my top 12 combos in addition to the ones I used for the Glasgow and Aberdeen Plaid Ponchos to narrow it down for you. Let’s have a look:
Bee Pollen, Dijon, Amethyst, Bone
Peacock, Stonewash, Admiral, Satellite
Spice, Raisin, Bone, Ivory

Dijon, Peacock, Paradiso, Moonbeam
Bee Pollen, Dijon, Ivory, Thunder
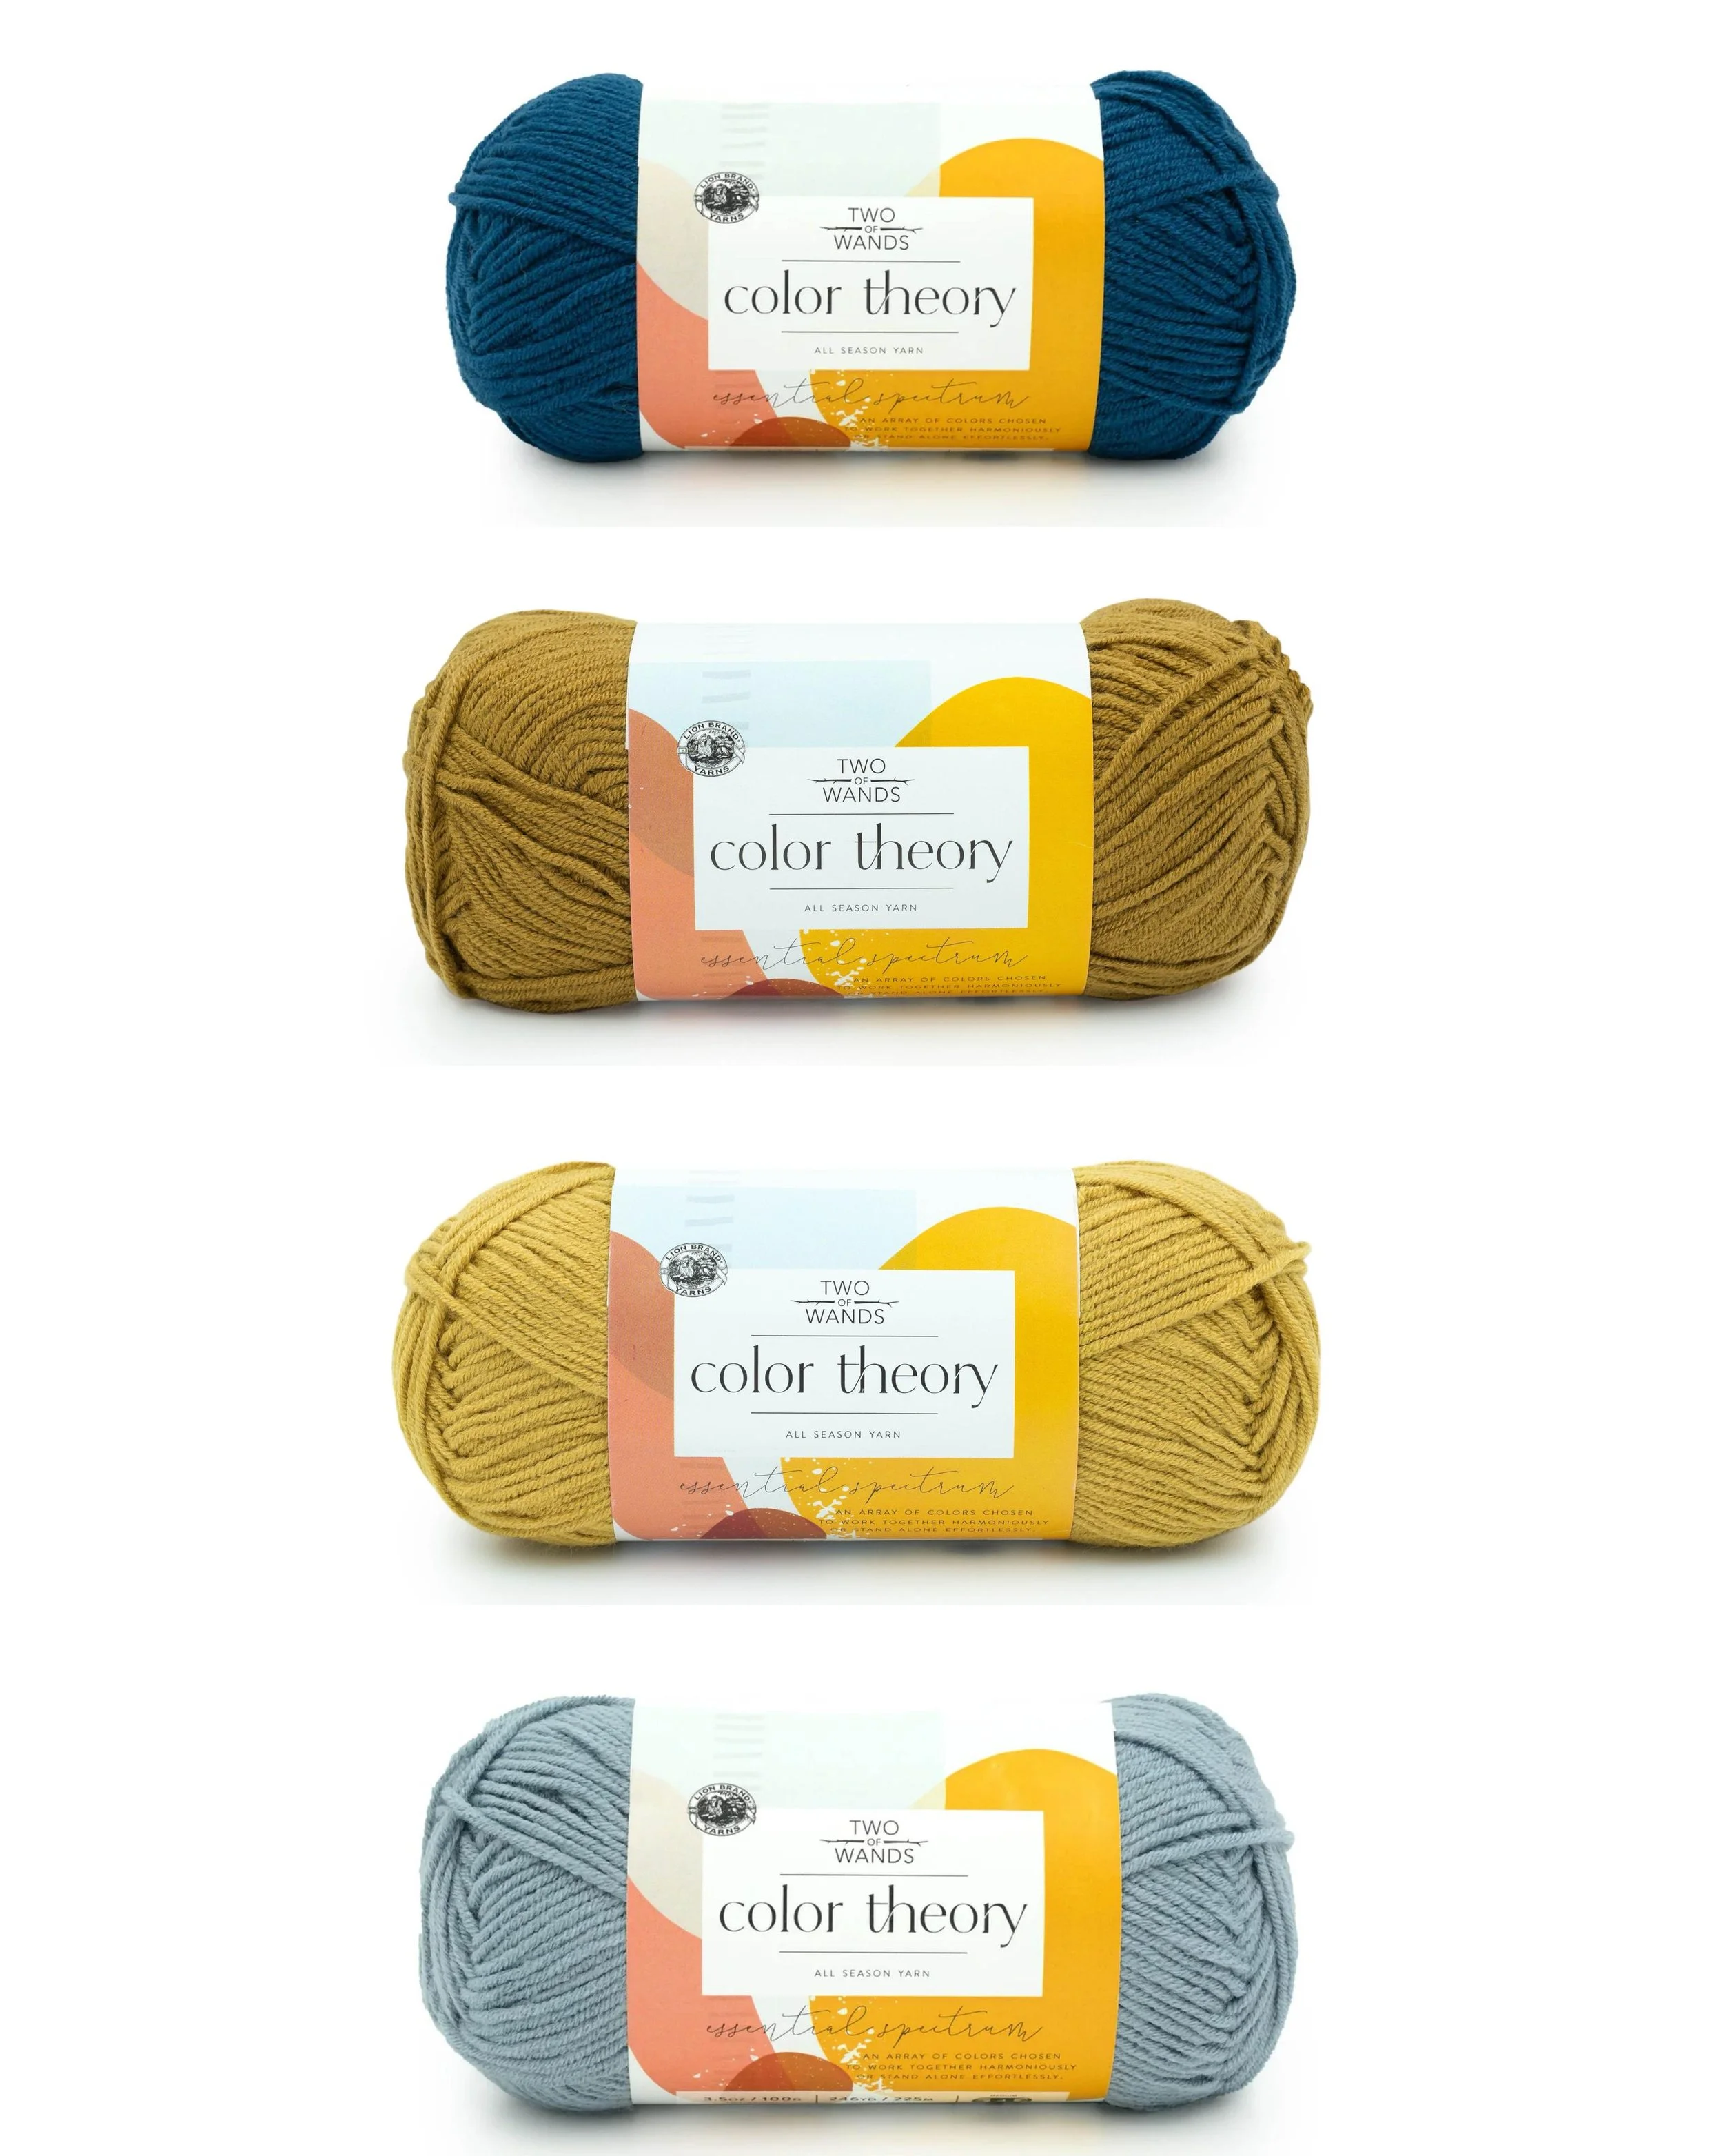
Lagoon, Dijon, Bee Polle, Paradiso
Peacock, Spice, Ivory, Satellite
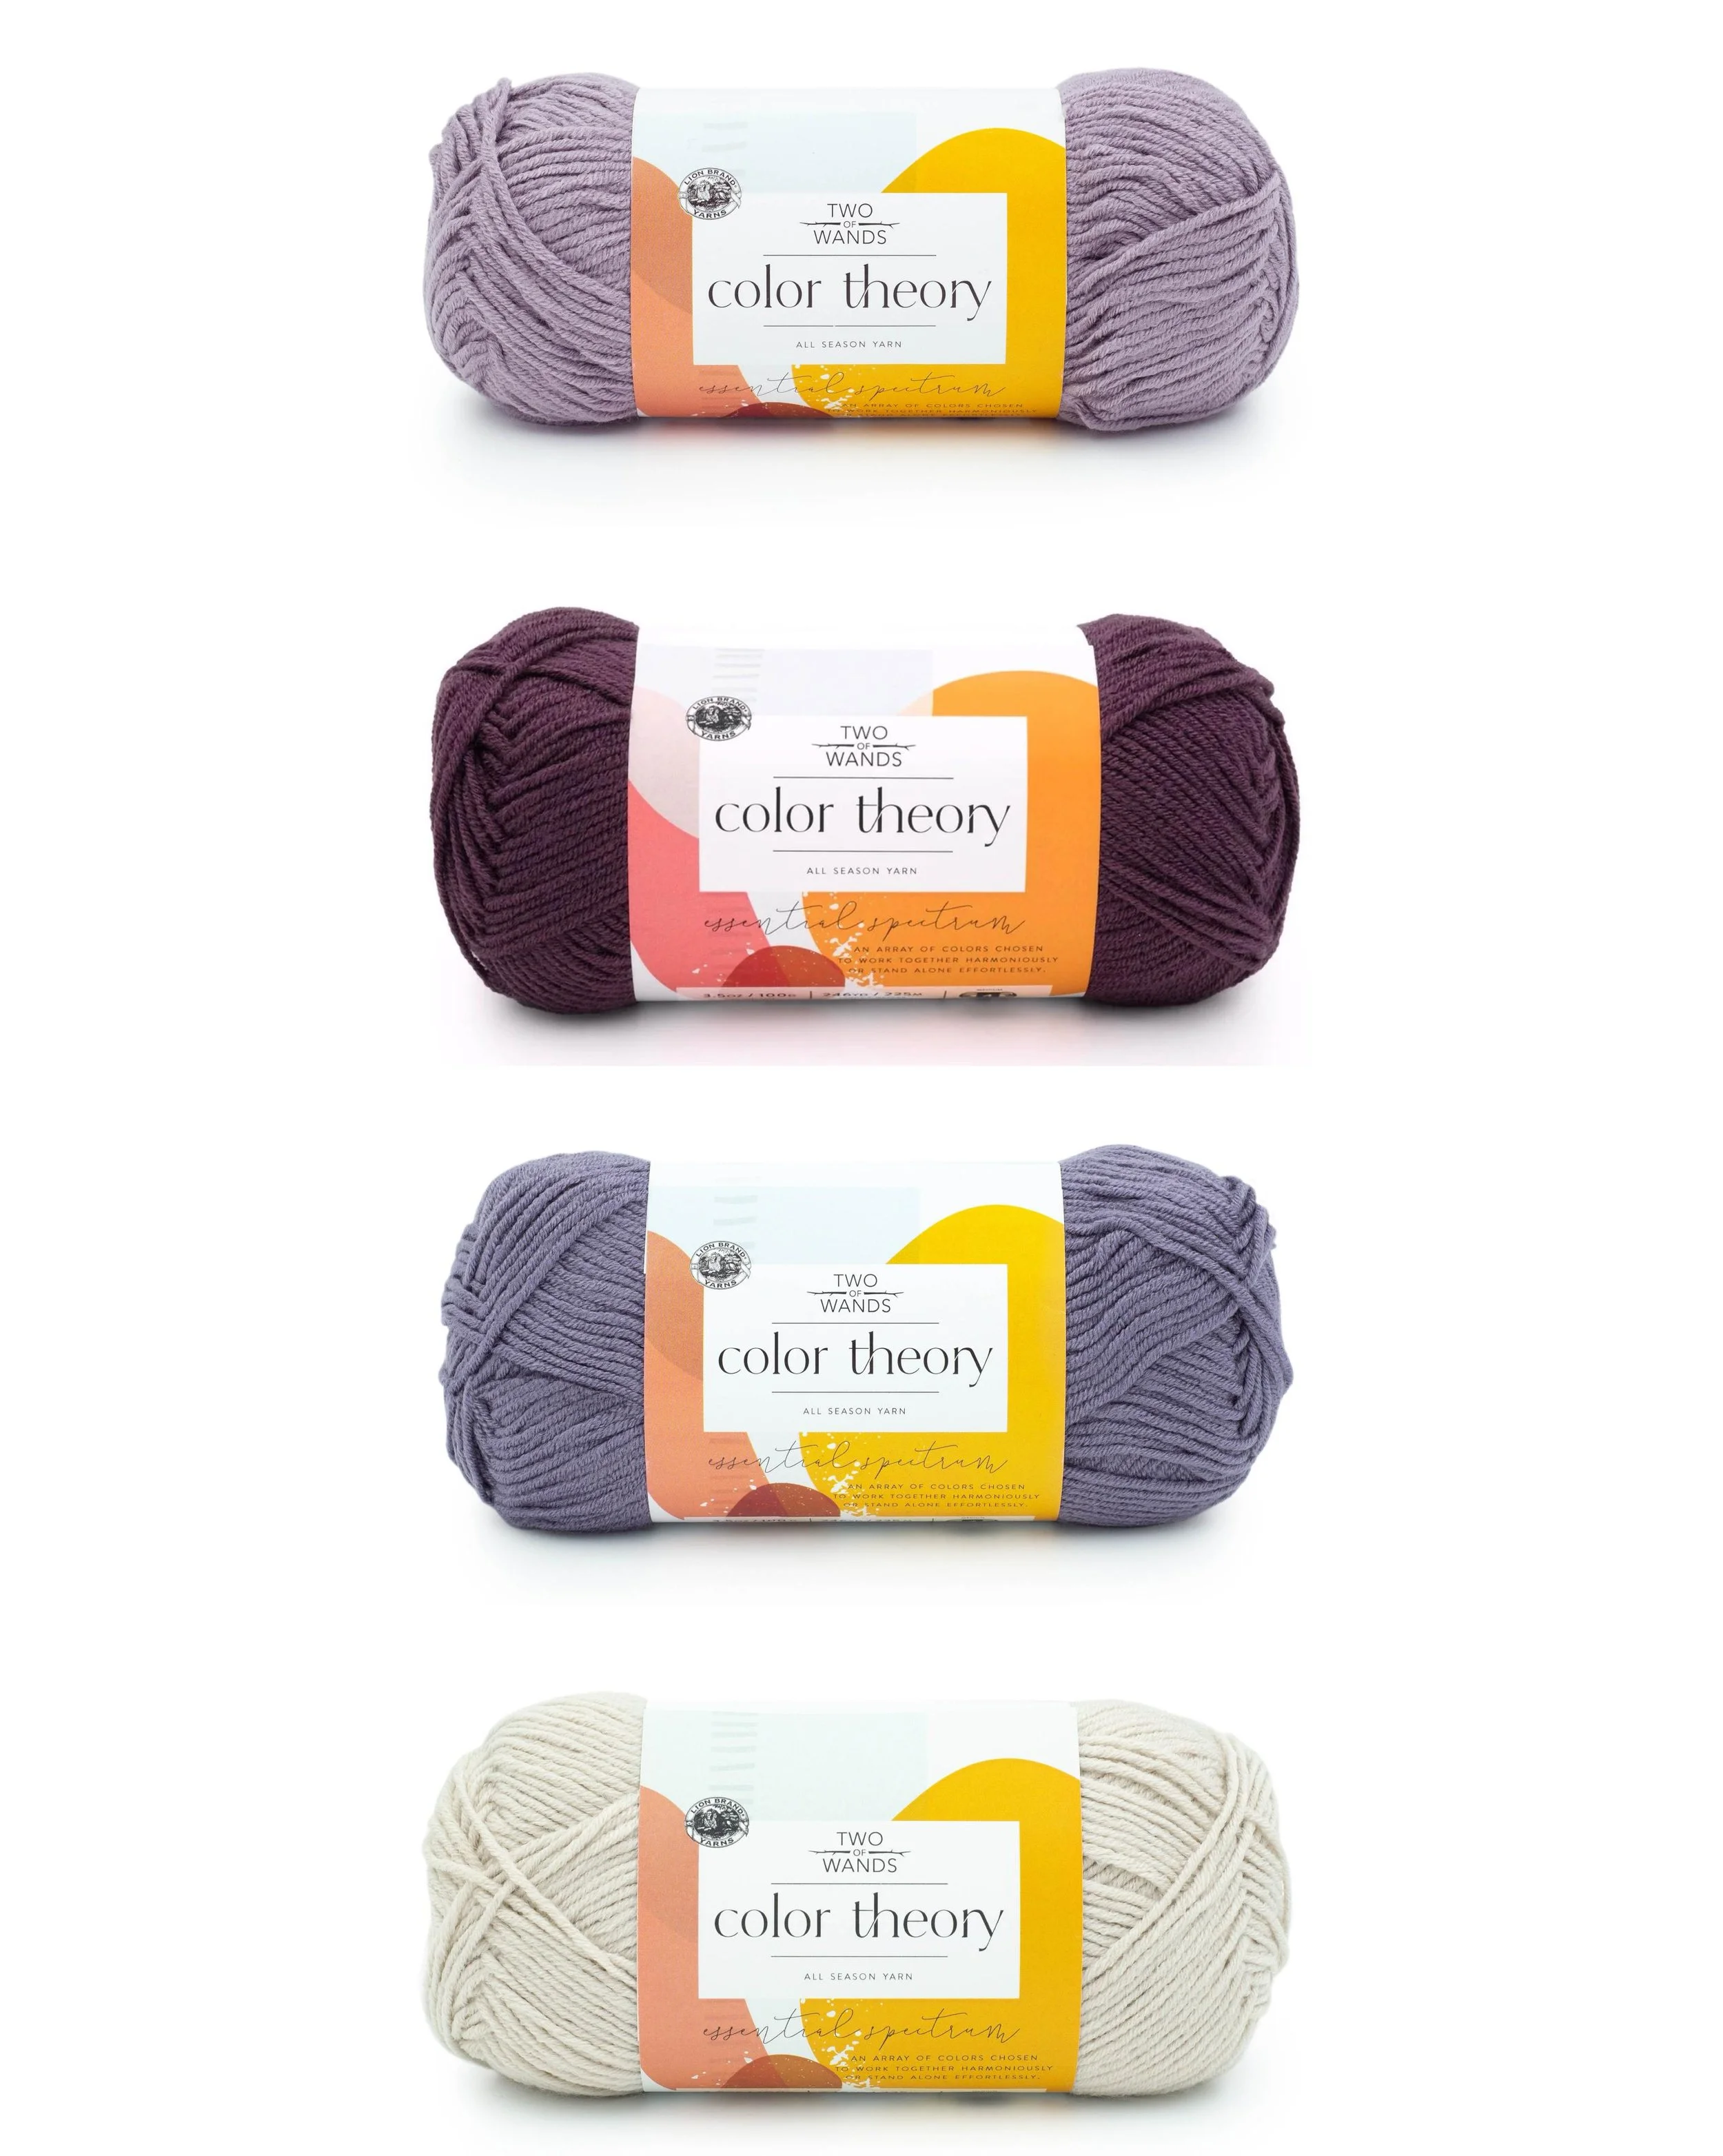
Provence, Fig, Amethyst, Moonbeam
Nutmeg, Spice, Satellite, Moonbeam
Himalayan Salt, Beaujolais, Ivory, Nutmeg
Peacock, Tourmaline, Bee Pollen, Canyon
Caper, Himalayan Salt, Canyon, Moonbeam
This is a beginner level knitting pattern and the techniques involved are the knit stitch and weaving.
MATERIALS
2 (2, 3, 3, 3) skeins Lion Brand Color Theory in Admiral (619-110BJ) for Color A
1 (1, 1, 1, 1) skein Lion Brand Color Theory in Citron (619-172AL) for Color B
2 (2, 2, 2, 2) skeins Lion Brand Color Theory in Peacock (619-148AD) for Color C
1 (1, 1, 1, 1) skein Lion Brand Color Theory in Ivory (619-098AW) for Color D
(worsted, weight 4; 246yds/225m per skein)
Size US 11 (8mm) circular knitting needles, 32”/80cm long
Tapestry needle
Crochet hook, J/10 (6mm) or smaller
GAUGE
10.5 sts + 19 rows = 4”/10cm in garter stitch, blocked
FINISHED DIMENSIONS
Sizes: XS/S (M/L, XL/2XL, 3XL/4XL, 5XL) to fit bust size 28-34 (36-42, 44-50, 52-58, 60-62)”/71-86 (91.5-106.5, 111.5-127, 132-147, 152-158)cm
Pictured in a size S on model with 34”/86.5cm bust
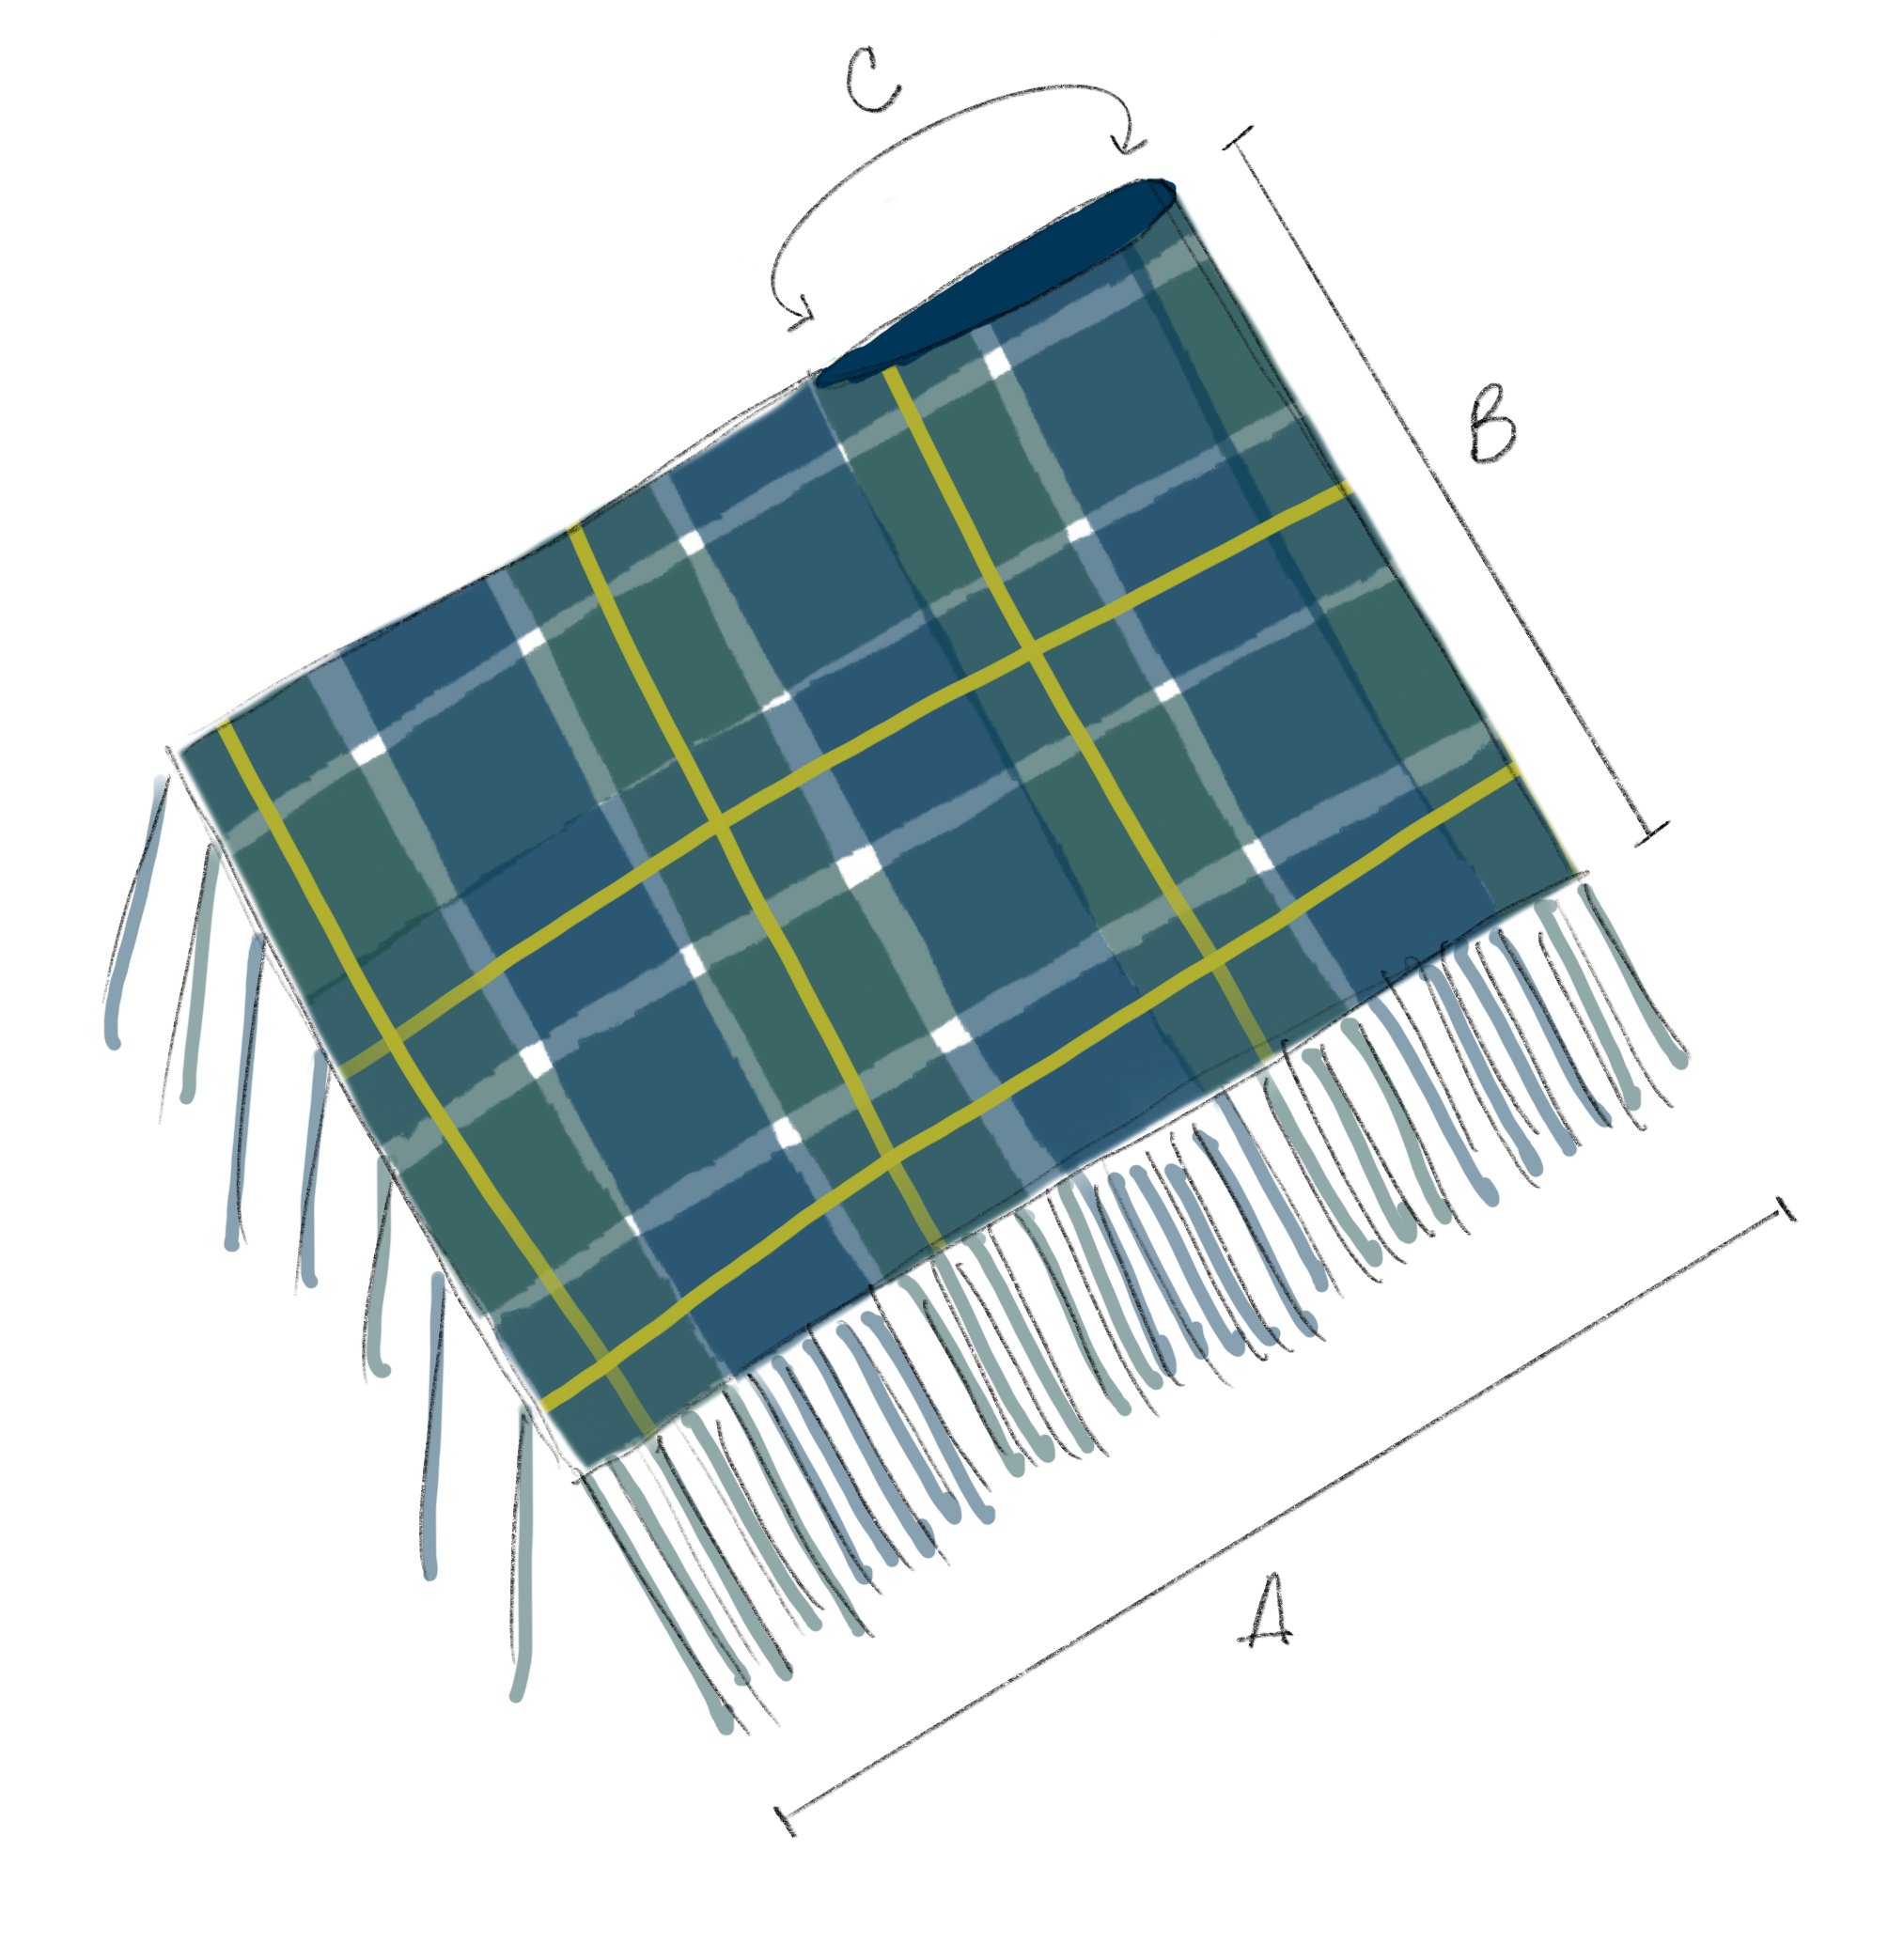
A Width laying flat: 25 (27, 29, 31, 33)”/63.5 (68.5, 73.5, 79, 84)cm
B Length: 18 (19, 20, 21, 22)”/46 (48.5, 51, 53.5, 56)cm
C Neck circumference: 20”/51cm
ABBREVIATIONS
*All Two of Wands patterns are written in standard US terms.
CO – cast on
K – knit
Rep – repeat
RS – right side
Sl – slip
St(s) – stitches
WS – wrong side
Wyif – with yarn in front
NOTES
Poncho is worked flat in back and forth rows. The first stitch of each row is slipped to create a clean selvedge edge. Do not carry unused color up the side of the work. Leave 15”/38cm tails at the beginning and end of each color change of the body to be used for fringe. Vertical stripes are woven in after knit base is complete. Fringe is twisted using a rope technique. Pattern is written for 5 sizes: XS/S (M/L, XL/2XL, 3XL/4XL, 5XL)
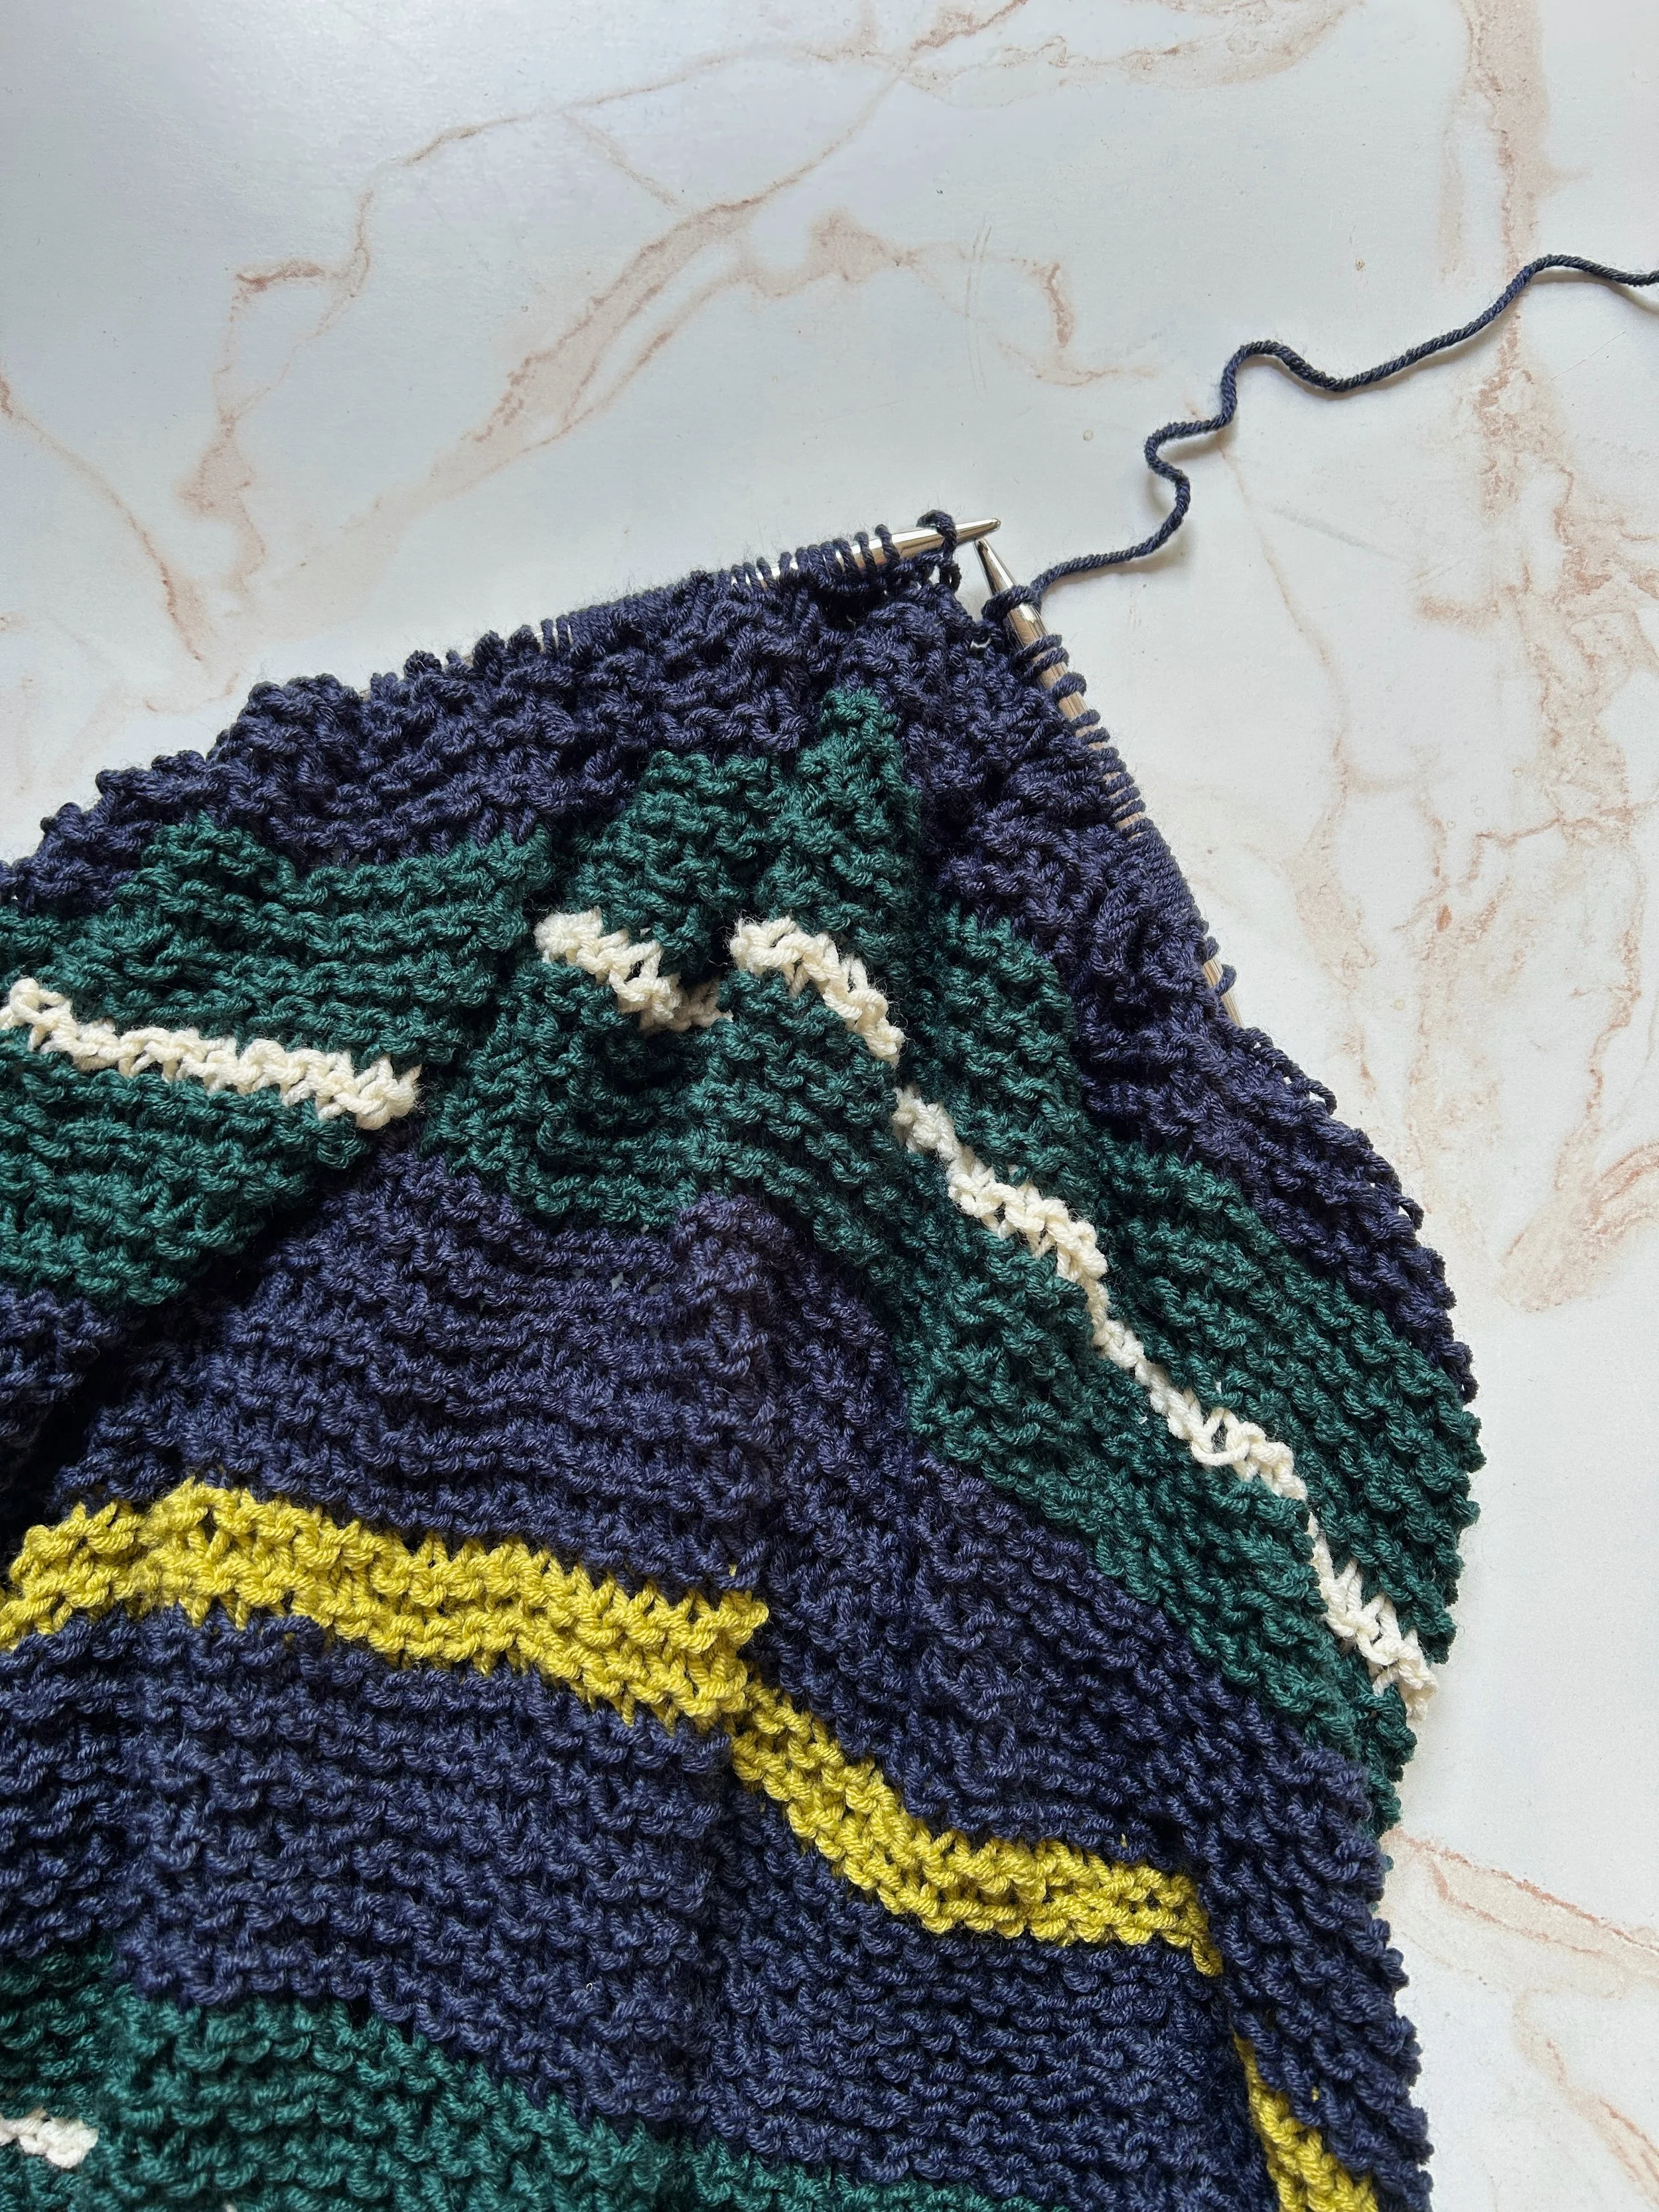
BODY
With color A, CO 125 (135, 147, 157, 167) sts.
Row 1: Sl 1 purlwise wyif, K across row.
Rep row 1, changing colors as follows:
Rows 2-12: Color A.
Rows 13-16: Color B.
Rows 17-28: Color A.
Rows 29-36: Color C.
Rows 37+38: Color D.
Rows 39-46: Color C.
Rows 47-58: Color A.
Rows 59-62: Color B.
Rows 63-74: Color A.
Rows 75-82: Color C.
Rows 83+84: Color D.
Rows 85-92: Color C.
Rows 93-100: Color A.
Sizes - (M/L, XL/2XL, 3XL/4XL, 5XL) only:
Rows 101-104: Color A.
Sizes - (-, XL/2XL, 3XL/4XL, 5XL) only:
Rows 105-108: Color B.
Rows 109+110: Color A.
Sizes - (-, -, 3XL/4XL, 5XL) only:
Rows 111-114: Color A.
Size 5XL only:
Rows 115-120: Color A.
All sizes:
Bind off loosely, leaving a long tail to seam the top shoulder of the poncho.
CONSTRUCTION
Block work to the following dimensions:
Width: 48 (52, 56, 60, 64)”/122 (132, 142, 152.5, 162.5)cm
Length: 21 (22, 23, 24, 25)”/53.5 (56, 58.5, 61, 63.5)cm
Place markers along the top edge 36 (41, 47, 52, 57) sts (“v” spaces) in from either side (remembering that the slipped edge sts will count as a st), leaving 53 sts between them. Fold work in half with WS facing in/RS facing out so that the side edges meet and the last row worked is at the top edge, doubled over with the markers aligning.
Using the long tail and a tapestry needle, seam from the outer edge of the top row up to and into the marked sts using mattress stitch. The last st worked on either side should be the marked st, leaving 53 sts in total circumference for the neck.
Fasten off. Secure and weave in only the tail used for seaming.
Secure each tail at the sides of the poncho with a knot.
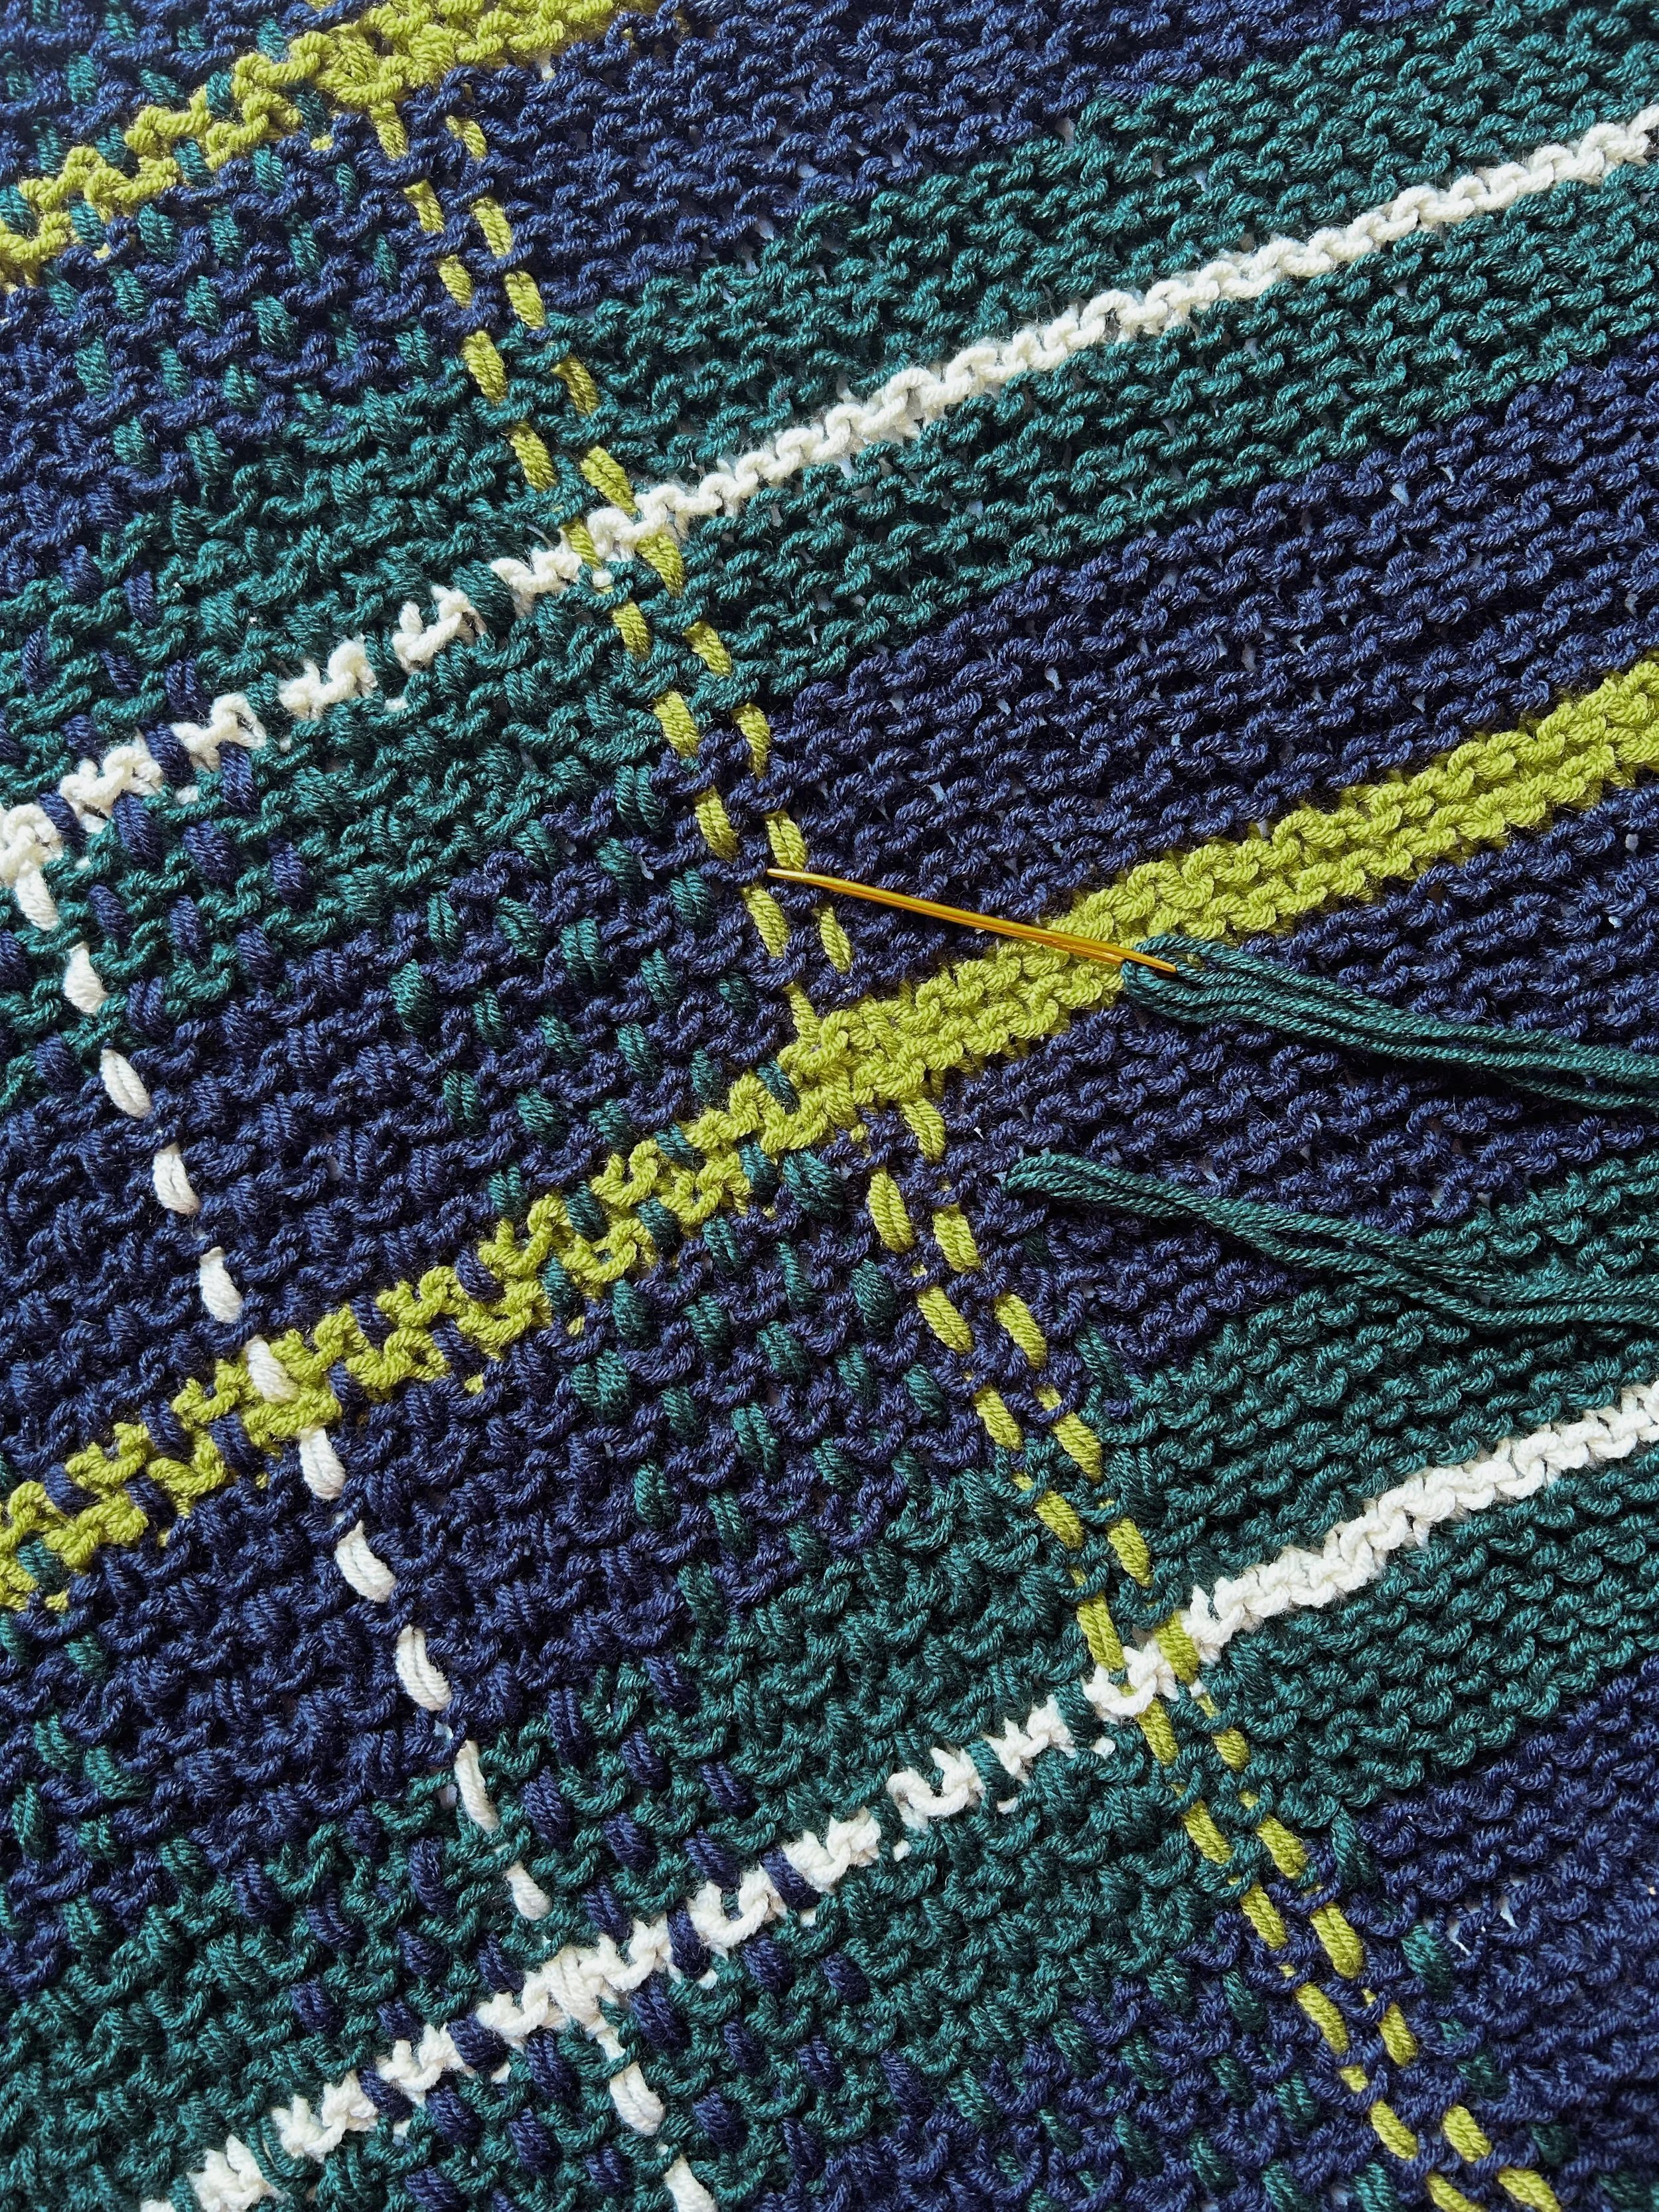
WEAVING
Video support for this technique can be found here: https://youtu.be/EbQaRPdvZ1s?si=pNa62z2k5VoWMEEH
Long strands will now be woven vertically to create the plaid effect.
Cut the following number of 72 (74, 76, 78, 80)”/183 (188, 193, 198, 203)cm lengths of each color: 40 (44, 54, 56, 56) color A, 12 (12, 12, 12, 16) color B, 66 (72, 72, 80, 86) color C, and 5 (5, 7, 7, 7) color D. The best way to do this is to pull the center end out of the ball and hold it together with the outer end so you can cut 2 lengths at a time.
Lay the poncho flat with the open side to the left and the neck at the top right. Following Color Chart 1 from left to right and starting where indicated for your size, thread 2 strands of color C (A, A, C, C) together onto a tapestry needle. Begin weaving vertically into the first full st along the left edge (the first “v” st in from the slipped st edge), going under and over 2 rows at a time, up and over the shoulder to the bottom edge on the back side. Be mindful that the line of sts on the other side of the shoulder seam will be “upside down” in comparison to the line of sts before the seam because the back piece is being woven into from the top down rather than the bottom up.
Video support for the portion of the weaving that goes over the shoulder can be found here: https://youtu.be/elsneC4svds
The easiest way to tell where to place the tapestry needle is to look at the purl bumps in the line of sts - the purl bumps in the line of sts prior to the seam will be forming an umbrella shape, while the purl bumps in the same line of sts after the seam will be forming a “u” shape. In order to keep the weaving in line with the corresponding sts on the back piece, it can be helpful on the 1st couple of rows to turn the whole poncho around and weave from the top down when you get to the seam, so that the sts will be right side up and it will be easier to identify them. Once the first couple columns of weaving are established it will be easier to determine where to weave.
Pull the lengths so that they are even at either bottom edge (approx. 15”/38cm long) and fabric is not gathering. Thread a 2nd double strand of the next color onto the needle and weave into the 2nd st along the left edge, this time going under and over the opposite 2 rows to create a woven effect. Each square of the chart indicates 1 double strand to be worked over a line of sts.
Continue with double strands of each color, following Color Chart 1 and weaving under and over opposite double rows each time. The last strand indicated in Color Chart 1 should be woven over the last line of sts before the neckline.

The remaining lengths will be woven into the fabric from the neckline down, rather than from the bottom up. Rotate the poncho so the neckline is now at the bottom. Begin with 1 strand of the 1st color indicated at either edge of Color Chart 2 and fold it in half. Use a lark’s head knot to attach it at the top of the 1st available st of the neckline – to do so, insert the crochet hook from the back to the front between the 2 legs of the st and place the folded loop of the strand around the hook, then draw it through the space, then use the hook to grab the ends of the strand and draw them through the folded loop. Be mindful that because you’re now working from the top down (upside down), the purl bumps in the line of sts you are working should be a “u” shape, just as they were while weaving the back side of the poncho after going over the shoulder seam. Thread the ends onto the tapestry needle and weave them under and over down to the bottom edge as established to maintain the woven look. Each square of the chart indicates 1 folded strand to be worked over a line of sts.
Continue in this manner, following Color Chart 2 around the neckline. The last strand indicated in Color Chart 2 should be woven over the last line of sts of the neckline, just prior to where Color Chart 1 ended on the other side, leaving no lines of sts available.

Before proceeding with fringe, lay the poncho flat to ensure there is no puckering or flaring and that the dimensions haven’t been compromised too much. The weaving will have caused the width to increase slightly and the length to decrease slightly. The final dimensions should be approx:
Width: 25 (27, 29, 31, 33)”/63.5 (68.5, 73.5, 79, 84)cm
Length: 18 (19, 20, 21, 22)”/46 (48.5, 51, 53.5, 56)cm

FRINGE
Video support for this technique can be found here: https://youtu.be/H6FM4phCFi4
Trim all strands along the bottom edge to the same length, approx. 10”/38cm.
Treat each double strand as if it were one. Starting with two leftmost double strands, twist each separately in the same direction that the yarn twists until it buckles easily when you give it a little slack. Then twist the two together in the opposite direction, forming a rope. Knot at the end to secure.
Rep across entire bottom edge with two double strands at a time. There will be 1 double strand as well as the initial tail from the foundation ch left at the end – treat the single strand as if it was one of the double strands to twist these final 3 strands together.
Trim ends for a clean edge.
Cut the following number of 20”/51cm lengths of each color: 8 (8, 10, 10, 10) color A, 4 (4, 6, 6, 6) color B, 8 (8, 8, 8, 8) color C, and 4 (4, 4, 4, 4) color D.
Fold each strand in half and use a lark’s head knot as explained above to attach each next to the corresponding tail colors along the side edges of the poncho. Use the technique above to create twisted fringe, incorporating the tails into the fringe by holding 3 strands together at a time rather than 2.
Trim ends for a clean edge.
Purchase the printable, ad-free pattern here
Purchase the kit from Lion Brand here.
Don't forget to share your projects made using Two of Wands patterns on Instagram with the hashtag #crewofwands to get featured on my page and be in the running for monthly pattern giveaways!
Join the Crew of Wands Facebook group to connect with other makers of Two of Wands patterns for help with techniques and pattern related questions.
The patterns and photographs of items on this site are the property of Two of Wands and are for personal, non-commercial use only. These patterns files are protected by US copyright, and you may not distribute or sell them electronically or physically. Small batch sales of finished pieces made from these patterns are permitted, but seller must use their own photographs and credit must be given to Two of Wands as the designer.