
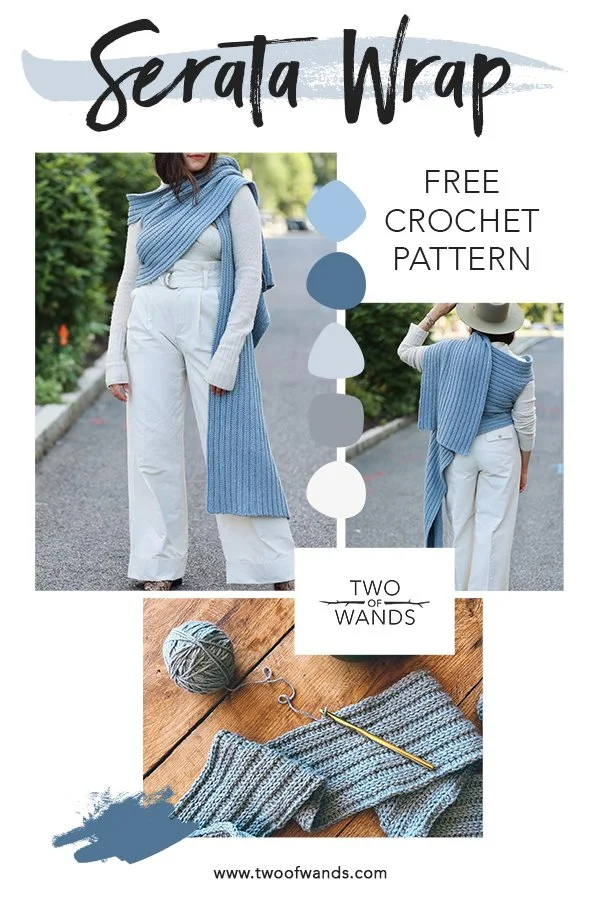
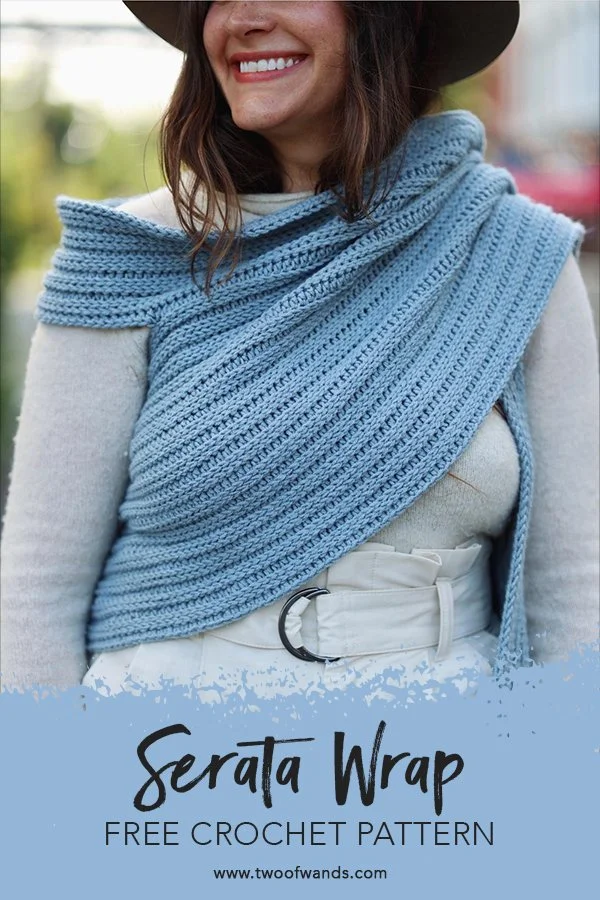
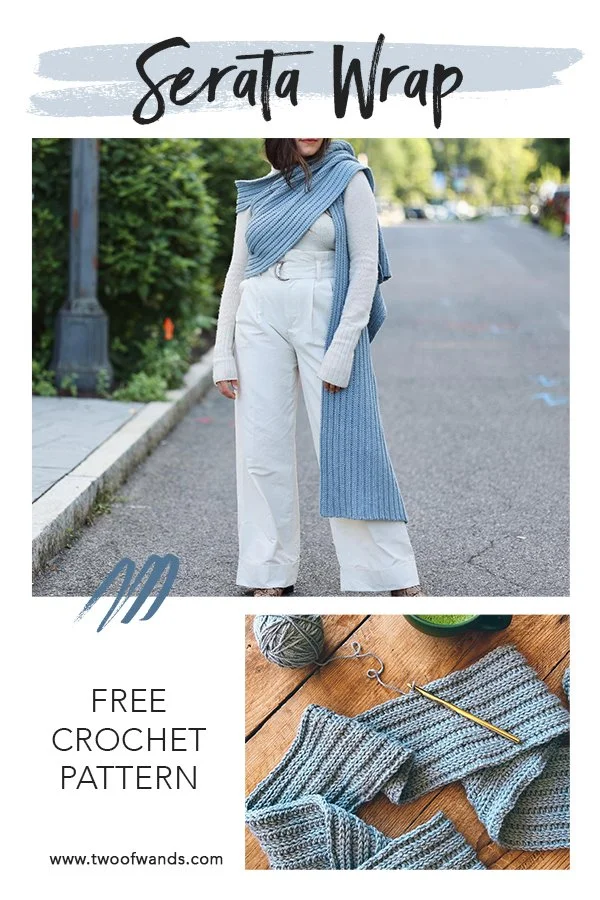
Serata Wrap
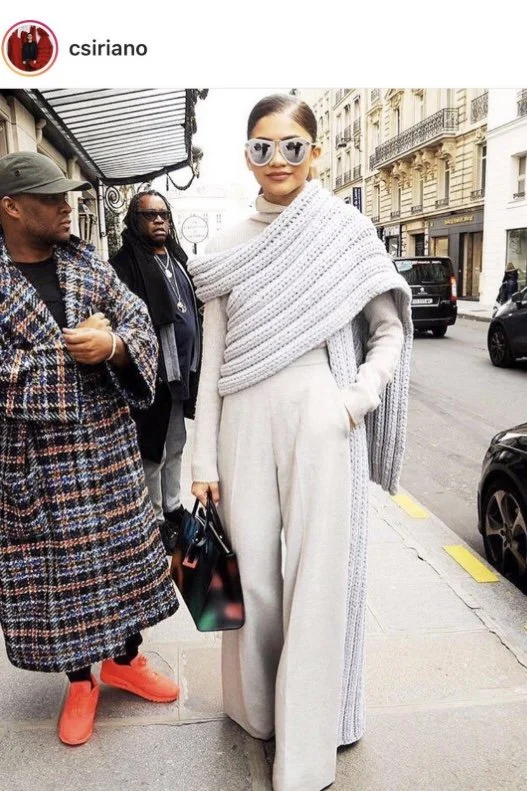
There’s basically nothing I love more than designing something that is versatile, chic, and beginner-friendly. This trifecta is the cream of the crop for me, and I’m thrilled to have ticked all of those boxes with the new Serata Wrap! Inspired by the iconic Christian Siriano wrap that debuted in his F/W 2016 show and went viral when Zendaya was photographed in it while strolling the streets of Paris, this wrap is somehow both modern and timeless. Best of all? It’s fully customizable and I provide instructions on how to tailor it to your body for a perfect fit. Scroll down for the free pattern, purchase an ad-free, printer-friendly PDF here, or shop the full yarn kit here
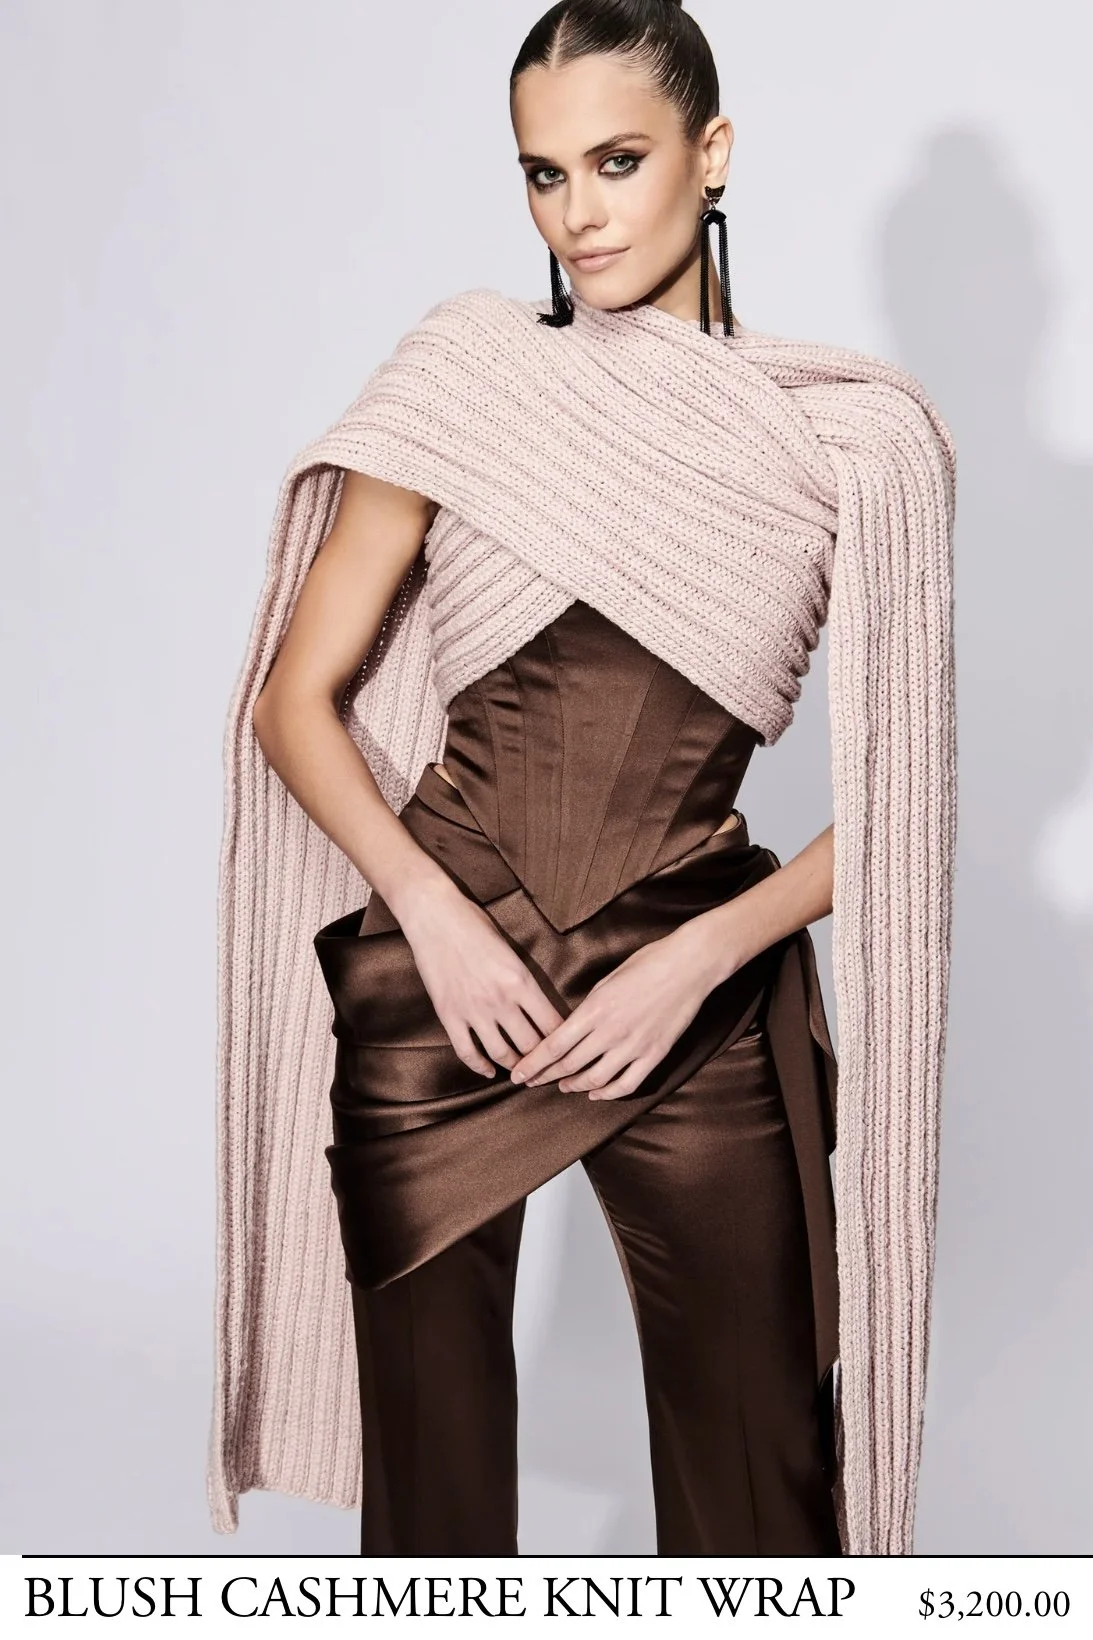
First let’s talk inspo. If you follow pretty much any yarn account on Instagram, you’ve likely seen photos of Zendaya sporting an uber-chic long ribbed wrap that seems to go viral every couple of years. The wrap, originally designed in 2016 by Christian Siriano, is still available in a slightly lighter weight cashmere version that retails for $3200!

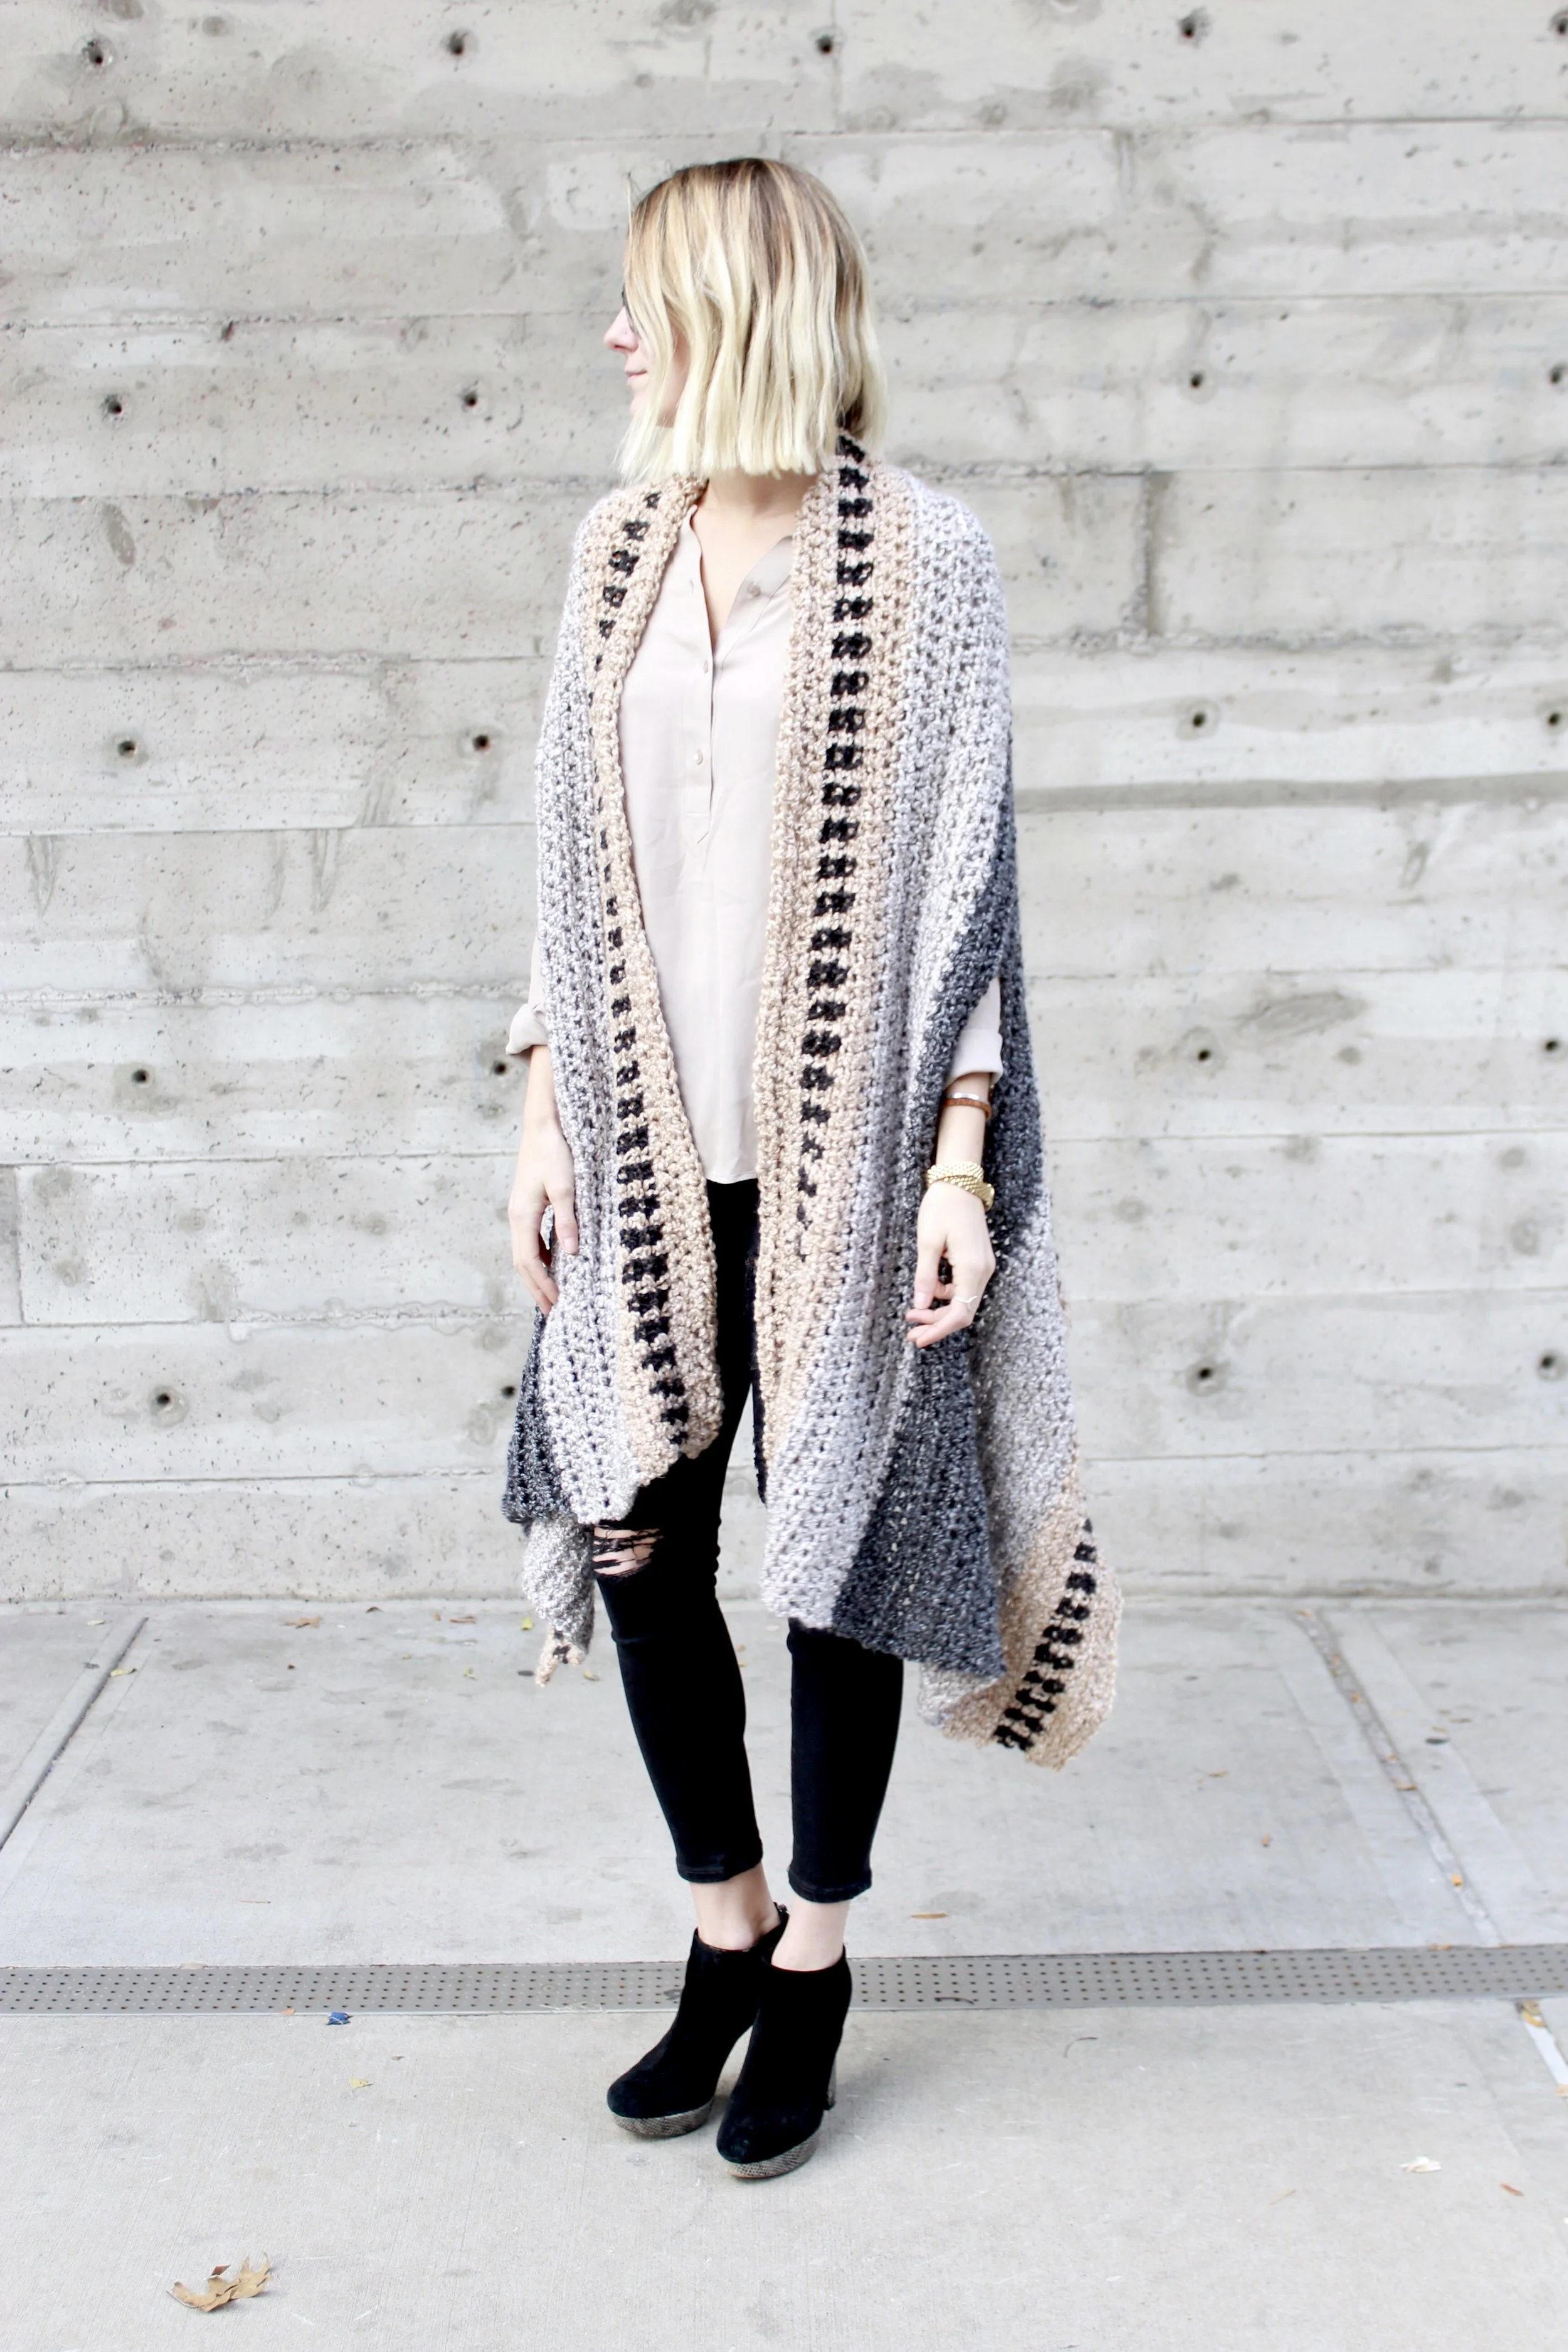
I’m no stranger to a garment shaped like this, having designed my crochet Saddlebrook Cape Scarf in 2016 and the knit Alphabet City Cape Scarf in 2018. These two designs have a wider fabric with armholes at elbow level, creating a silhouette that’s more like a shawl. This style can really only be worn in one way, but it’s such a cozy concept and the placement of the armholes helps keep the shawl in place, almost like a wearable blanket!
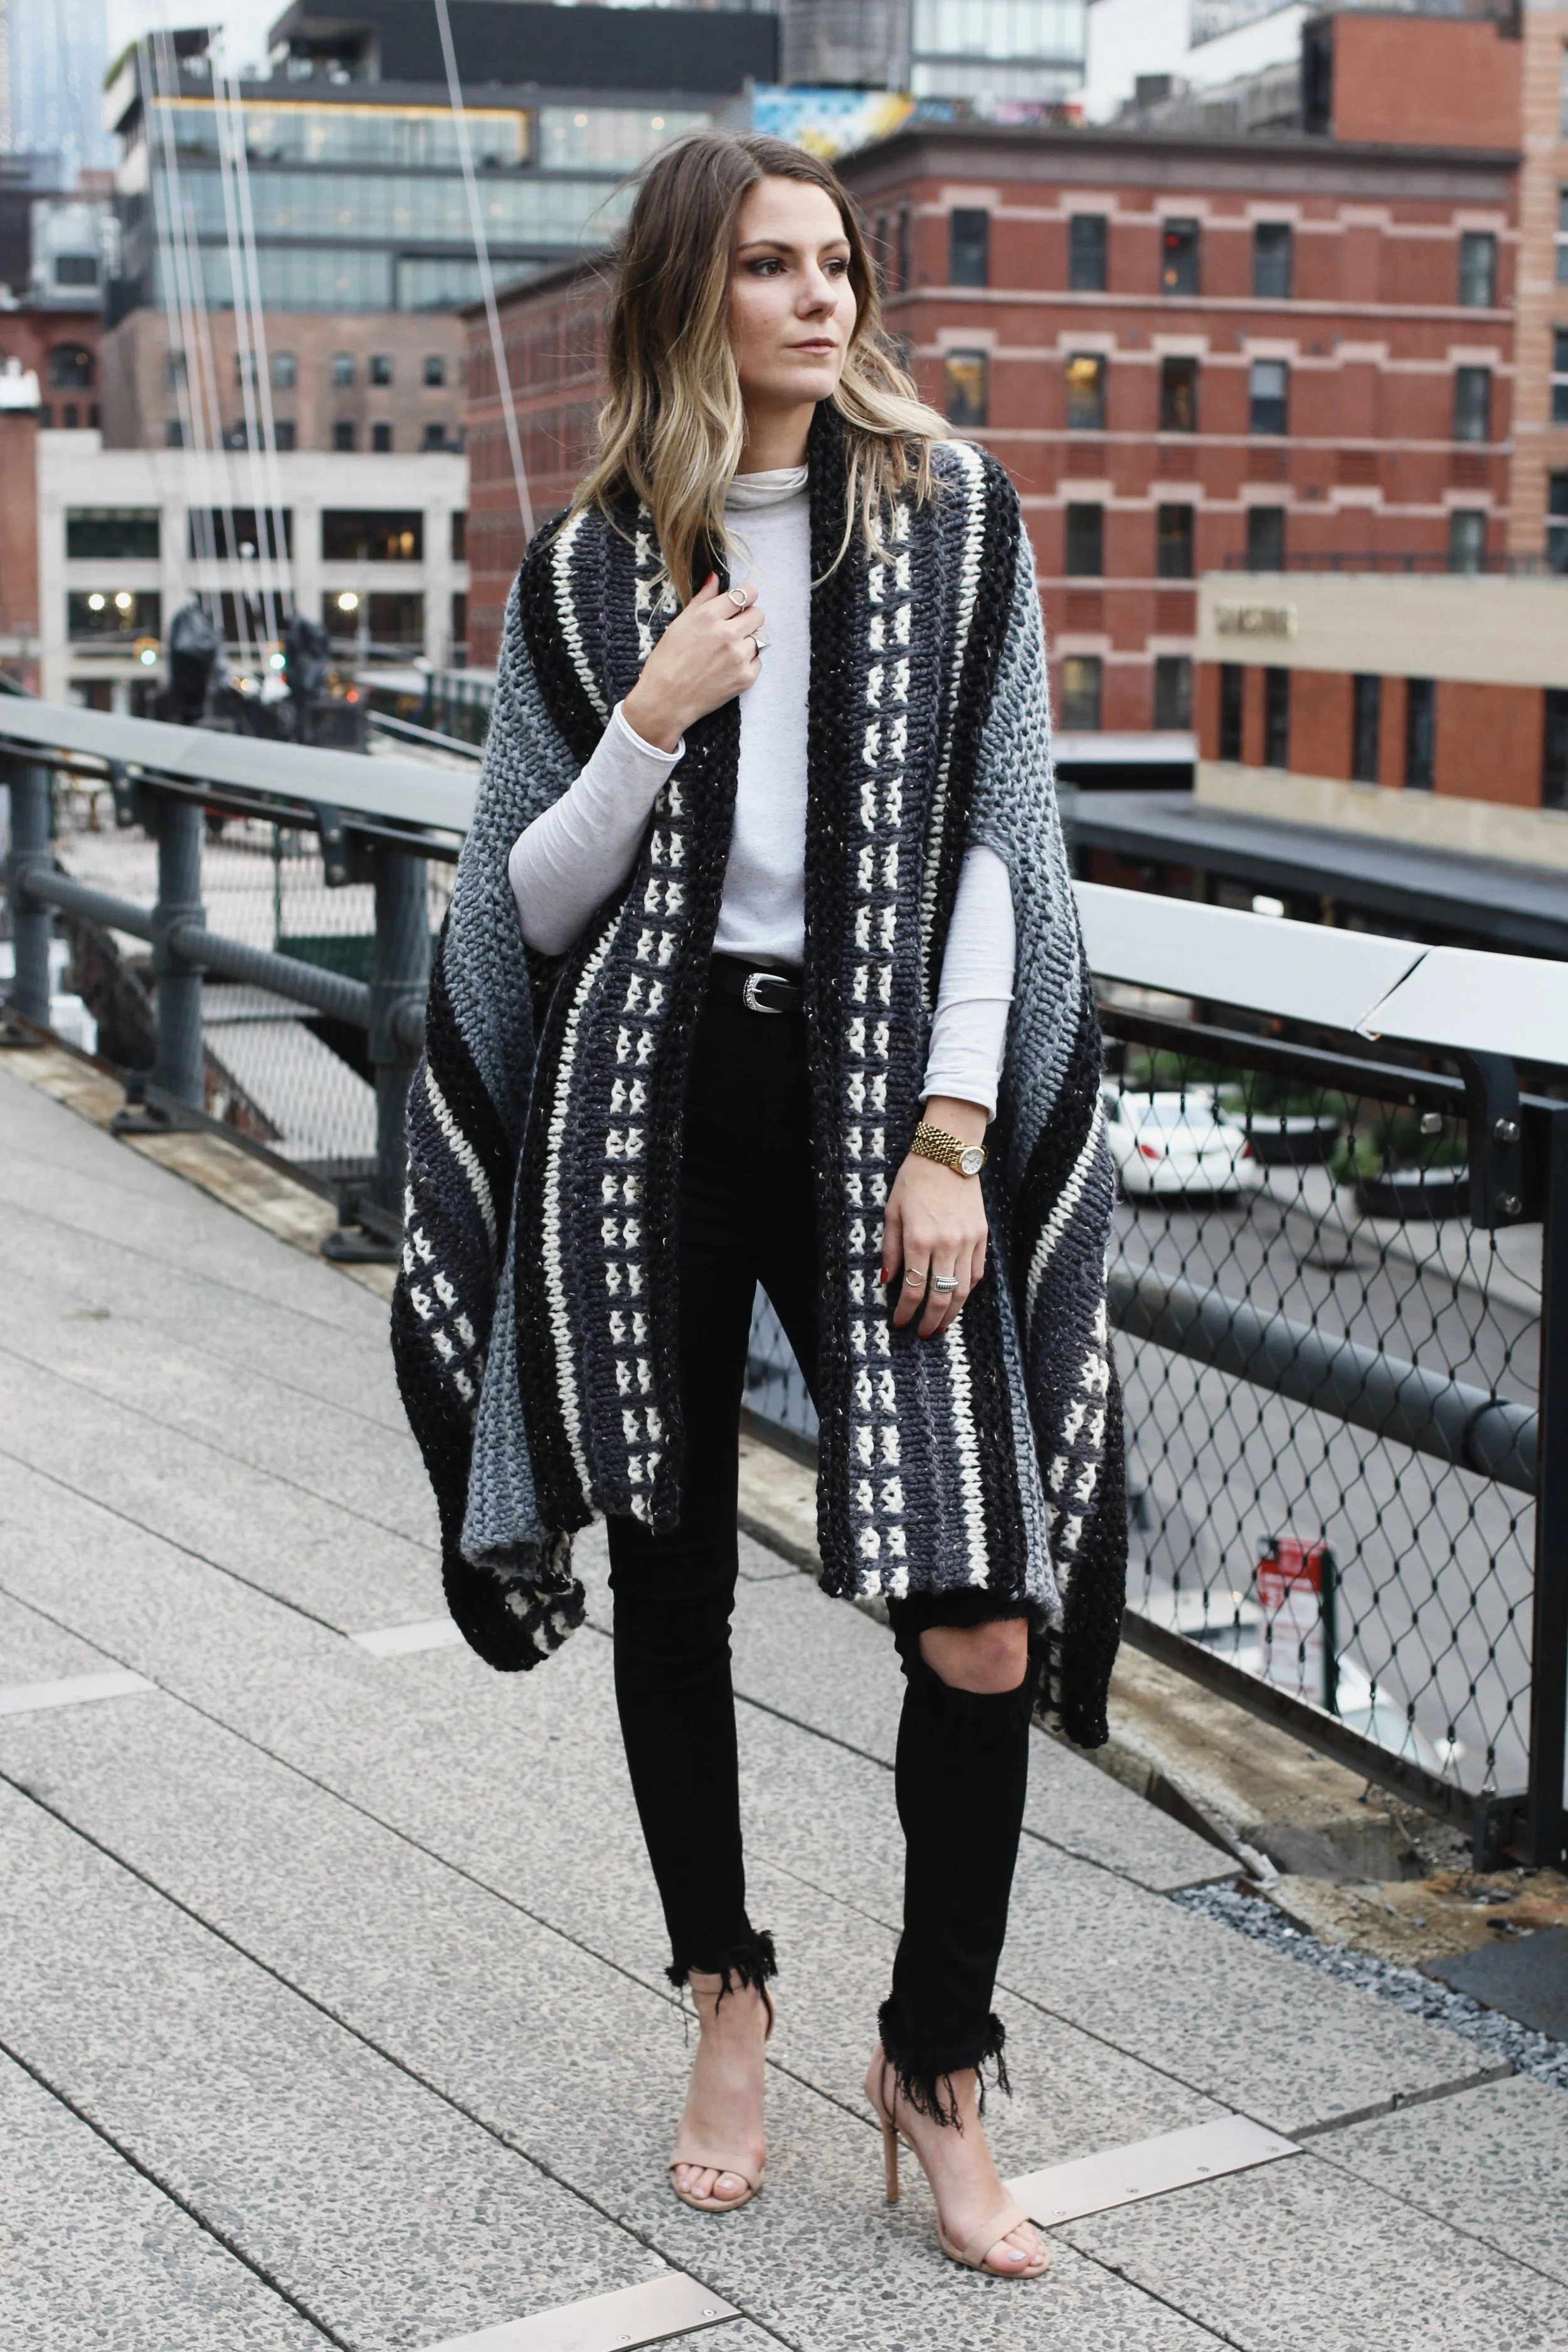
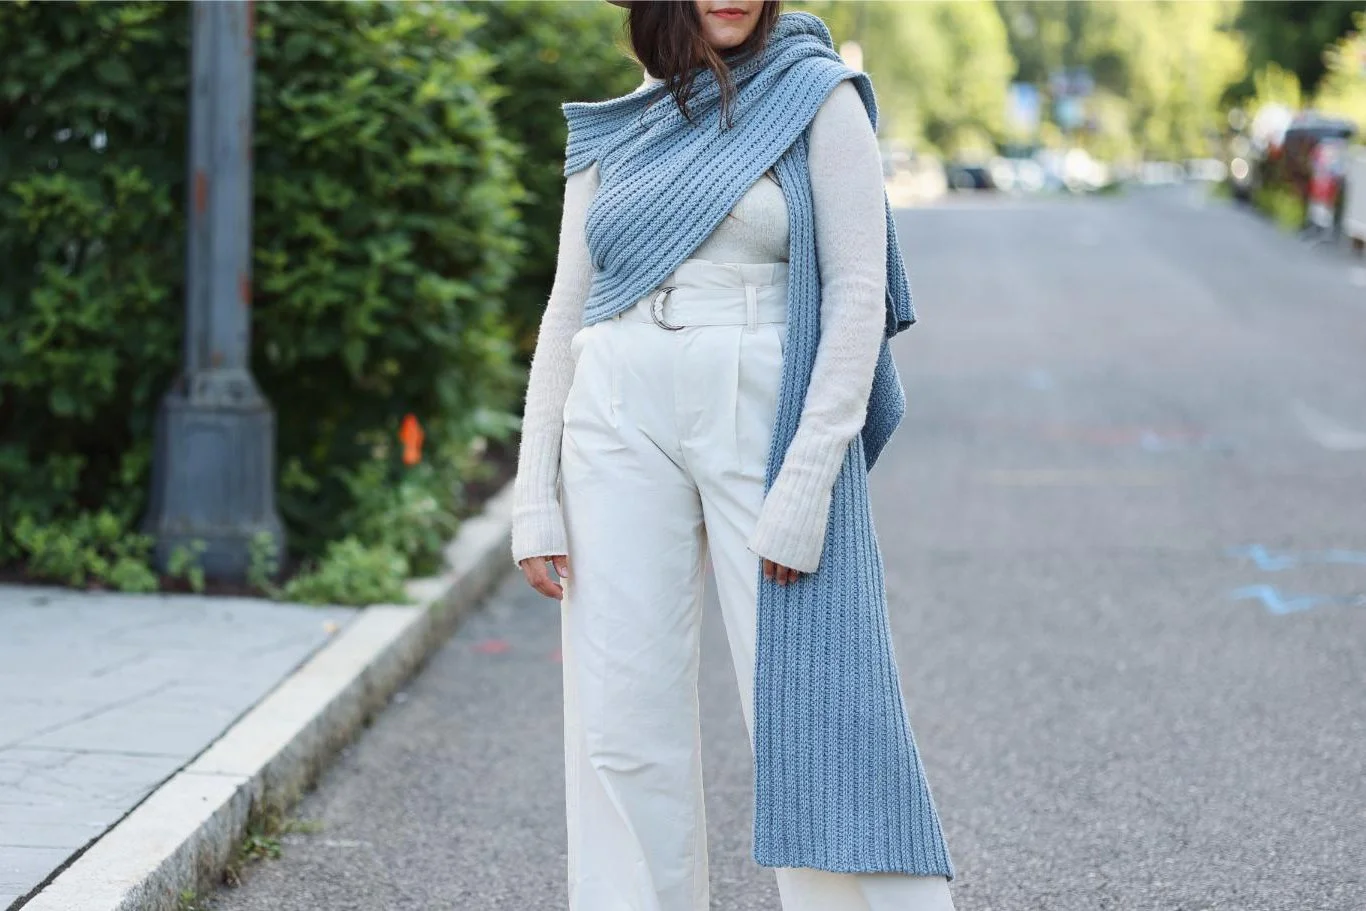
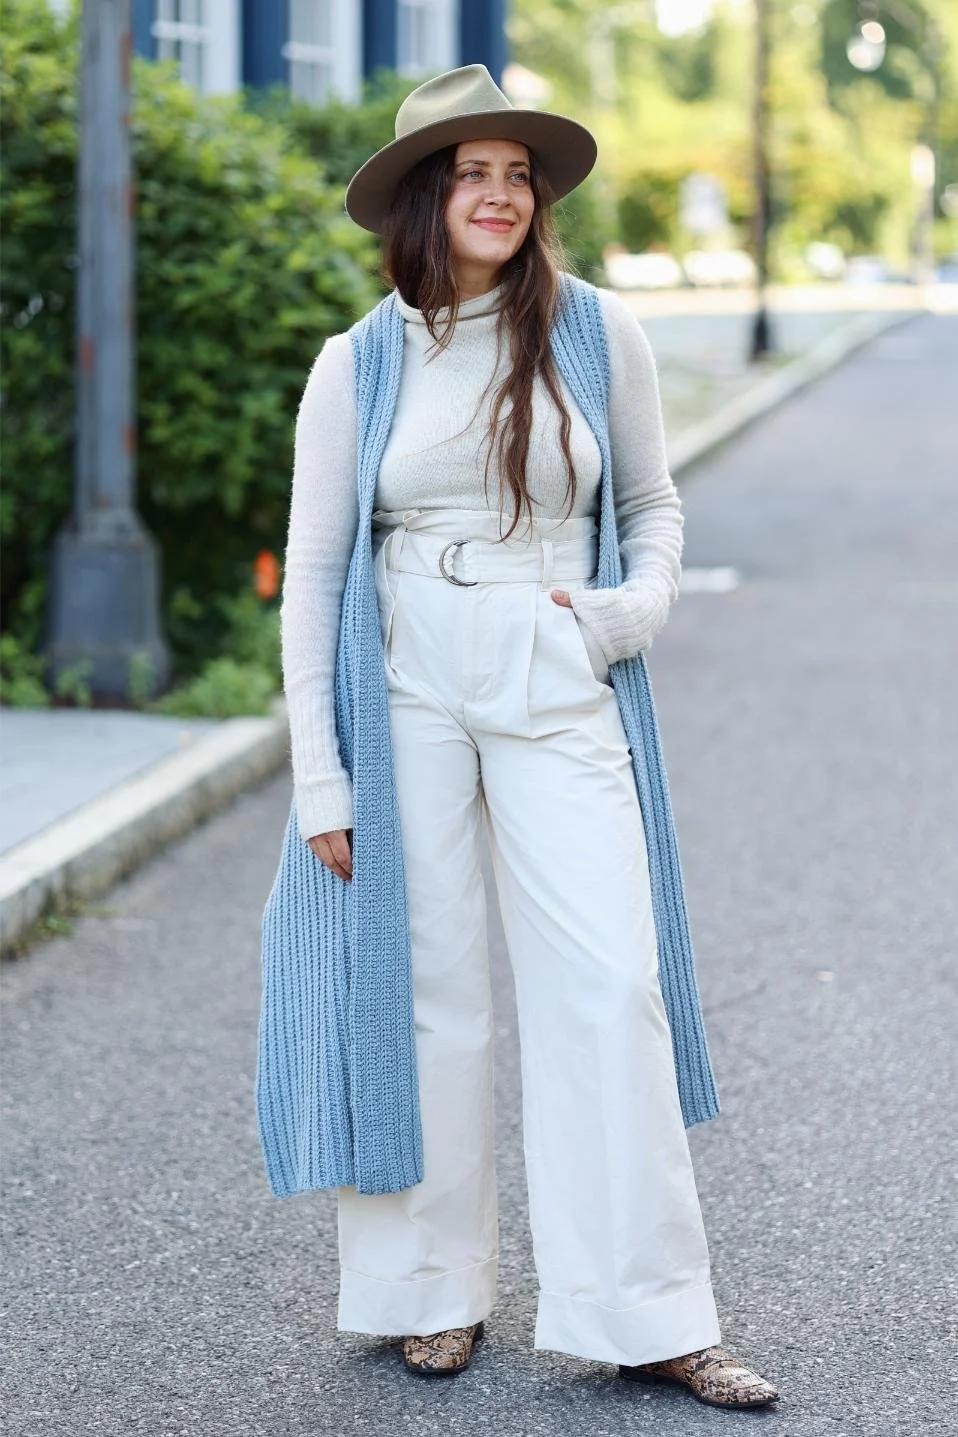
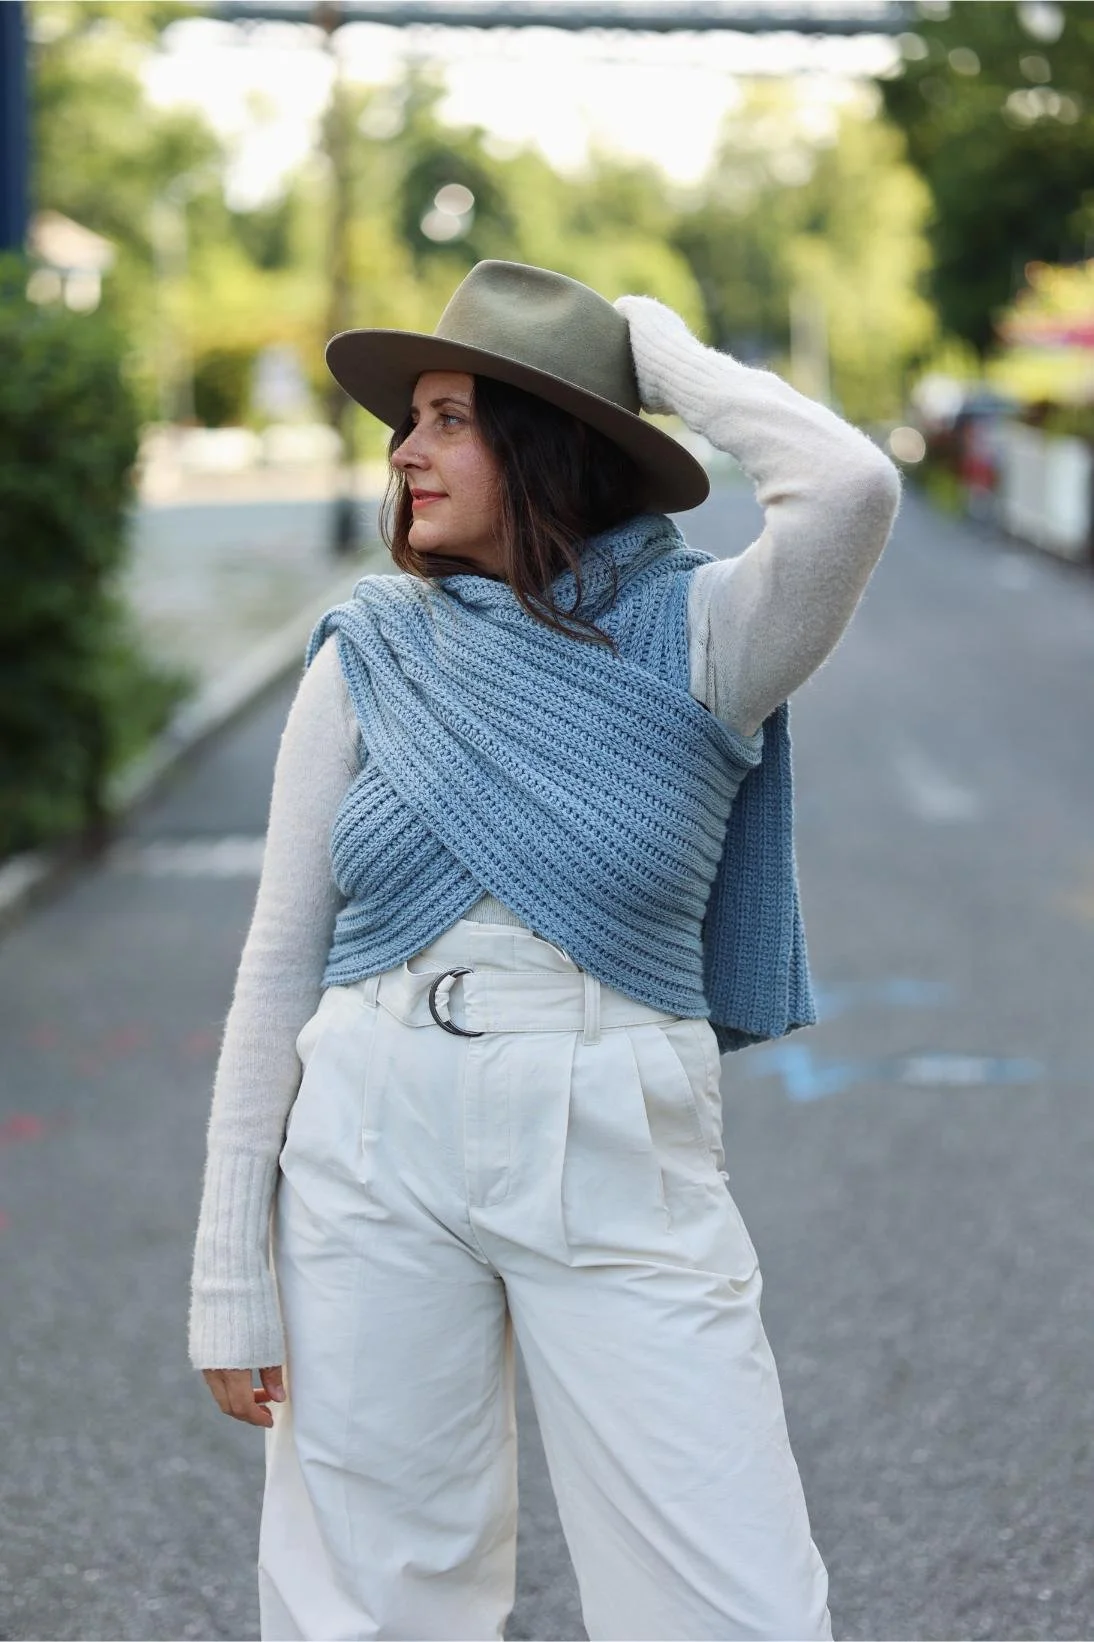
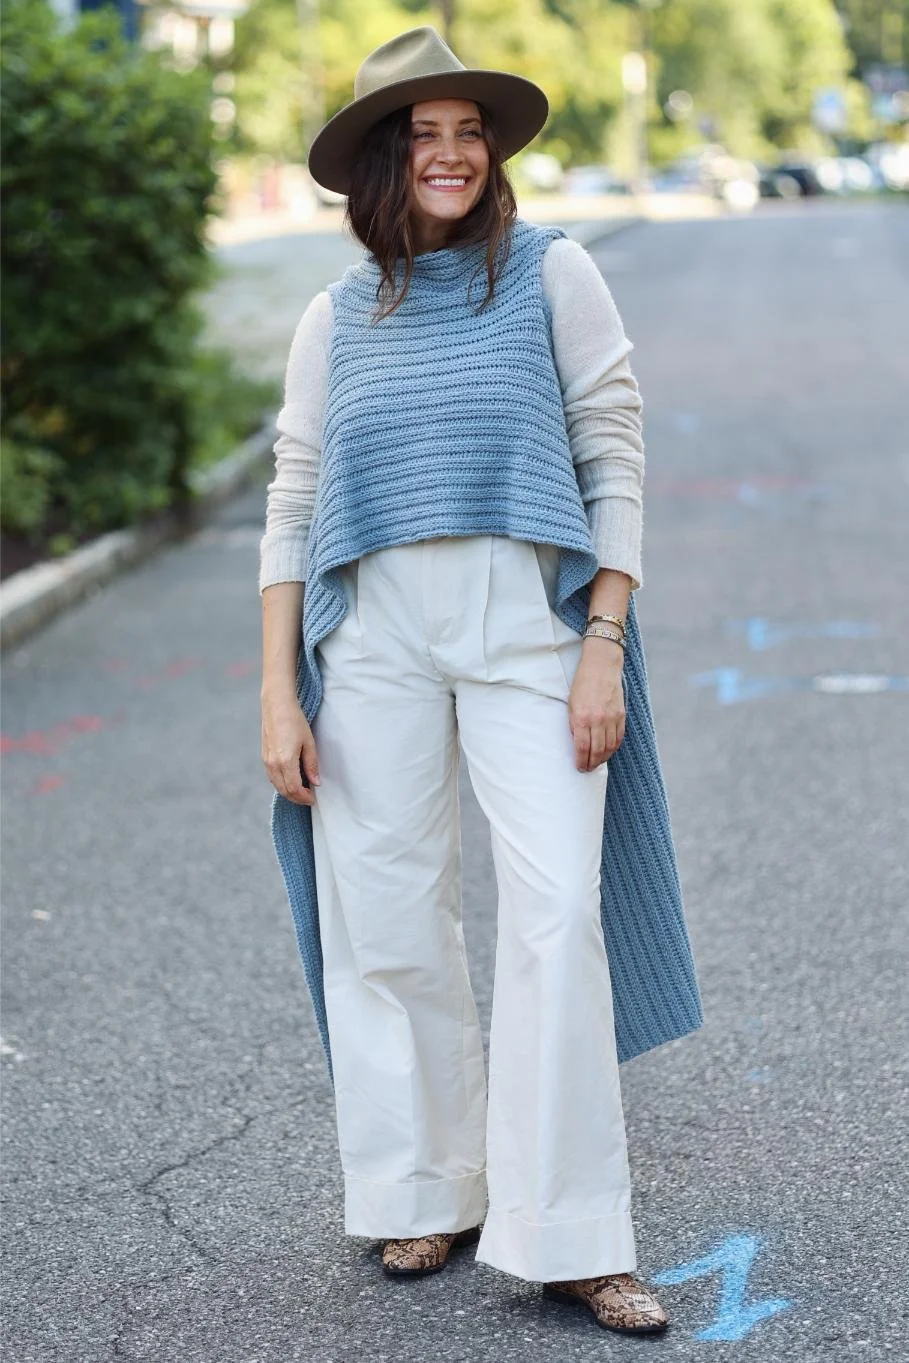
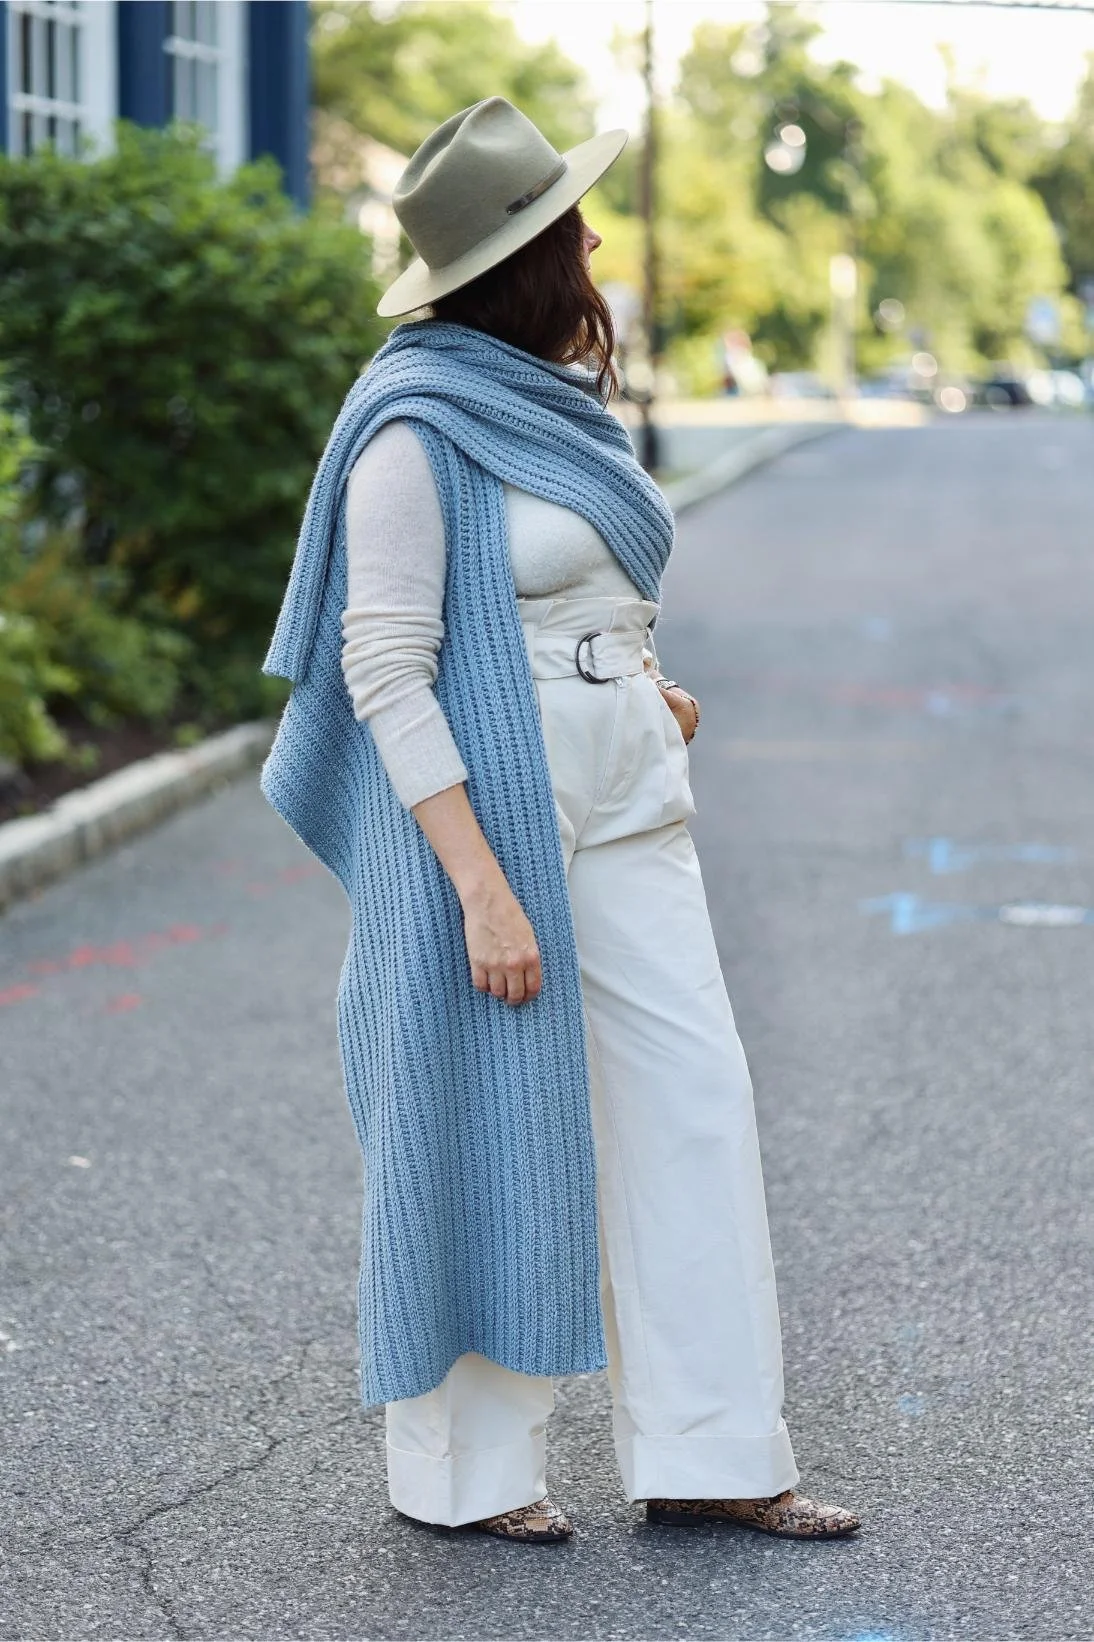
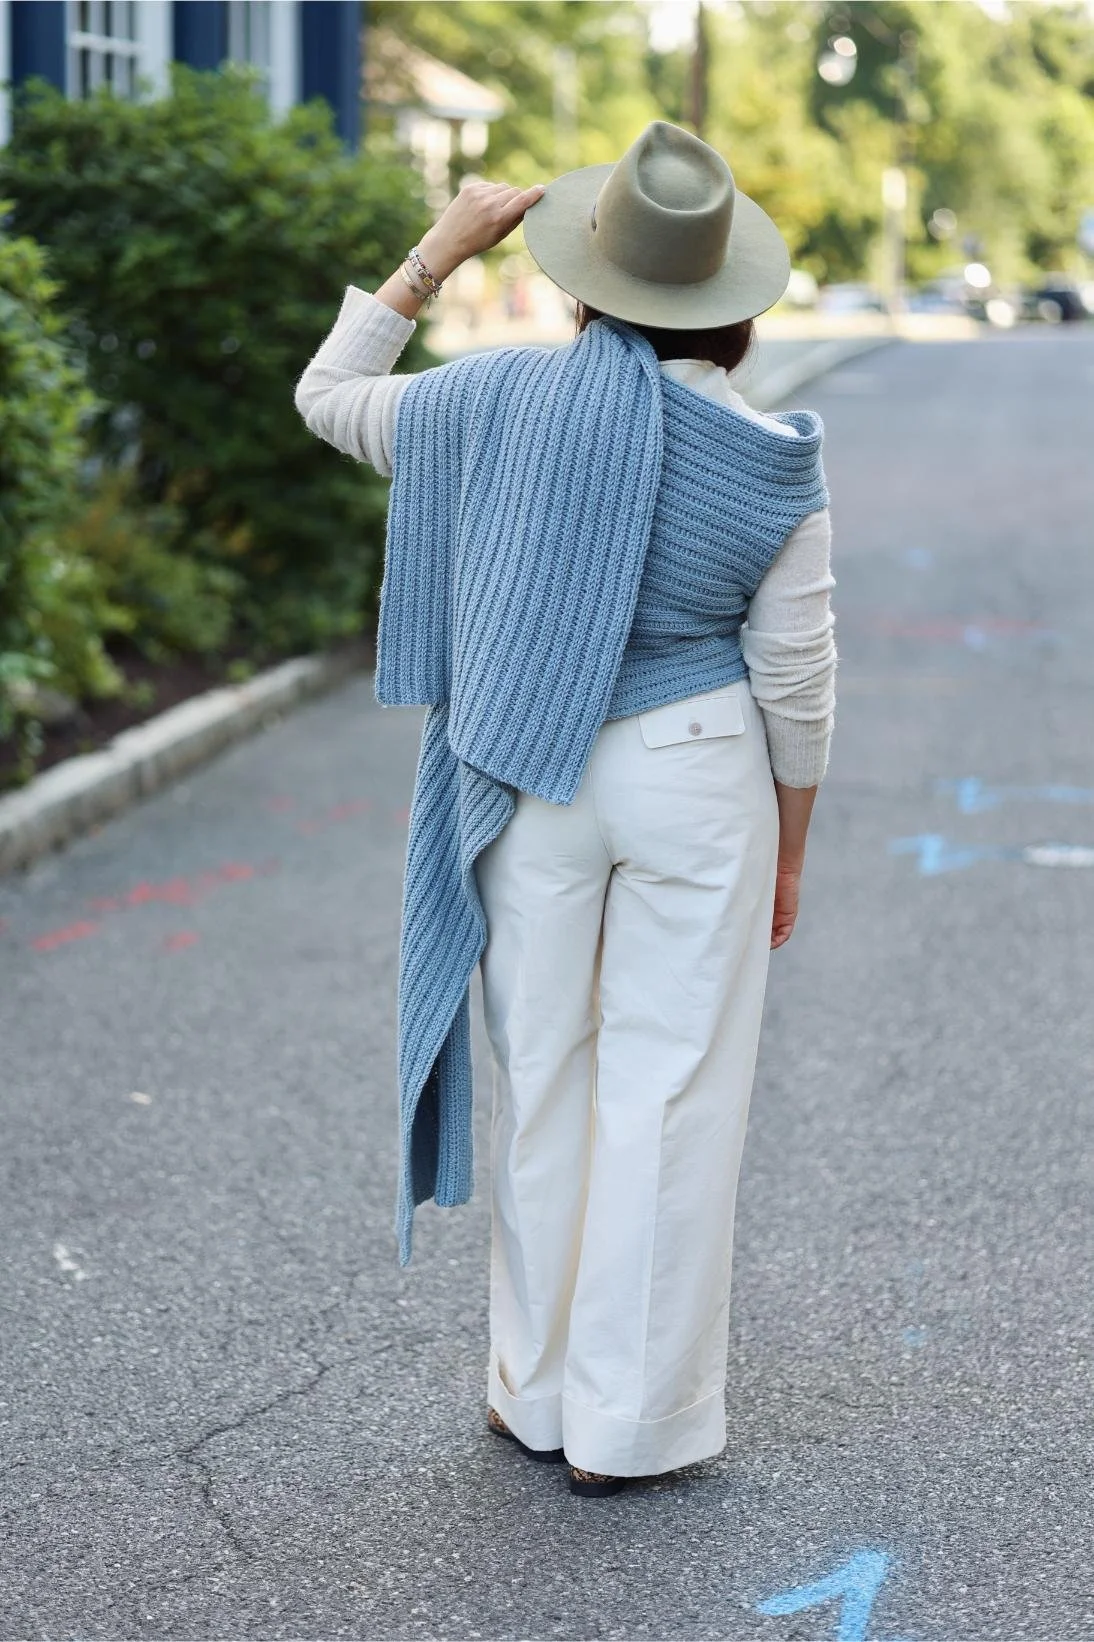
The basic shape but clever armhole placement of CS’s design allow the piece to be worn in a variety of ways. Whether you’re throwing one end of your shoulder Zendaya-style, criss-crossing both ends the way CS featured it on the runway, keeping it long and lean at both sides, or even flipping it around for frontal coverage, the Serata Wrap is such an elegant addition to truly any outfit.
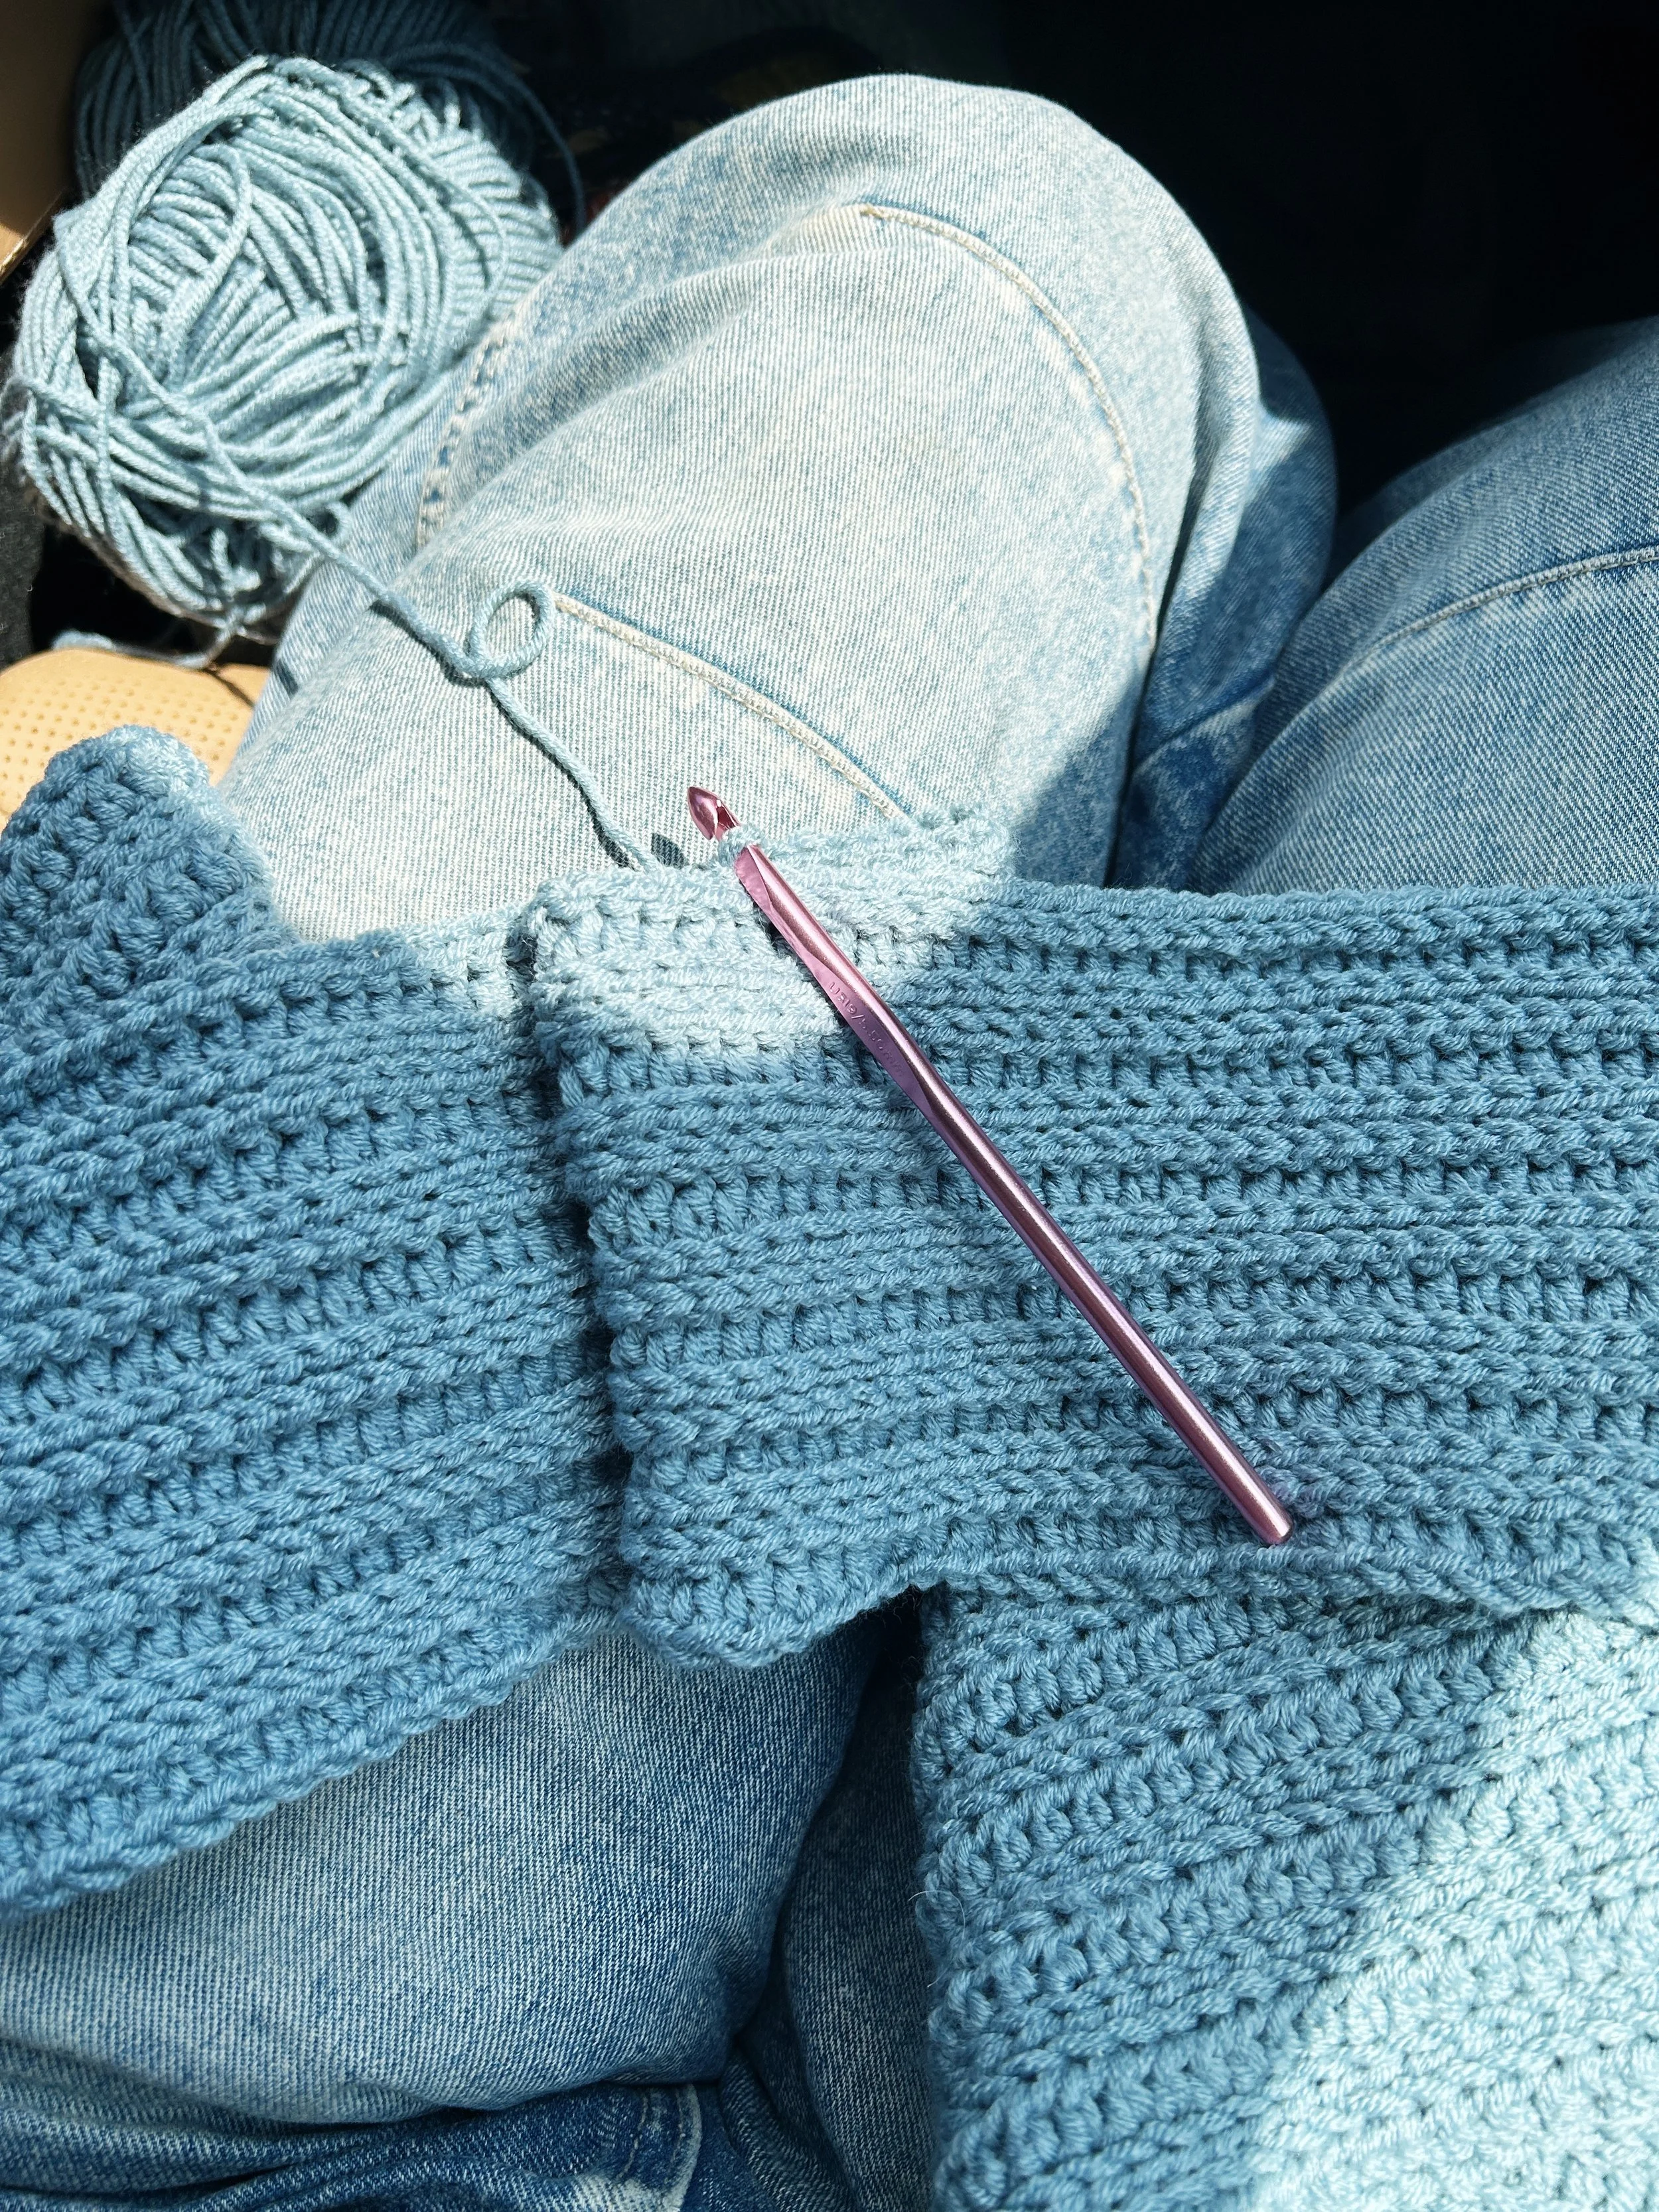
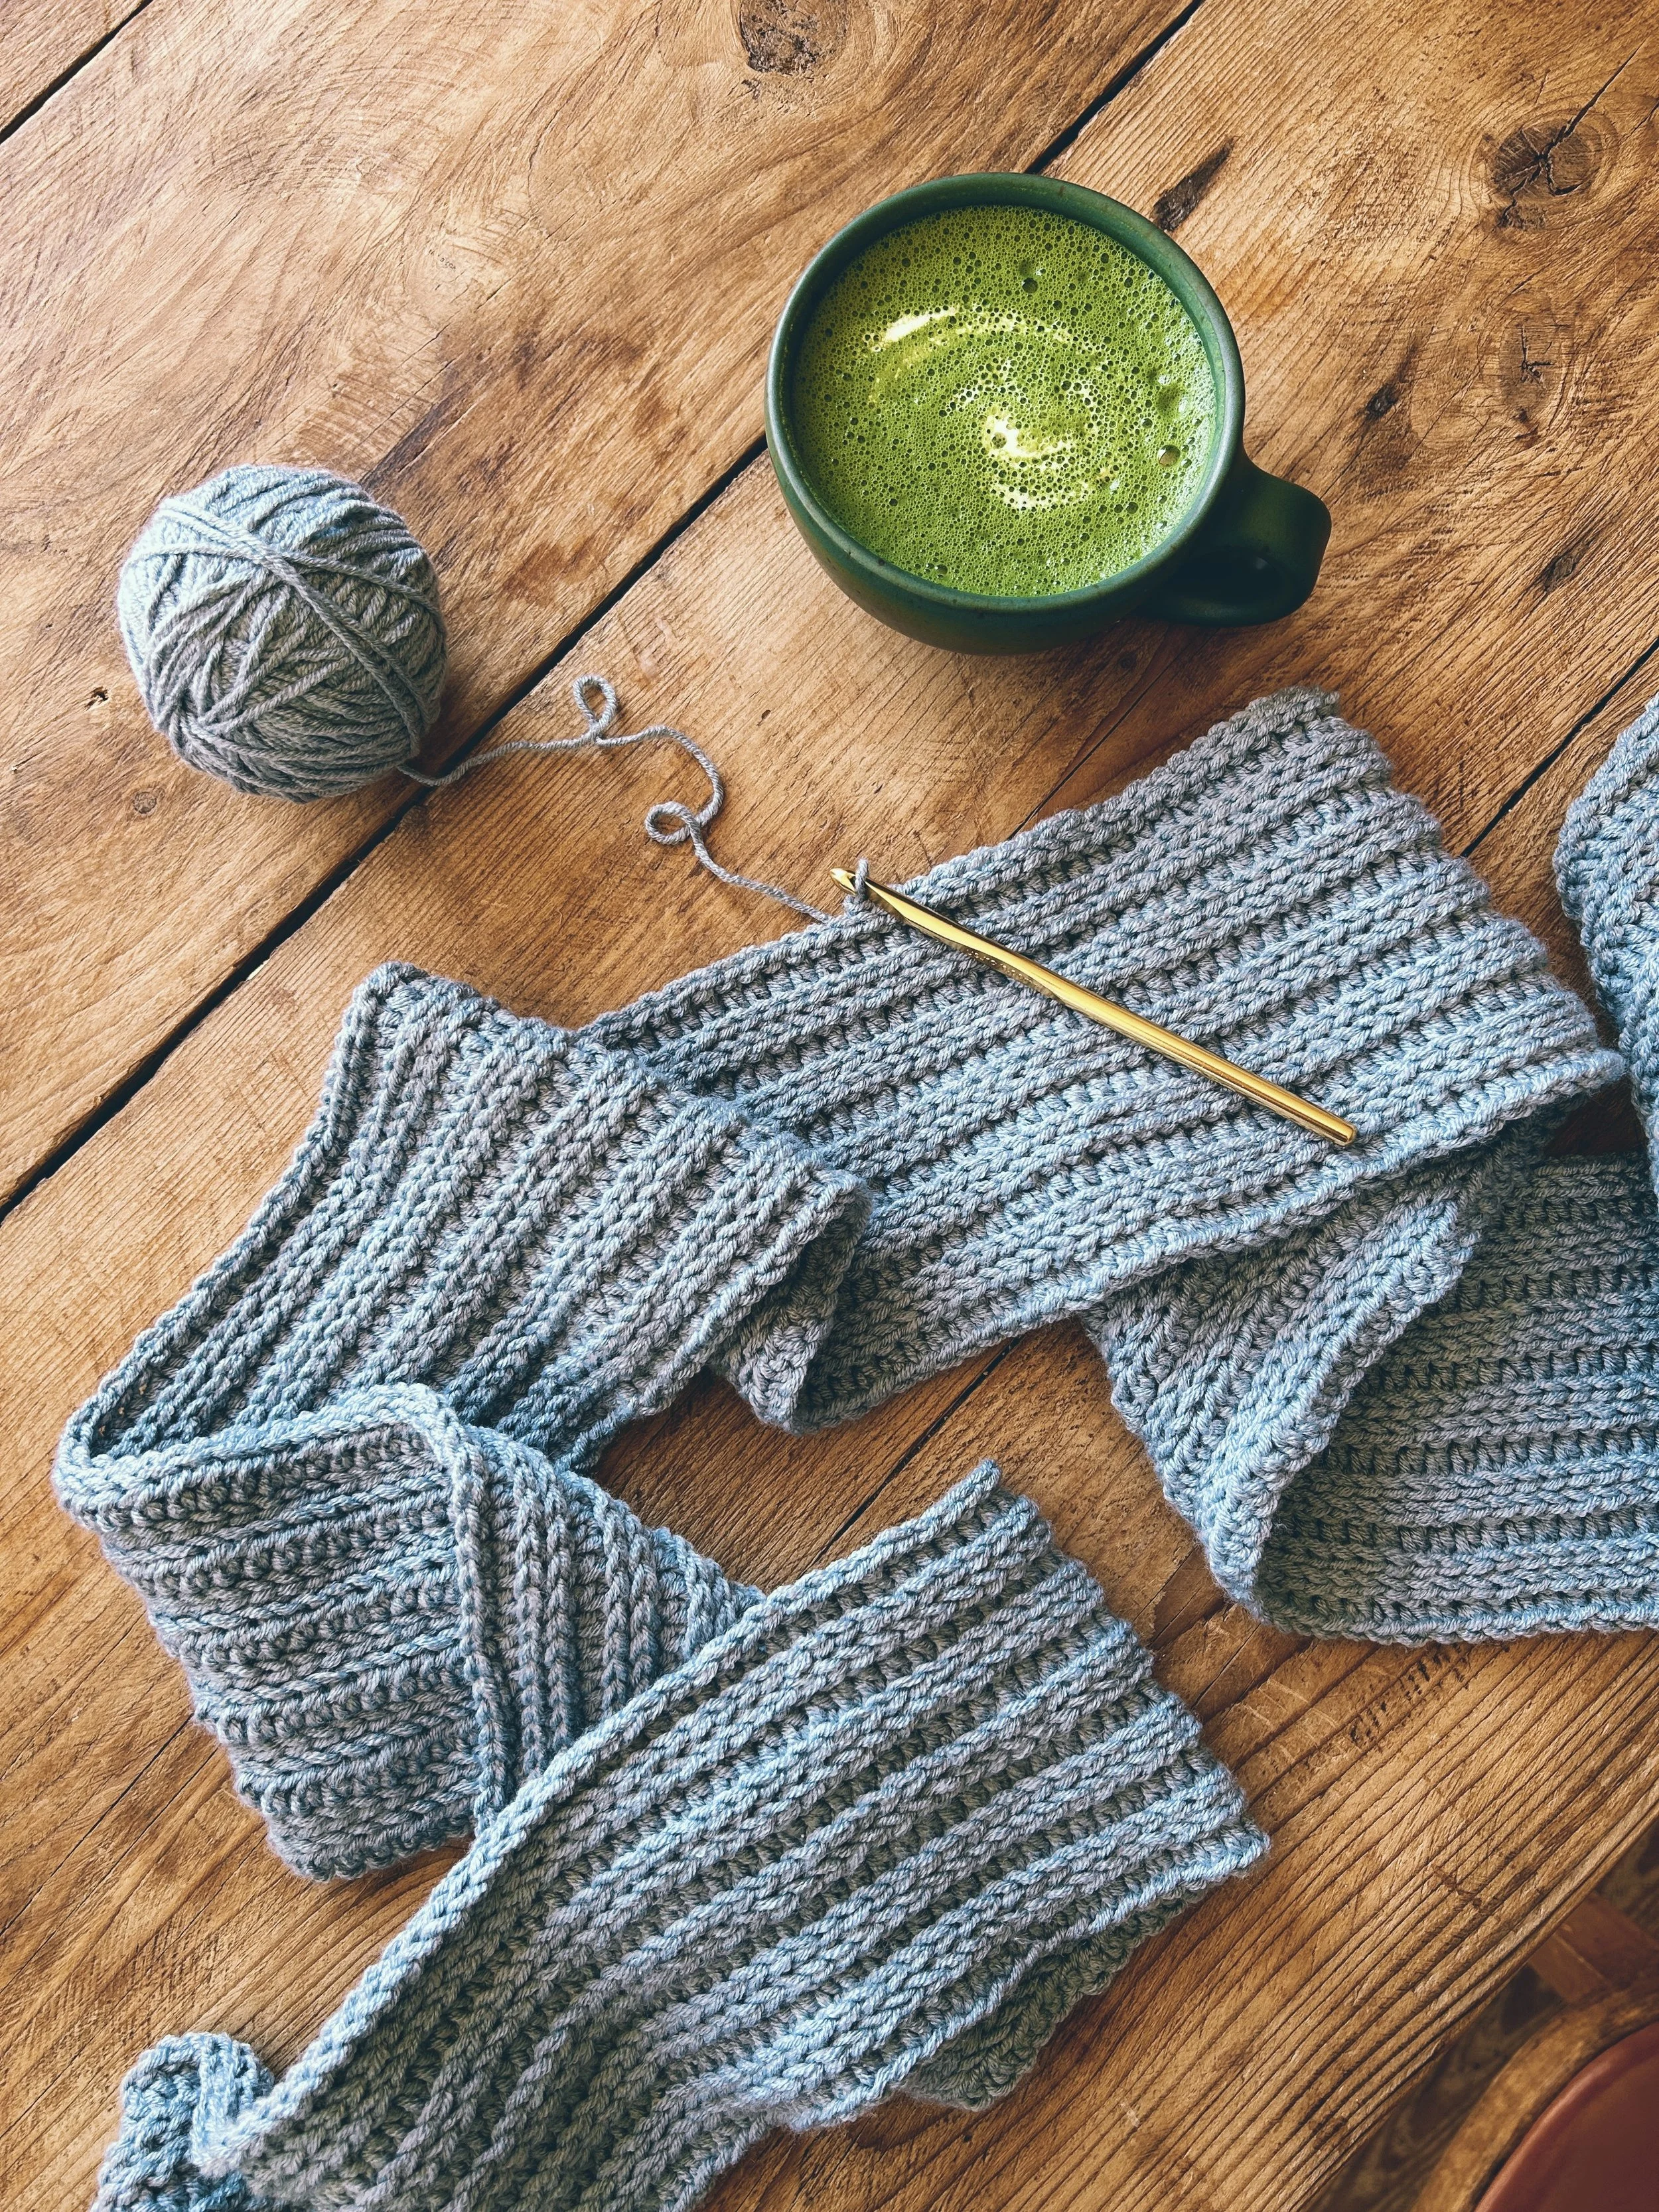
When I set out to design this I was going back and forth on whether I should make it knit or crochet. The original is knit, of course, and worked up in what appears to be a chunky weight yarn (Hue + Me would be fab for a version that more closely mimics that one!), but ultimately I chose to crochet this and I opted for a lighter weight yarn (Color Theory) to give it extra drape, flexibility, and versatility. While the runway-ready version is truly special, I wanted this to be more wearable for the average person, and a lighter weight yarn accomplishes that well here. Bonus points that crochet is SO MUCH FASTER than knitting, so even when I had to start this piece over from the beginning after misjudging the amount of drag it would have (I thought the heaviness of the fabric would pull it down more, but alas it wasn’t as extreme as I anticipated so I had to re-start to add more length to the foundation chain), it still worked up pretty dang quick. It was also such a joy to work with one of the six new Color Theory color additions, Paradiso!
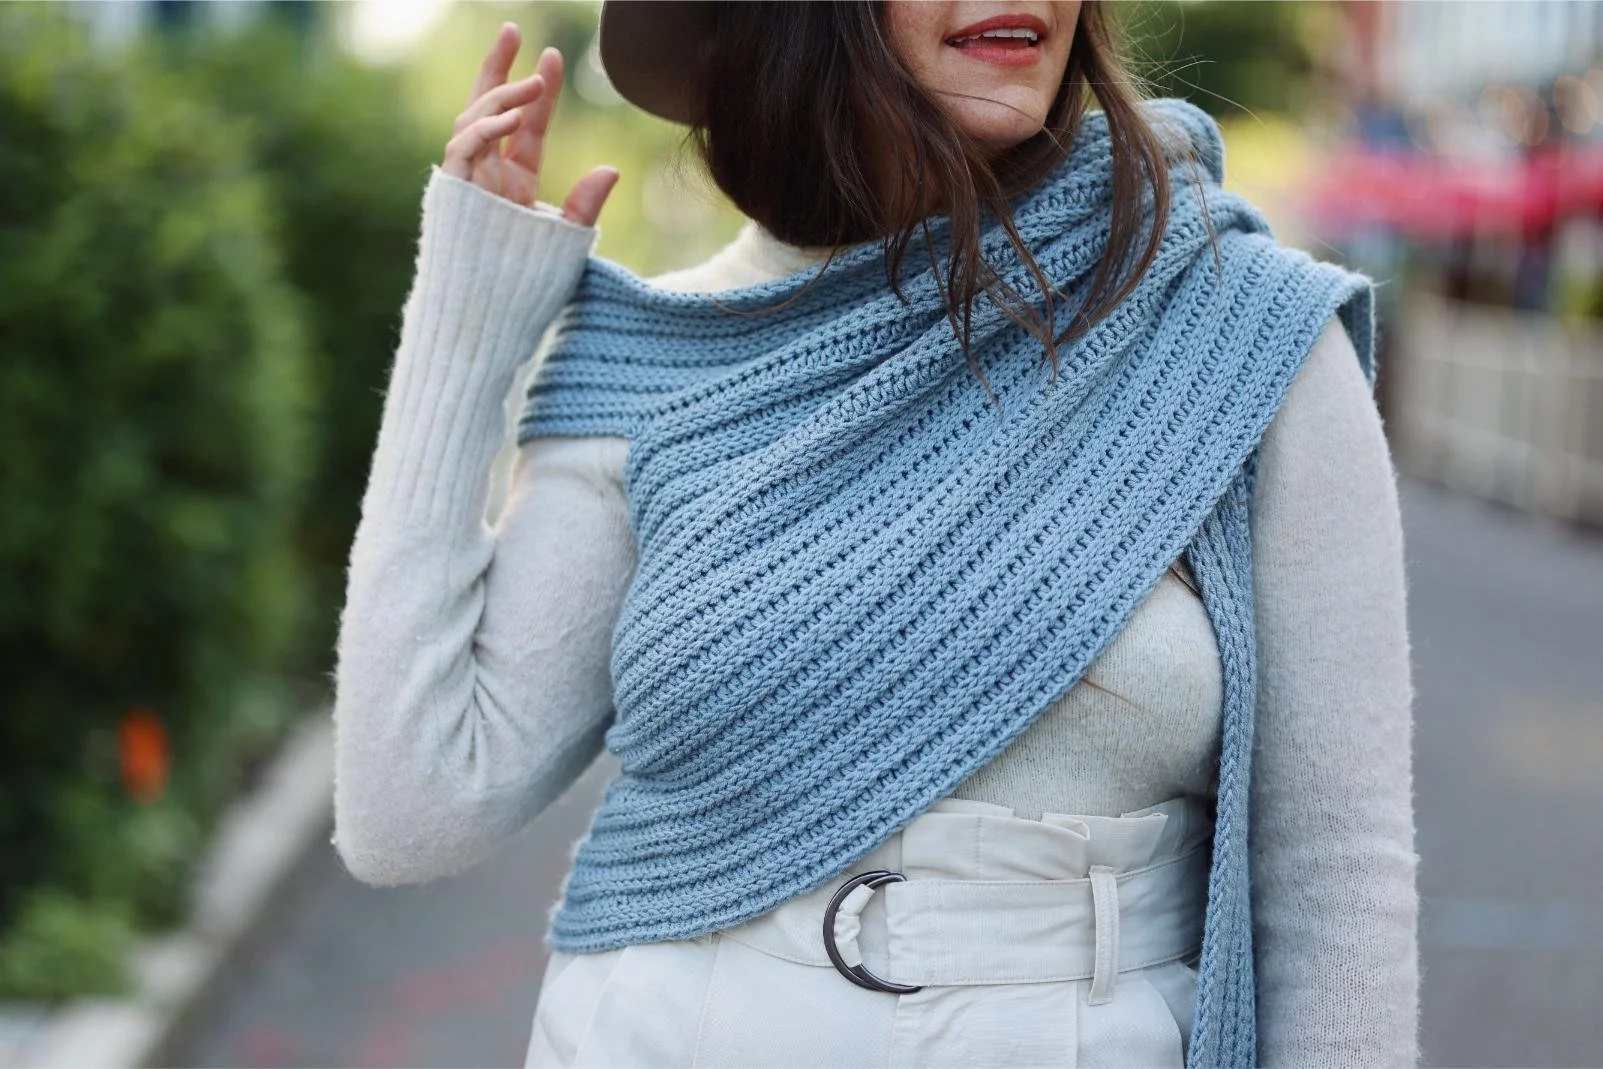
The sea of meditative stitches that make up this wrap is so therapeutic that I can’t even express how much I enjoyed working on this. The stitch I used looks nearly identical to a 2x2 knit rib stitch, so it’s kind of the best of both worlds in my opinion. The resulting fabric is so squishy and cozy that I basically never want to take it off!
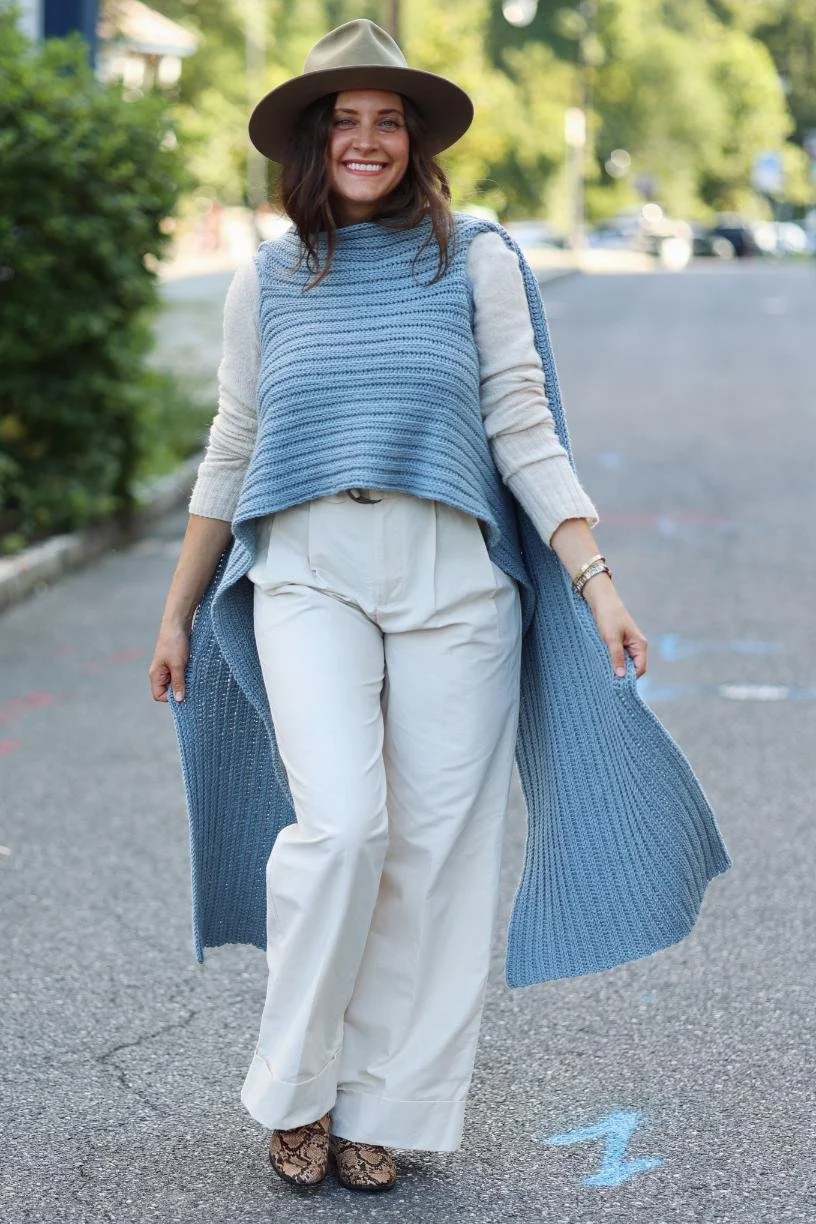
No matter how you wear this, every angle is intriguing and fun. I think I personally prefer the single shoulder wrap or the reverse frontal coverage styling options, but I think you can really play around with it in different ways depending on the outfit underneath and what you’re paring it with. I can totally see this topping a simple jeans and tee look or a cocktail dress for a special event!
This is a beginner level crochet pattern and the techniques involved are half double crochet foundation stitches, slip stitches through the back loop, and half double crochets through the back loop.
MATERIALS
7 (7, 8, 9, 9) (10, 10, 11, 11) skeins Lion Brand Color Theory in Paradiso (619-107AD)
(worsted, weight 4; 246yds/225m per skein)
Size I/9 (5.5mm) crochet hook
Tapestry needle
GAUGE
16 sts + 20 rows = 4”/10cm in pattern as follows:
Ch any number.
Row 1: Starting in 2nd ch from hook, hdc across row.
Rows 2-4: Ch 1, sl st tbl across row.
Row 5: Ch 1, hdc tbl across row.
Rep rows 2-5 for pattern.
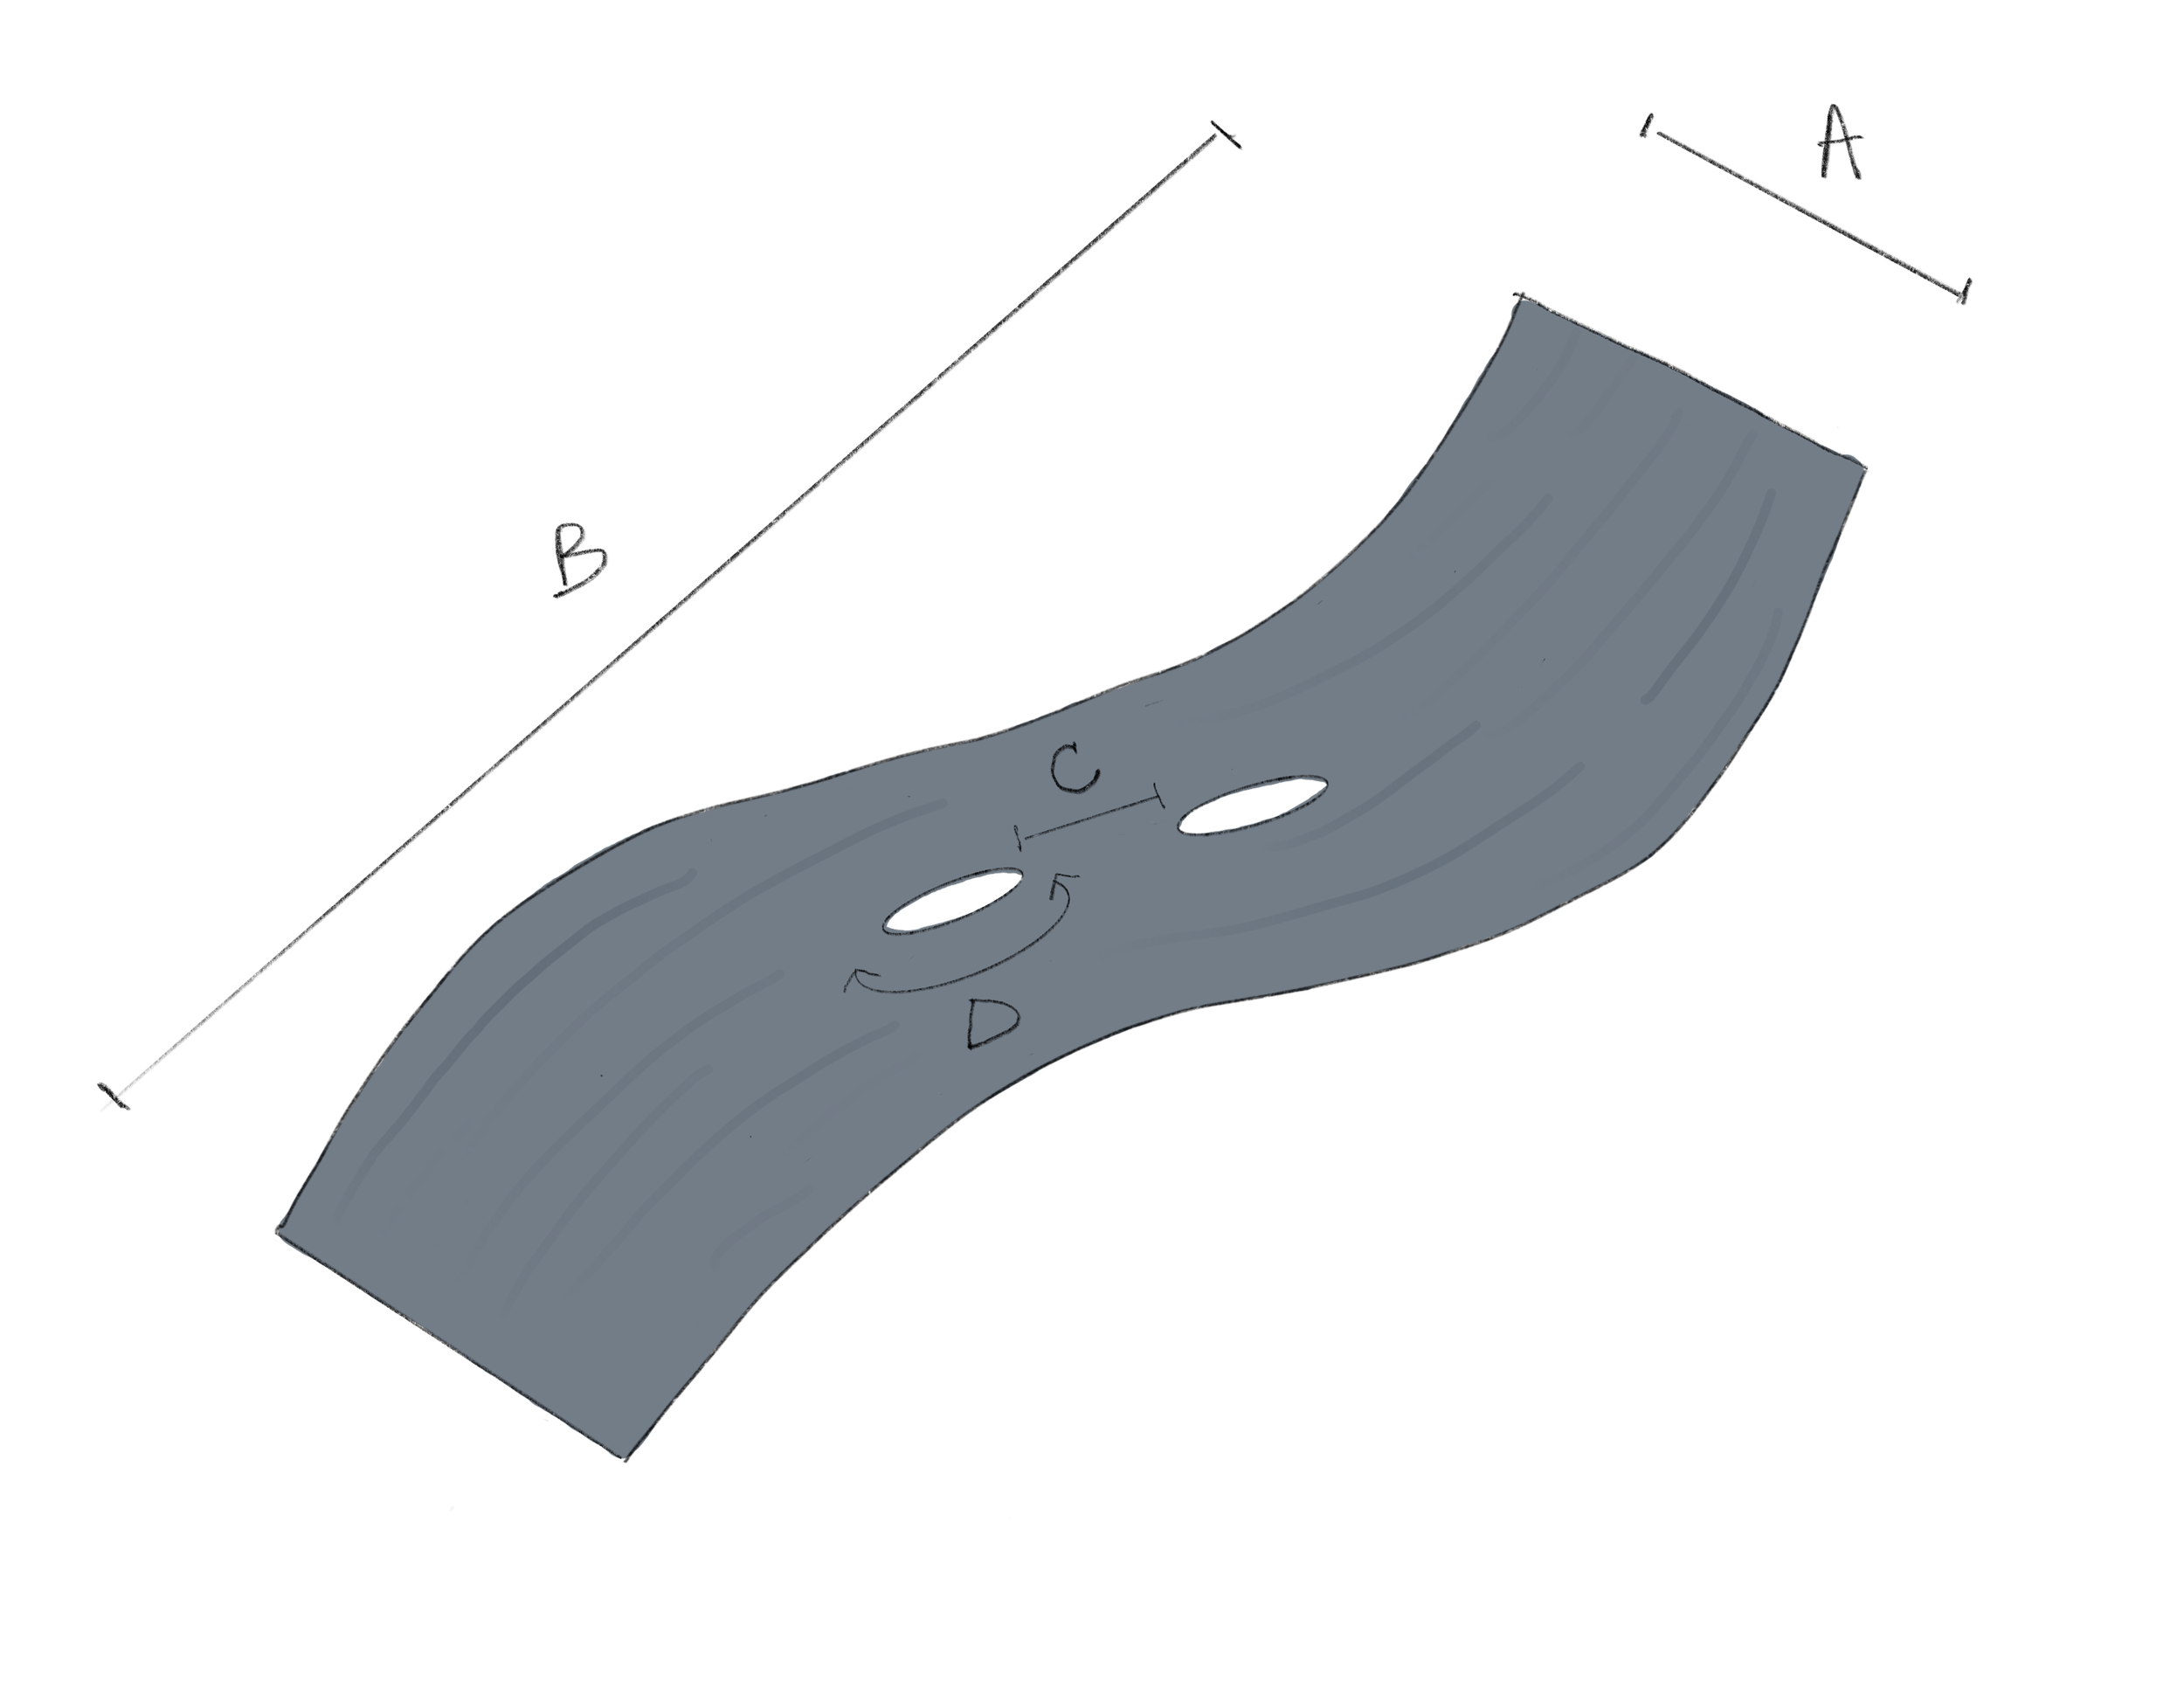
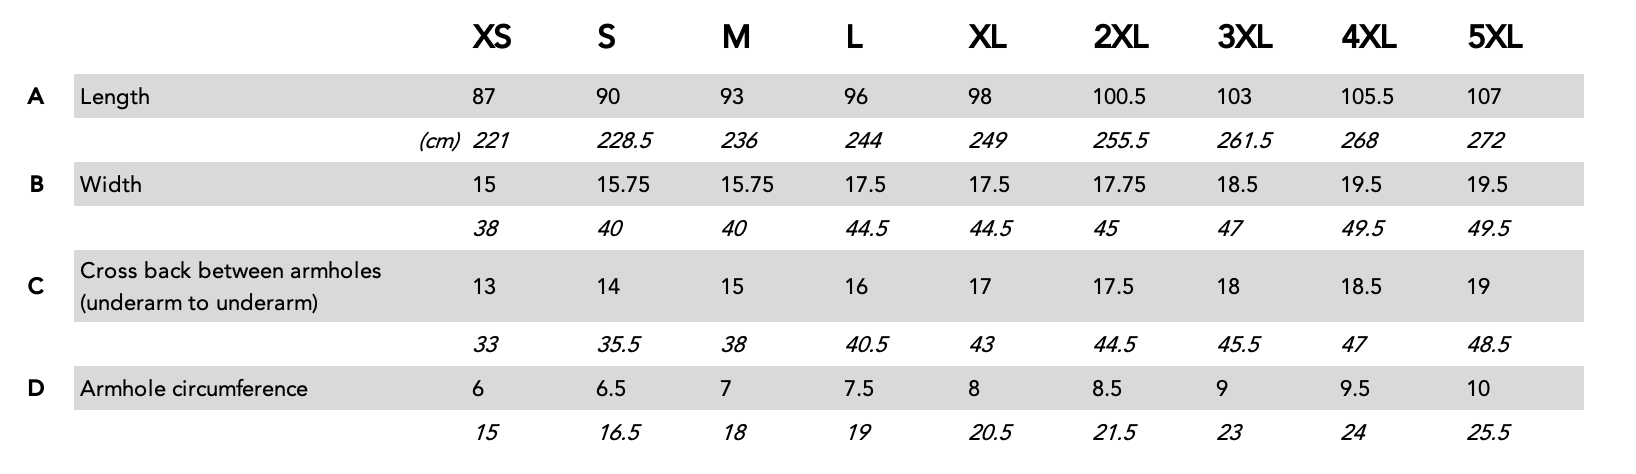
FINISHED DIMENSIONS
Pictured in a size S on model with 34”/86cm bust
ABBREVIATIONS
*All Two of Wands patterns are written in standard US terms.
Ch(s) – chain(s)
Fhdc – foundation half double crochet
Hdc tbl – half double crochet through the back loop only
Rep – repeat
Sl st tbl – slip stitch through the back loop only
Sk – skip
St(s) – stitch(es)
NOTES
Wrap is worked side to side in back and forth rows – turn at the end of each row. Foundation row tends to be looser than following rows – work this row snugly to prevent ruffling. Sl st rows tend to be tighter – work these rows loosely to prevent puckering and to make it easier to work into the sts on the following row. Pattern is written for 9 sizes: XS (S, M, L, XL) (2XL, 3XL, 4XL, 5XL). See end notes for custom fit instructions.
PATTERN
Fhdc 348 (360, 372, 384, 392) (402, 412, 422, 428) – do so snugly as this row tends to be looser than the following rows.
Rows 1-3: Ch 1, sl st tbl across row.
Row 4: Ch 1, hdc tbl across row.
Rep rows 1-4, 12 (13, 13, 14, 14) (15, 15, 16, 16) more times.
Rep rows 1-3, 1 more time.
Create armholes:
Next row: Ch 1, hdc tbl 124 (126, 128, 130, 130) (132, 134, 136, 136), fhdc 24 (26, 28, 30, 32) (34, 36, 38, 40), sk 24 (26, 28, 30, 32) (34, 36, 38, 40), hdc tbl 52 (56, 60, 64, 68) (70, 72, 74, 76), fhdc 24 (26, 28, 30, 32) (34, 36, 38, 40), sk 24 (26, 28, 30, 32) (34, 36, 38, 40), hdc tbl 124 (126, 128, 130, 130) (132, 134, 136, 136).
Rep rows 1-4, 5 (5, 5, 6, 6) (6, 7, 7, 7) more times.
Fasten off.
Secure and weave in all ends.
END NOTES
While the length, width, and armhole circumference for each provided size is somewhat universal, a person’s cross back measurement can vary within each size. This is something you may want to modify to ensure the wrap fits perfectly.
For a custom fit, measure the distance across your back from one underarm to the other. Subtract 1”/2.54cm for stretch. Use the gauge to determine the number of sts needed to accommodate this measurement (x” / 4”(10cm) *16 sts per inch = the number of sts needed). This is the number of sts that needs to be between the fhdcs and skipped sts on the row where the armholes are created.
To adjust the instructions for that row to accommodate your custom cross back size, take the total number of sts for your size and subtract the number of cross back sts you calculated, then divide that number by 2. This is the number of sts that will be on either side of your back sts. Subtract the number of fhdcs and skipped sts (the armholes) from this number. What remains is the new number of sts you will work before and after the fhdcs and skipped sts (the armholes).
To adjust the overall length, simply add or subtract 4 sts for every 1”/2.5cm you would like to increase or decrease. Make sure to center the cross back sts with the armholes on either side as per the instructions above.
Purchase the printable, ad-free pattern here
Purchase the kit from Lion Brand here.
Don't forget to share your projects made using Two of Wands patterns on Instagram with the hashtag #crewofwands to get featured on my page and be in the running for monthly pattern giveaways!
Join the Crew of Wands Facebook group to connect with other makers of Two of Wands patterns for help with techniques and pattern related questions.
The patterns and photographs of items on this site are the property of Two of Wands and are for personal, non-commercial use only. These patterns files are protected by US copyright, and you may not distribute or sell them electronically or physically. Small batch sales of finished pieces made from these patterns are permitted, but seller must use their own photographs and credit must be given to Two of Wands as the designer.