
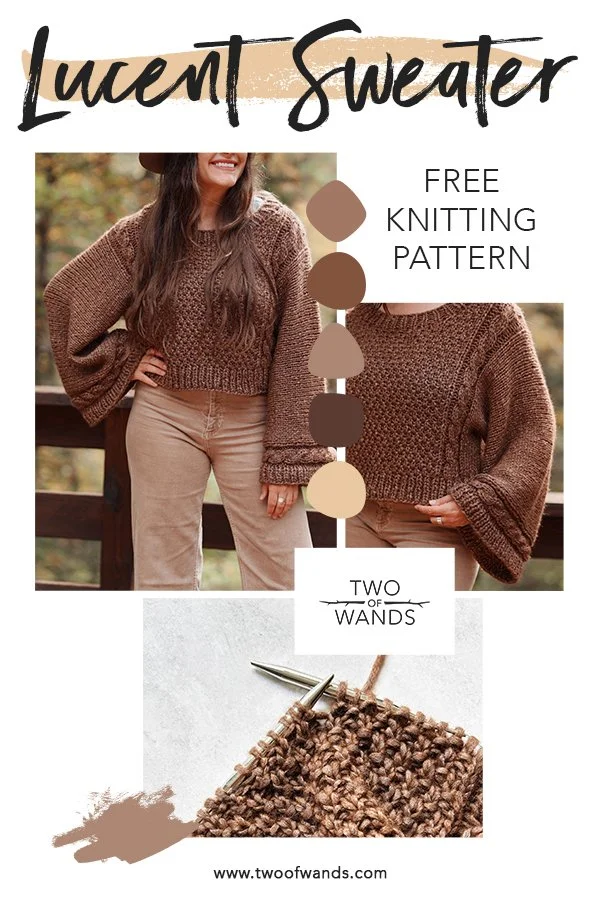
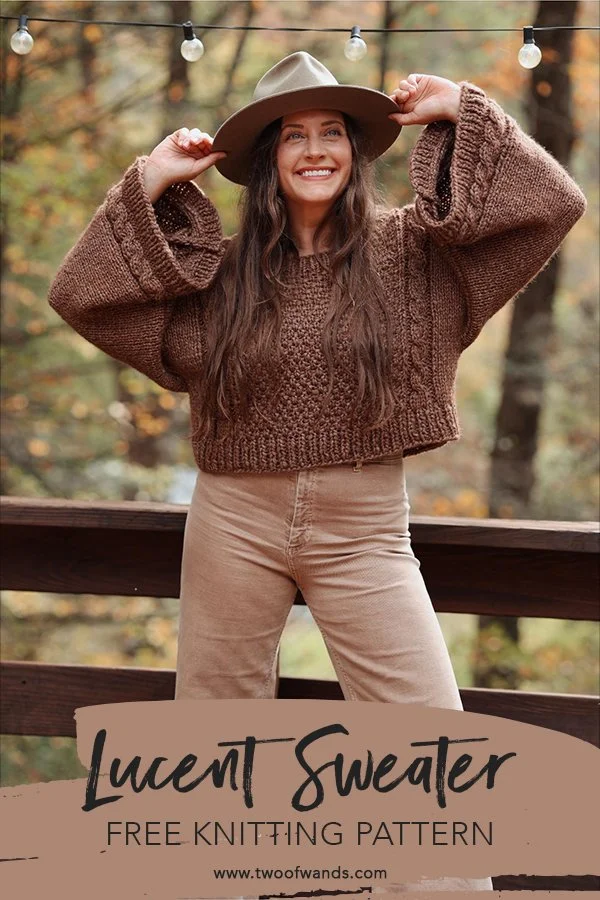
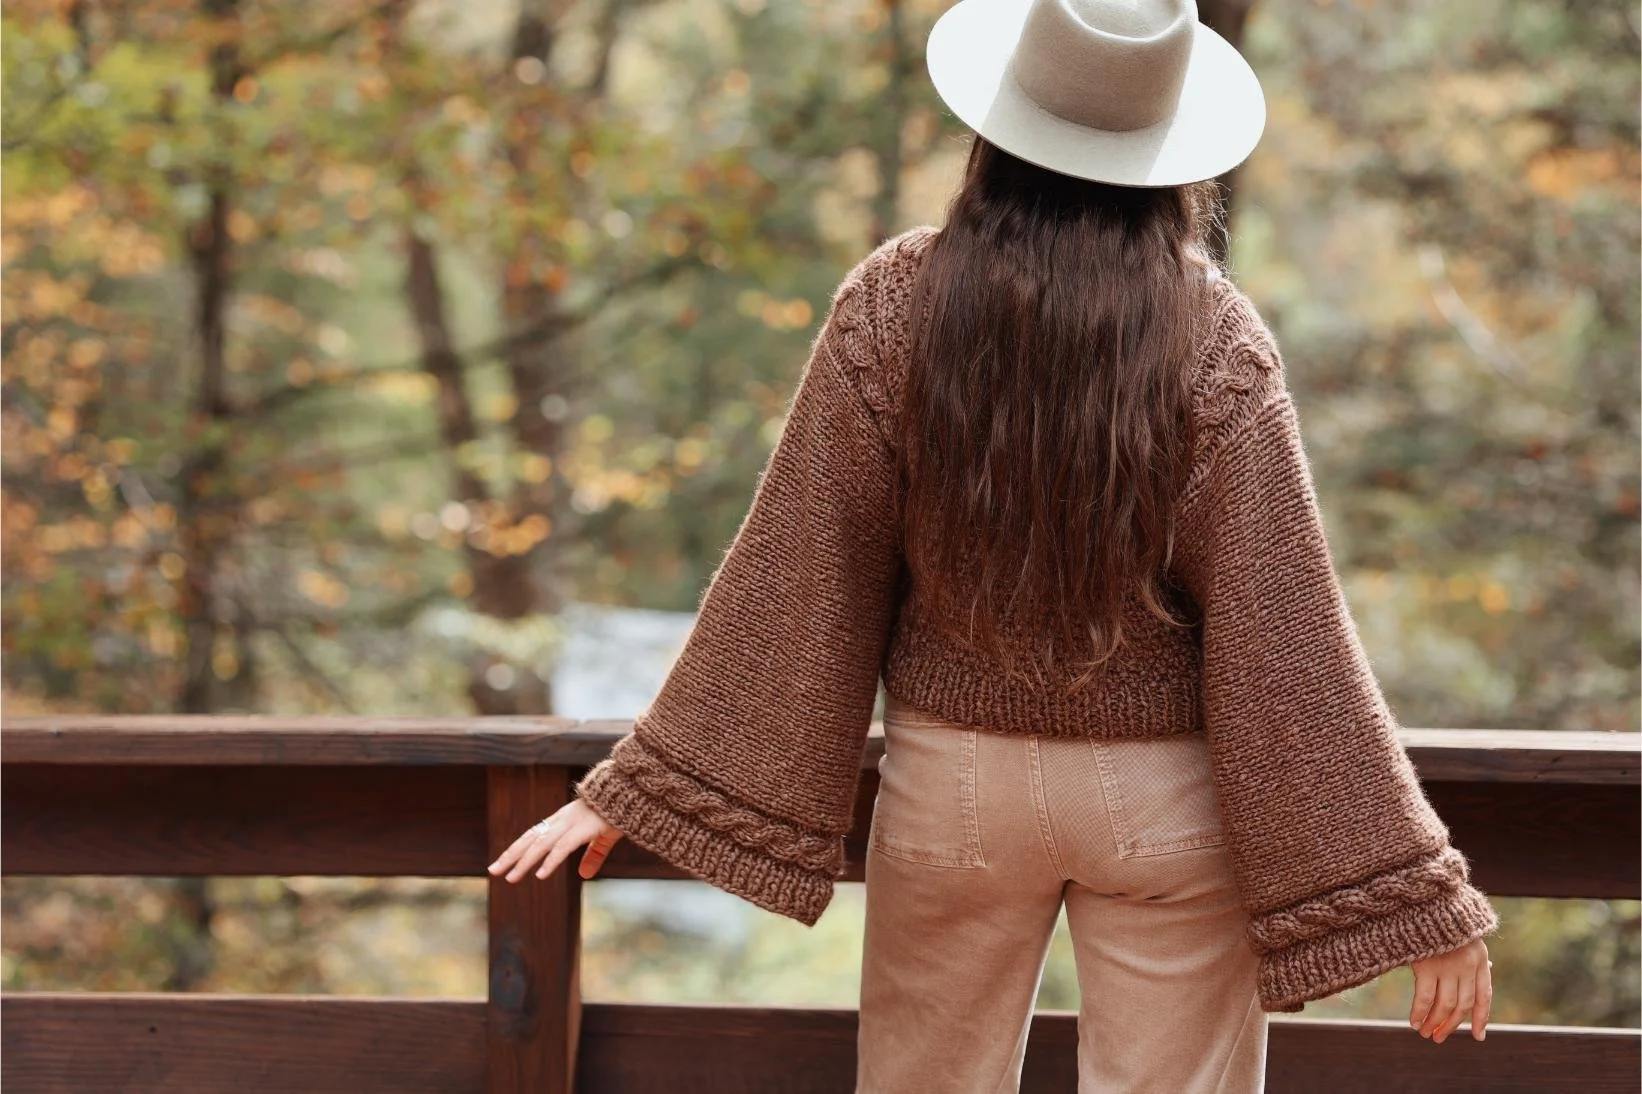
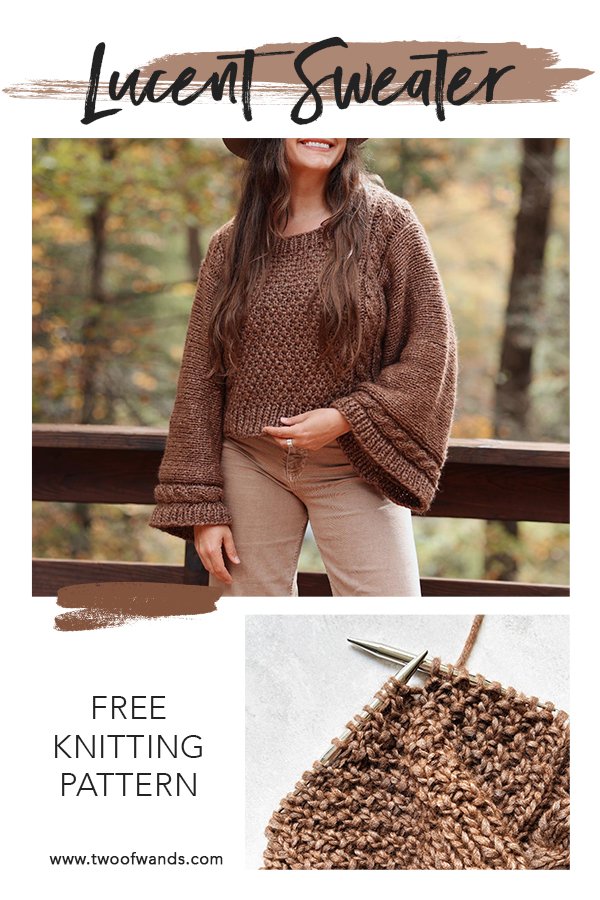
Lucent Sweater
When the queen of Tunisian crochet asks you to collab on an epic make-along using her gorgeous luxury yarn line, you say YES! So earlier this year when my dear friend Toni of TL Yarn Crafts reached out with the idea to design sister patterns with her Apricity yarn in collaboration with Hobbii, I jumped at the opportunity. The Golden Hour MAL consists of two sweaters with a similar silhouette, but totally different executions - a solid color textured knit design by me called the Lucent Sweater, and a two-tone colorwork Tunisian crochet dream designed by Toni called the Glimmer Poncho. The MAL kicks off today, October 27th 2025, and all of the details along with the free pattern for the Lucent Sweater can be found below. As always, you can purchase a printer-friendly PDF here, and you can view the full video tutorial here.
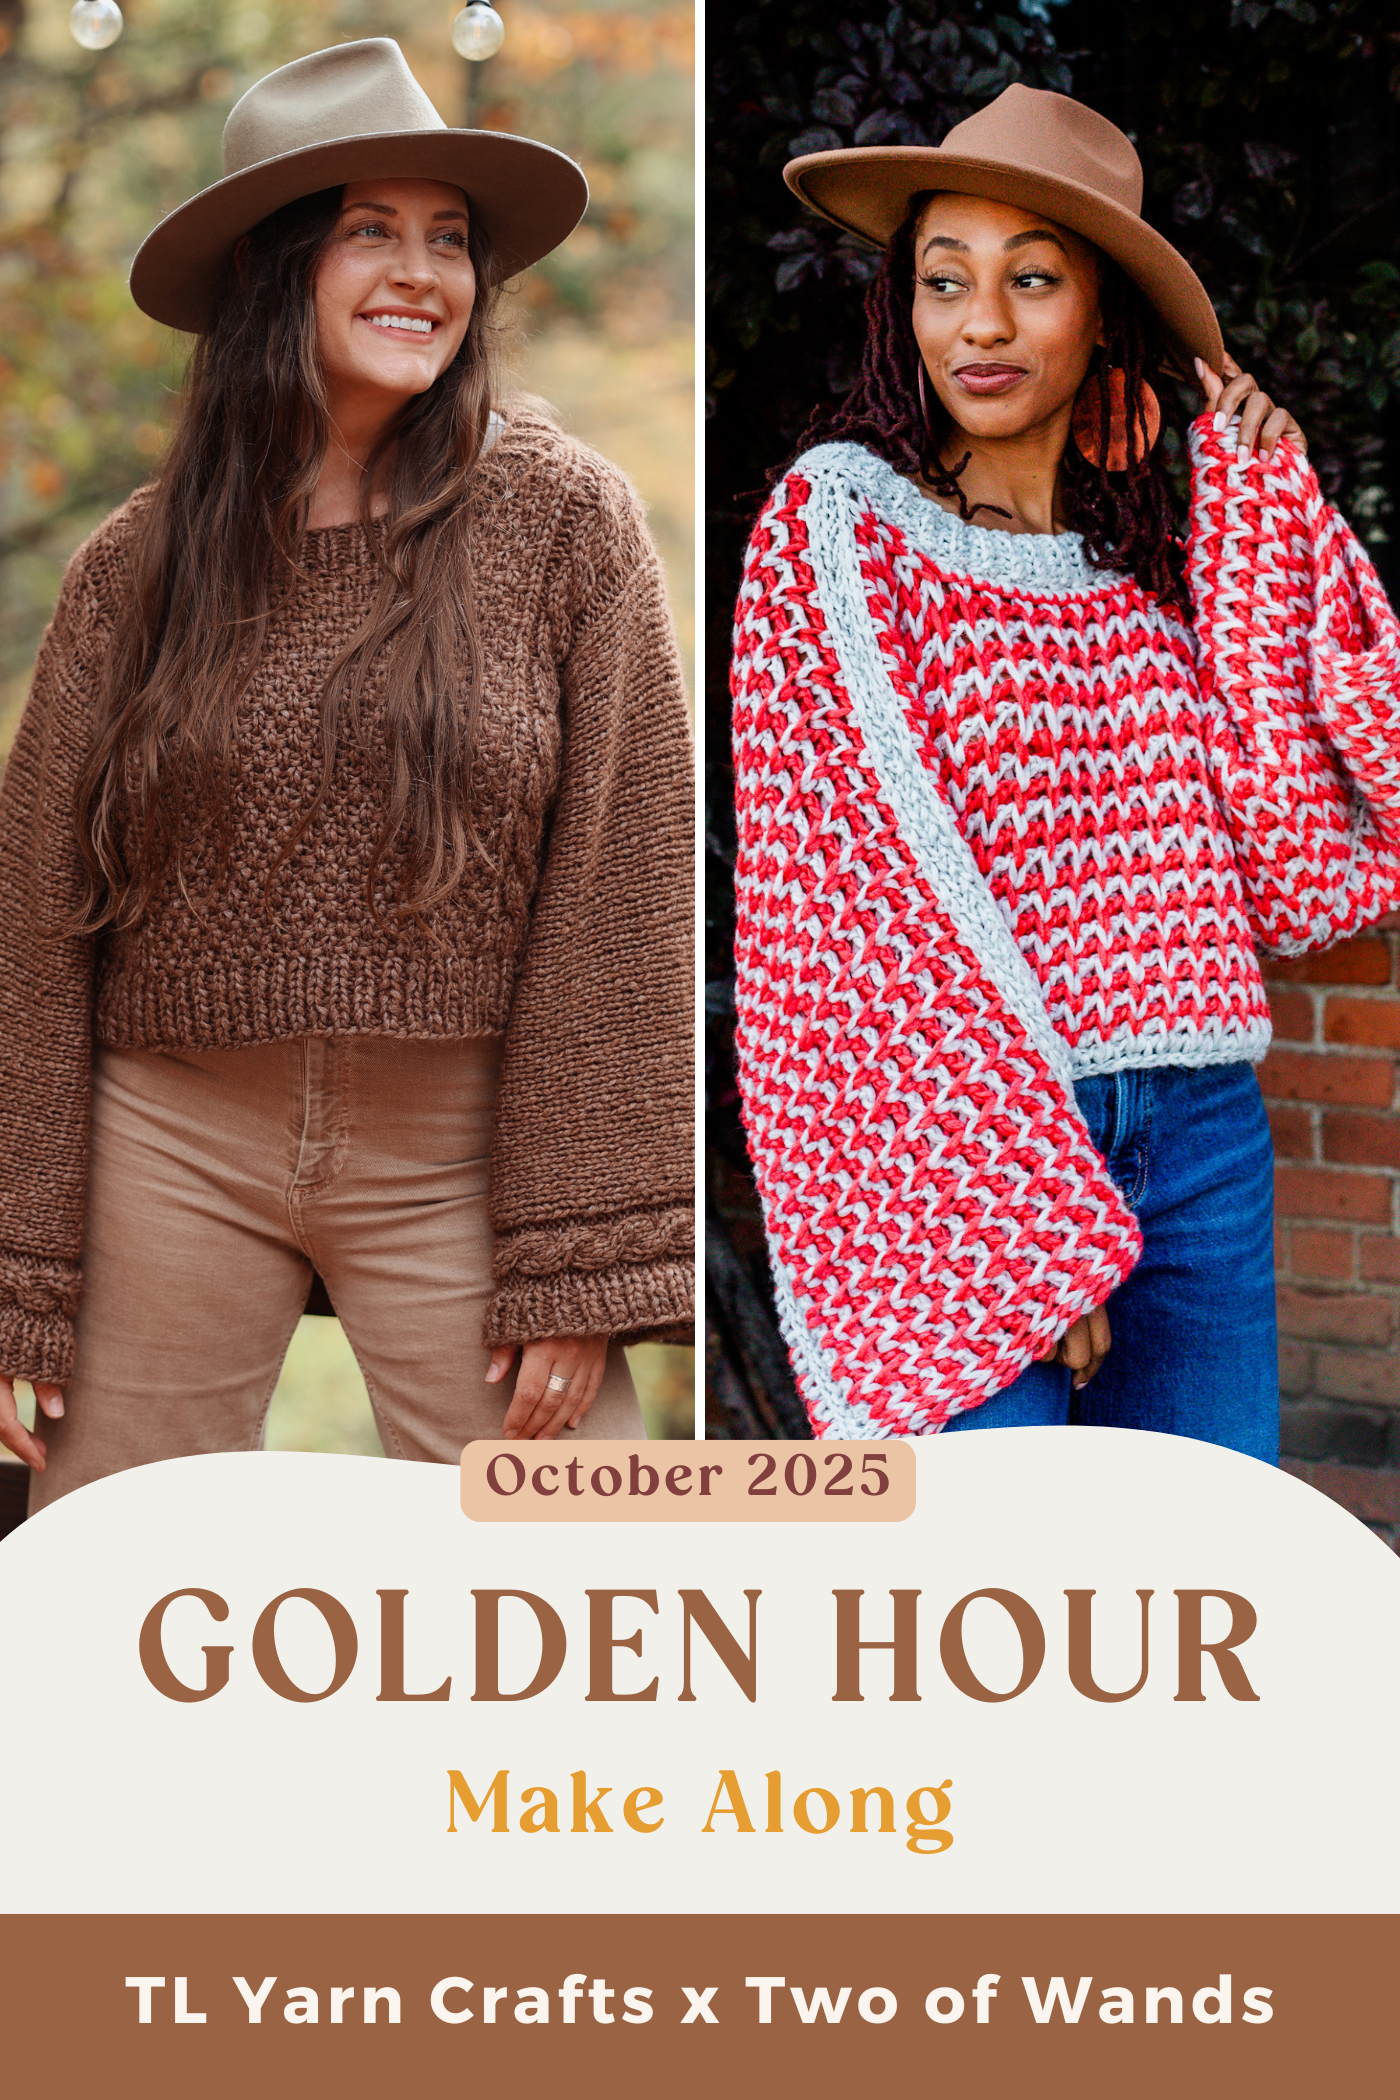
The Golden Hour MAL is the perfect opportunity to whip up a quick and gorgeous piece before the holidays start that will take you through winter in style.
IMPORTANT DATES:
October 27: Official kick-off! Free patterns and video tutorials go live.
October 28: Join Toni and Alexi for an Instagram live at 1pm ET to chat all about the MAL!
December 5: Join Toni and Alexi for the MAL send off live on Instagram at 1pm ET.
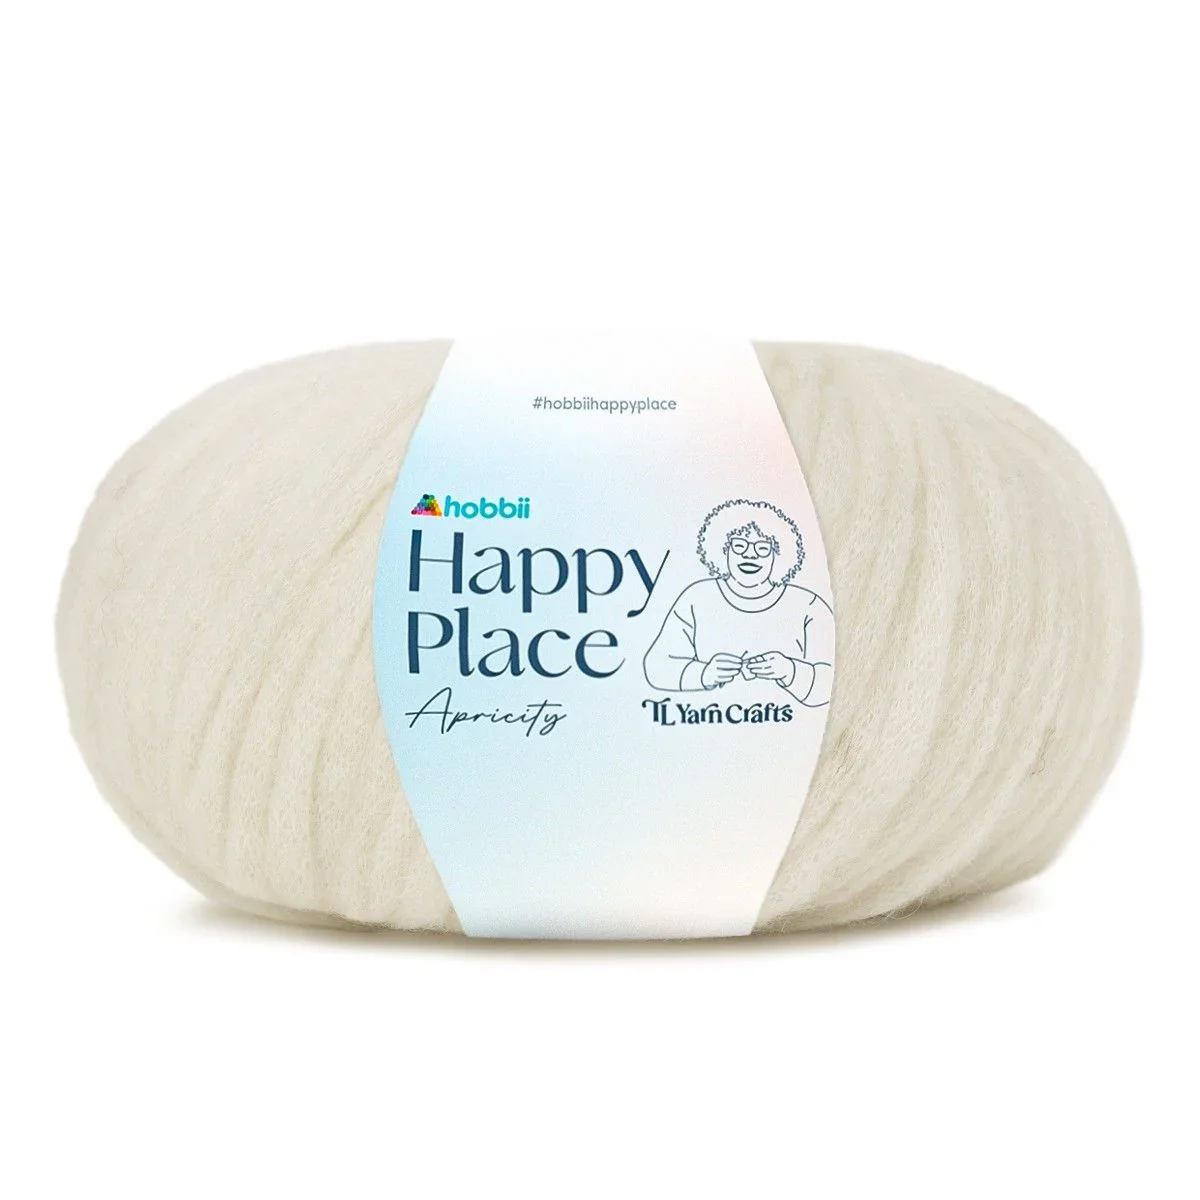
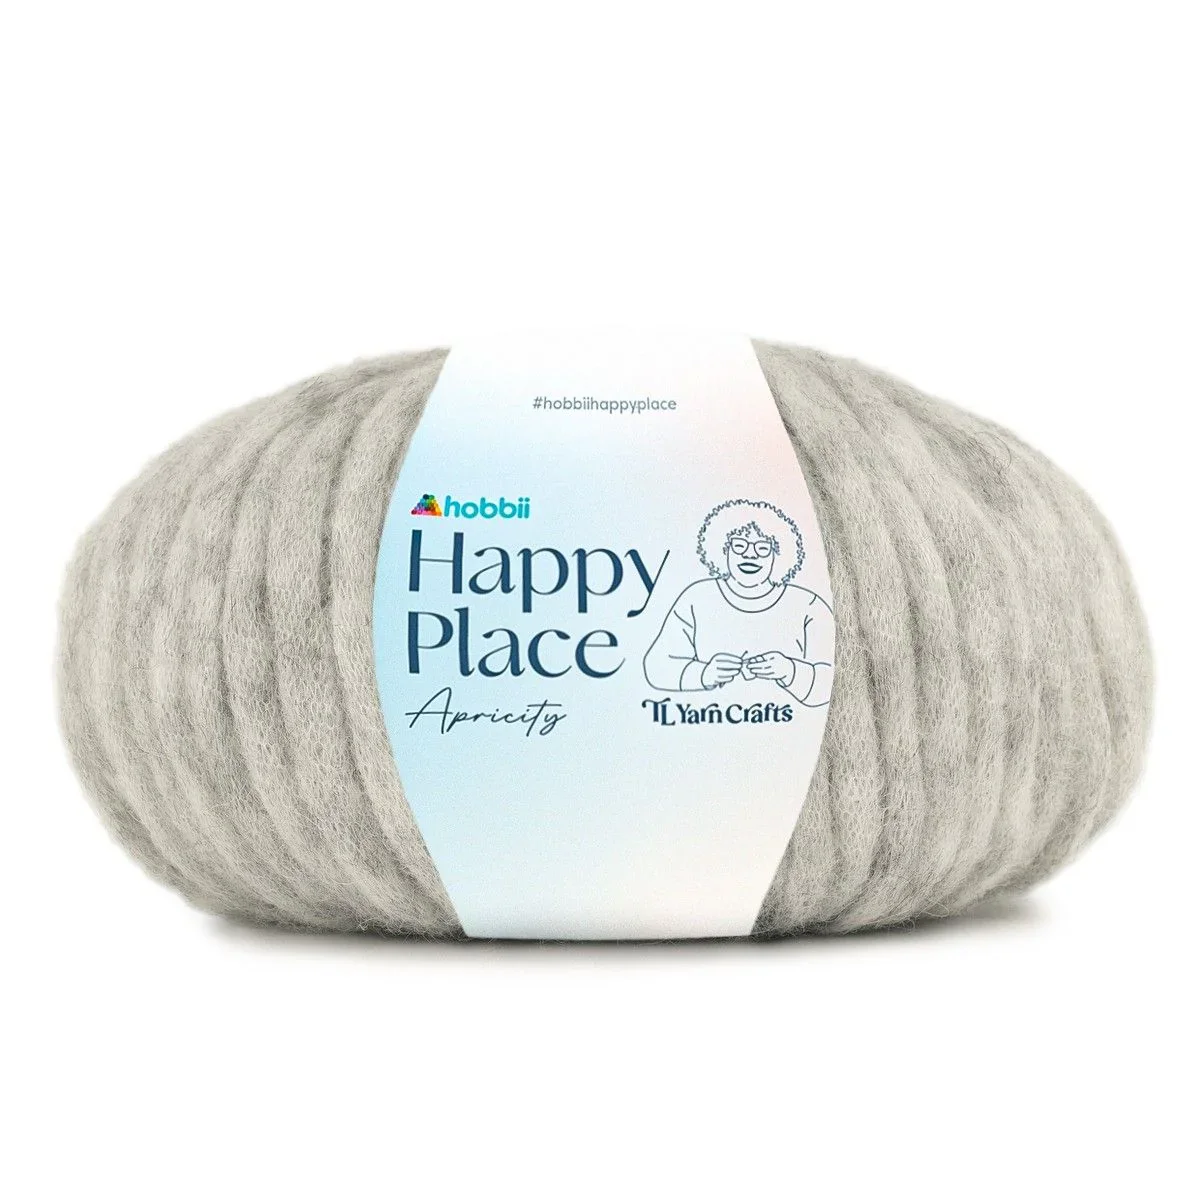
You probably already know I love a good sister pattern situation as I often design both a knit and a crochet version of many of my pieces. And what could be better than applying this concept to a collab with one of your yarnie besties!? I couldn’t wait to dive into the project, especially because it meant getting to use one of the most luxurious yarns out there - Apricity! This alpaca/polyamide/wool blend is one of the softest things I’ve ever felt with my two hands, and while it’s categorized as a super bulky thanks to the lofty tubular construction, it’s as light as air. Wearing the Lucent Sweater feels like wearing a cloud!
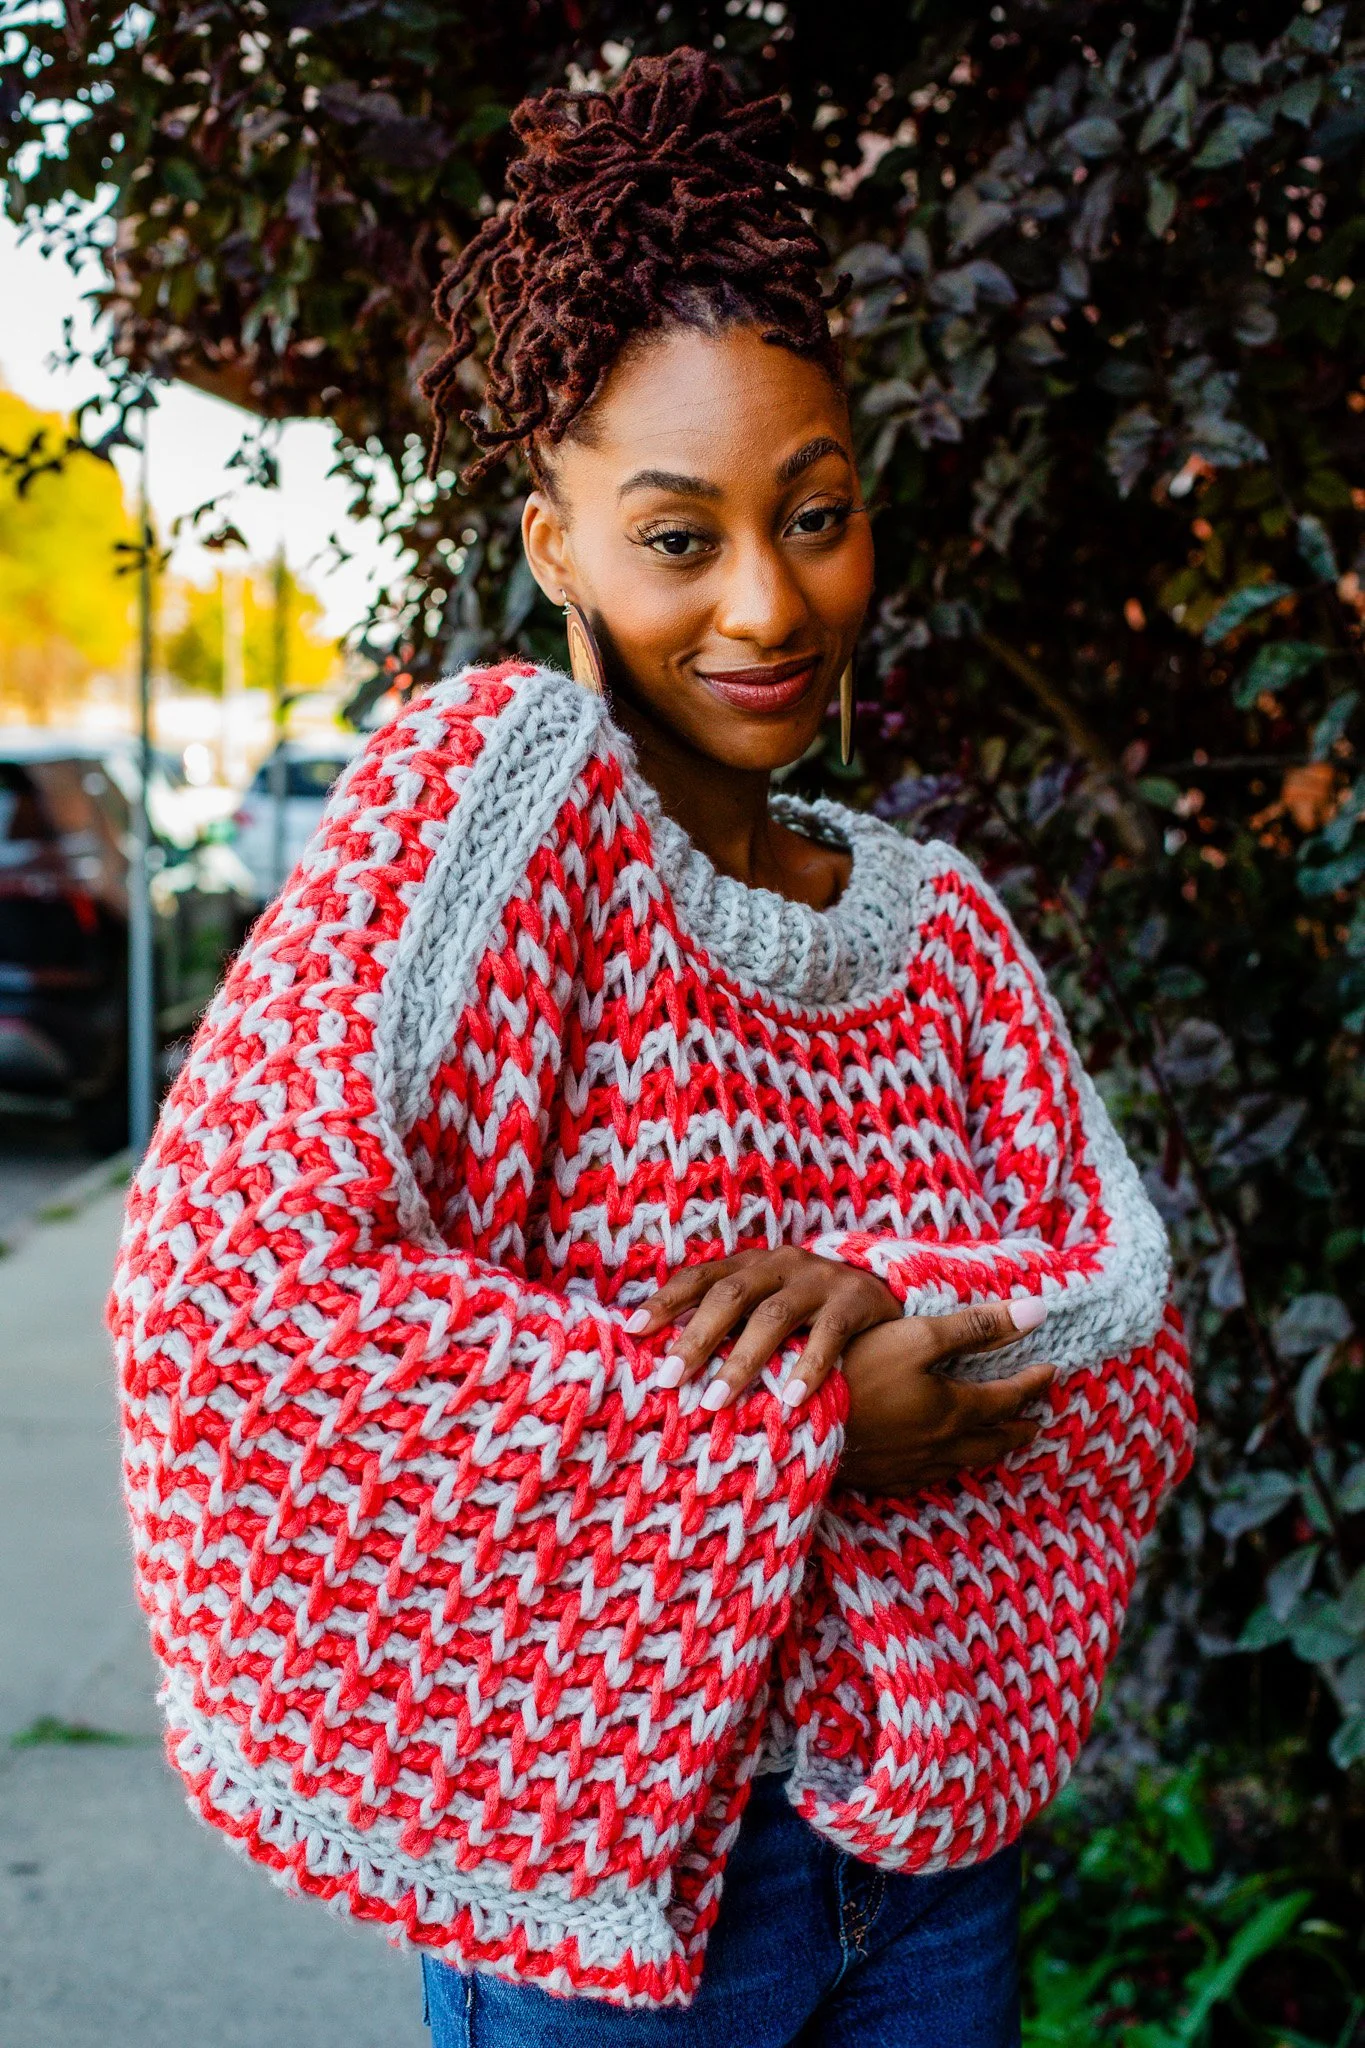
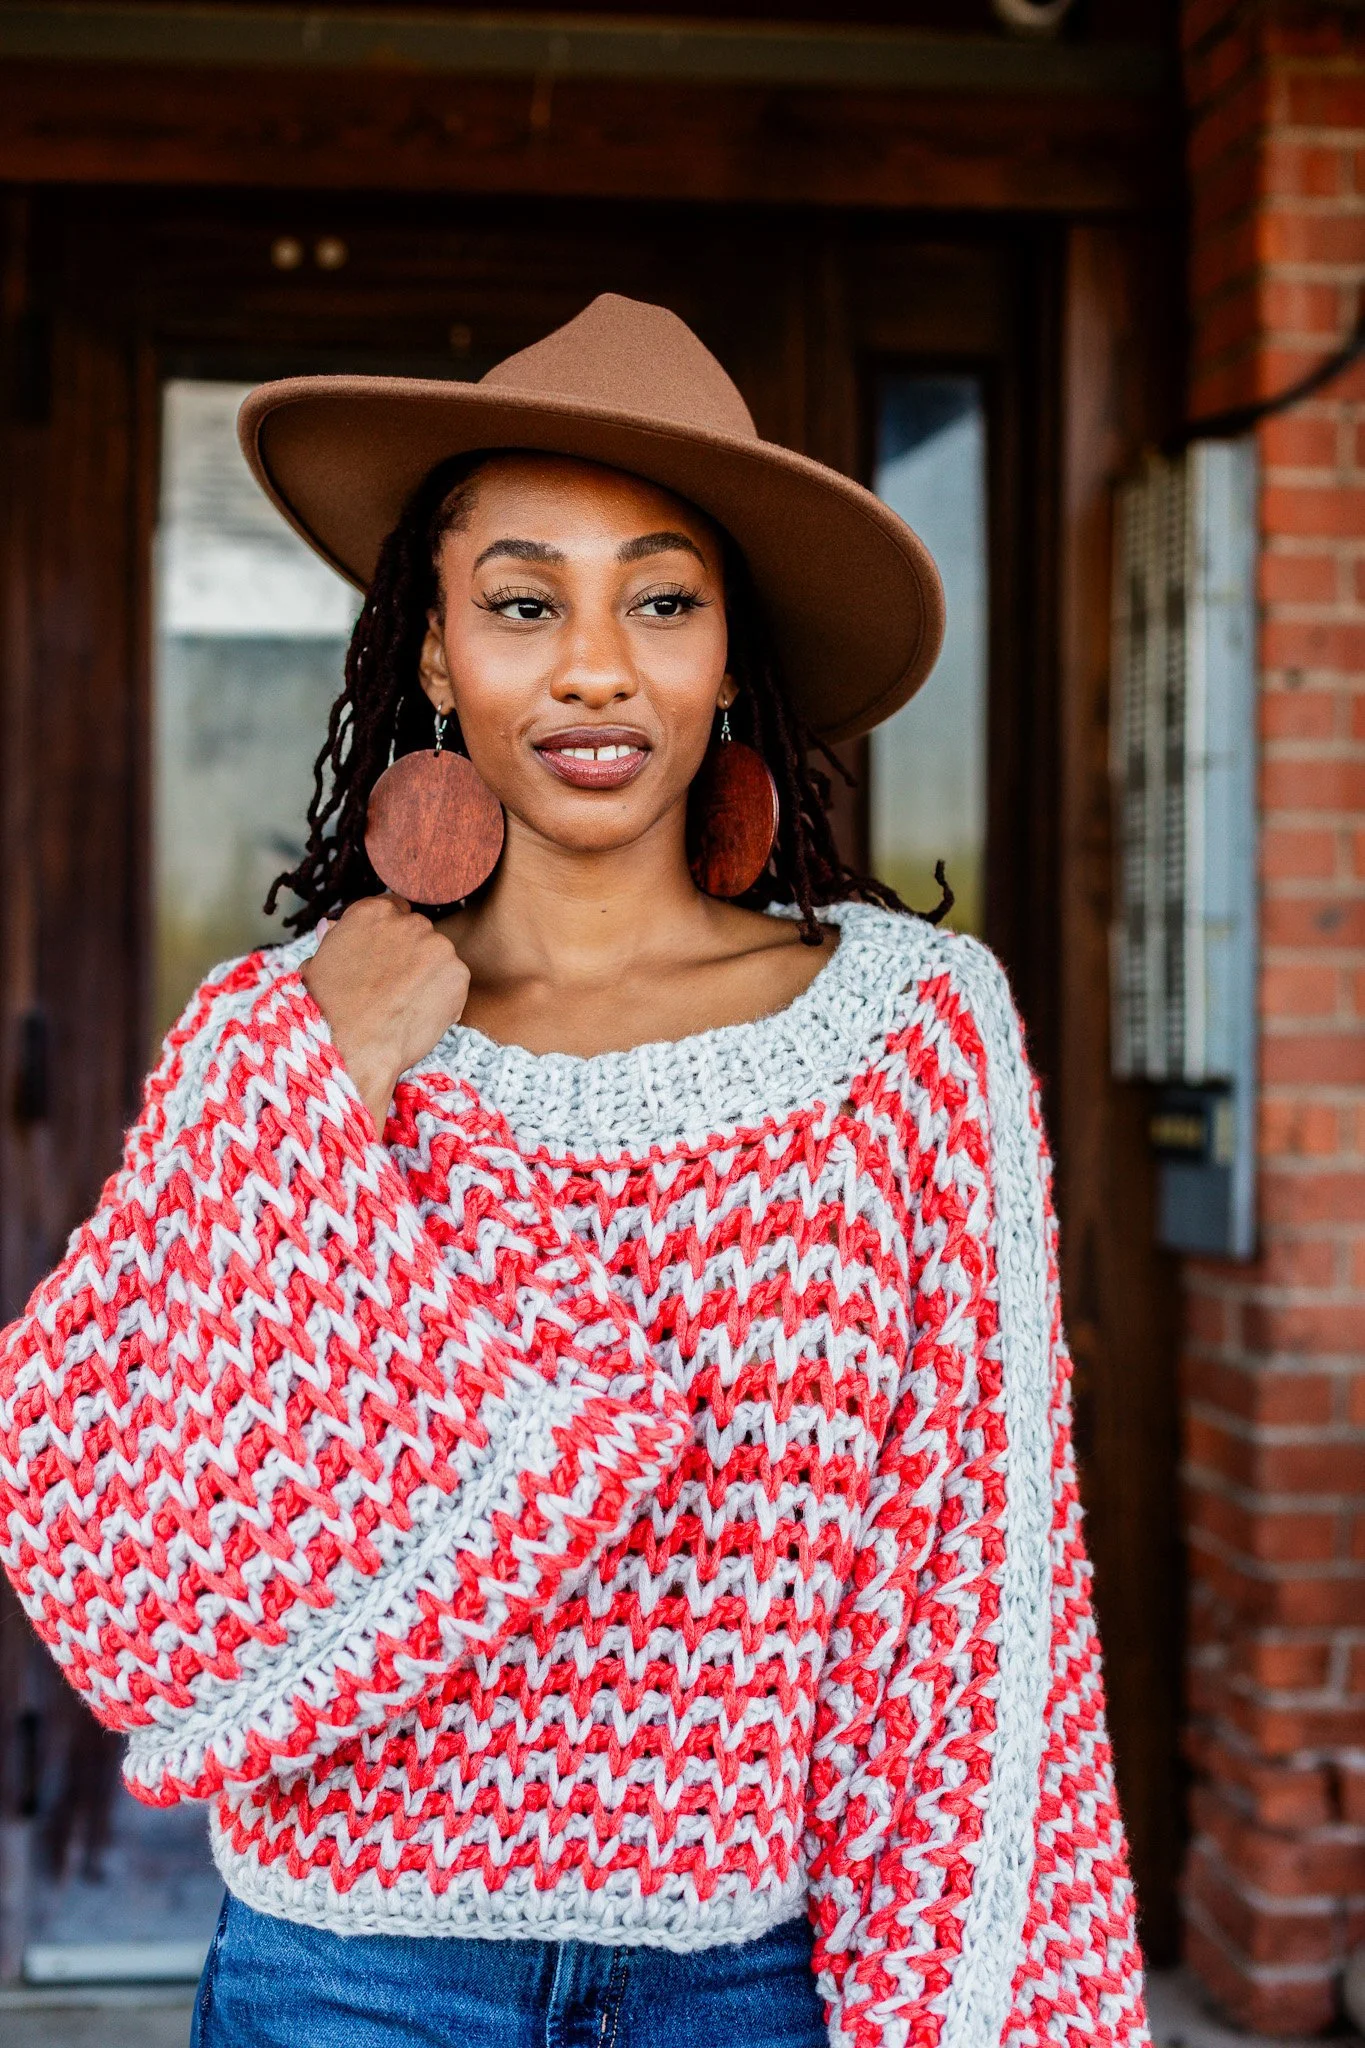
The Glimmer Poncho is where striking texture meets cozy sophistication. Designed by TL Yarn Crafts, this Tunisian crochet poncho brings two-tone flair to chilly days with bold, high-contrast striping and plush bell sleeves that move with elegance. The shaped neckline frames the collarbone just right, while the cropped silhouette offers a modern, wearable fit that layers effortlessly over everything from flowy dresses to high-waisted denim.
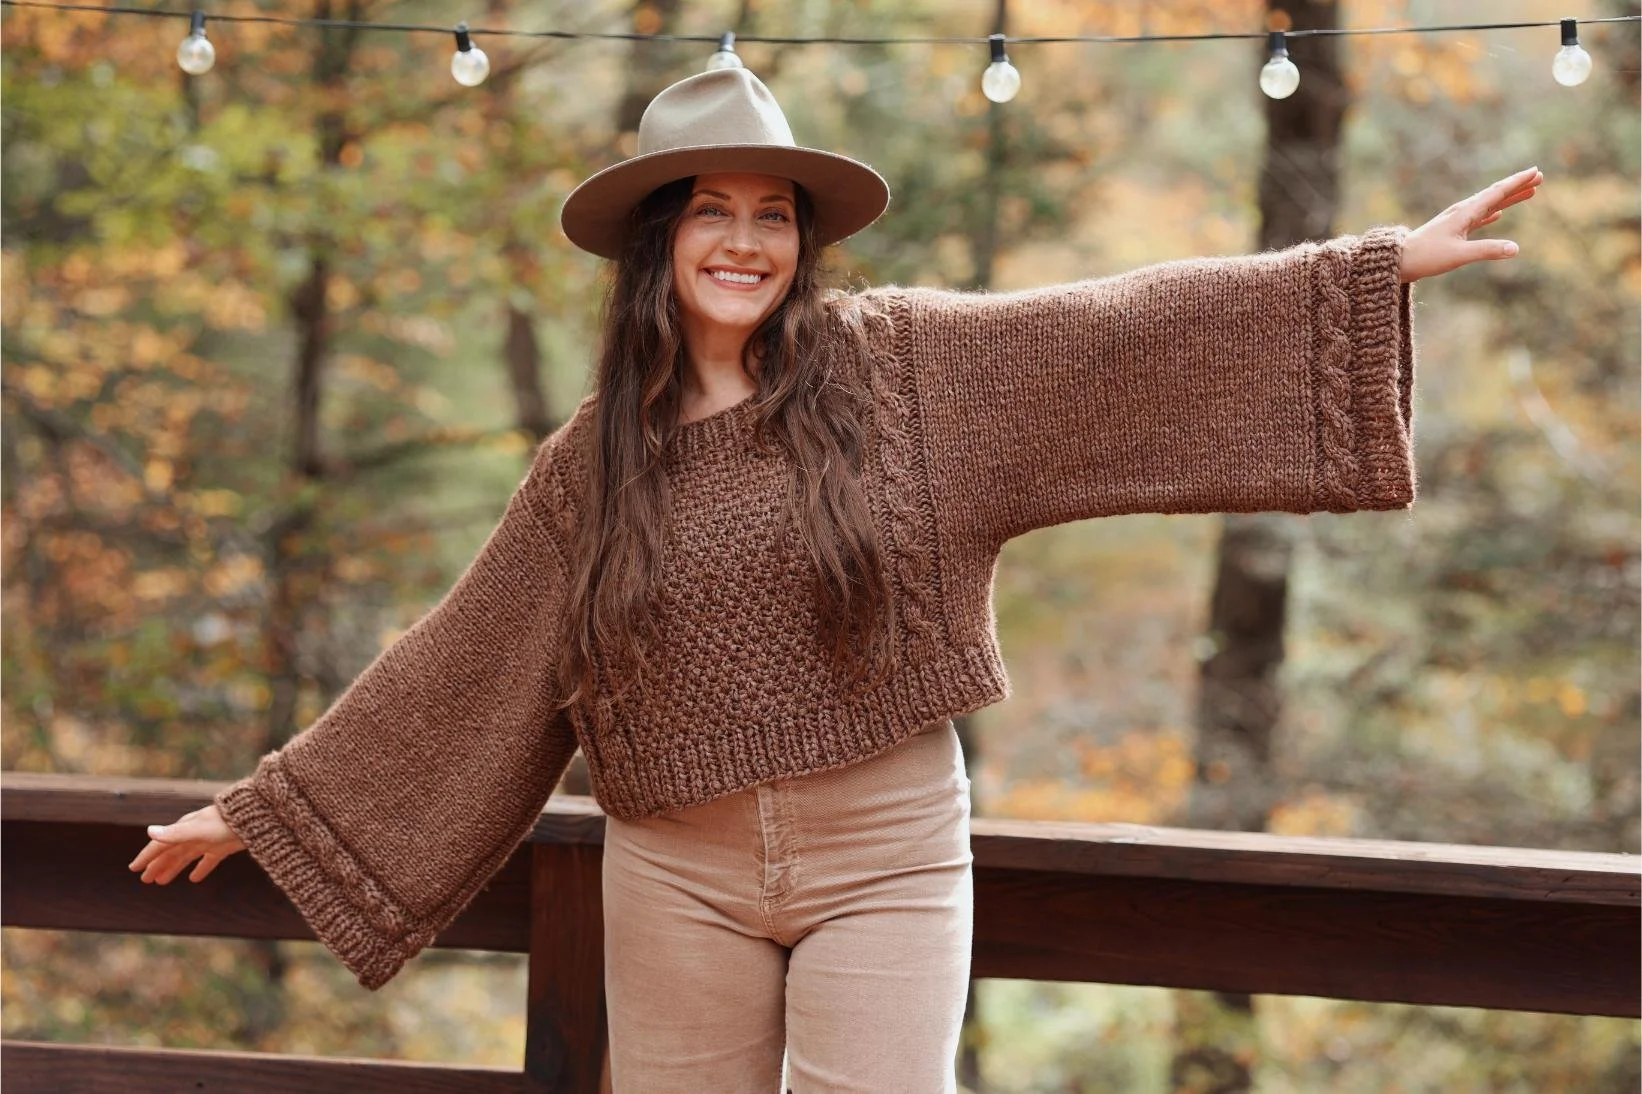
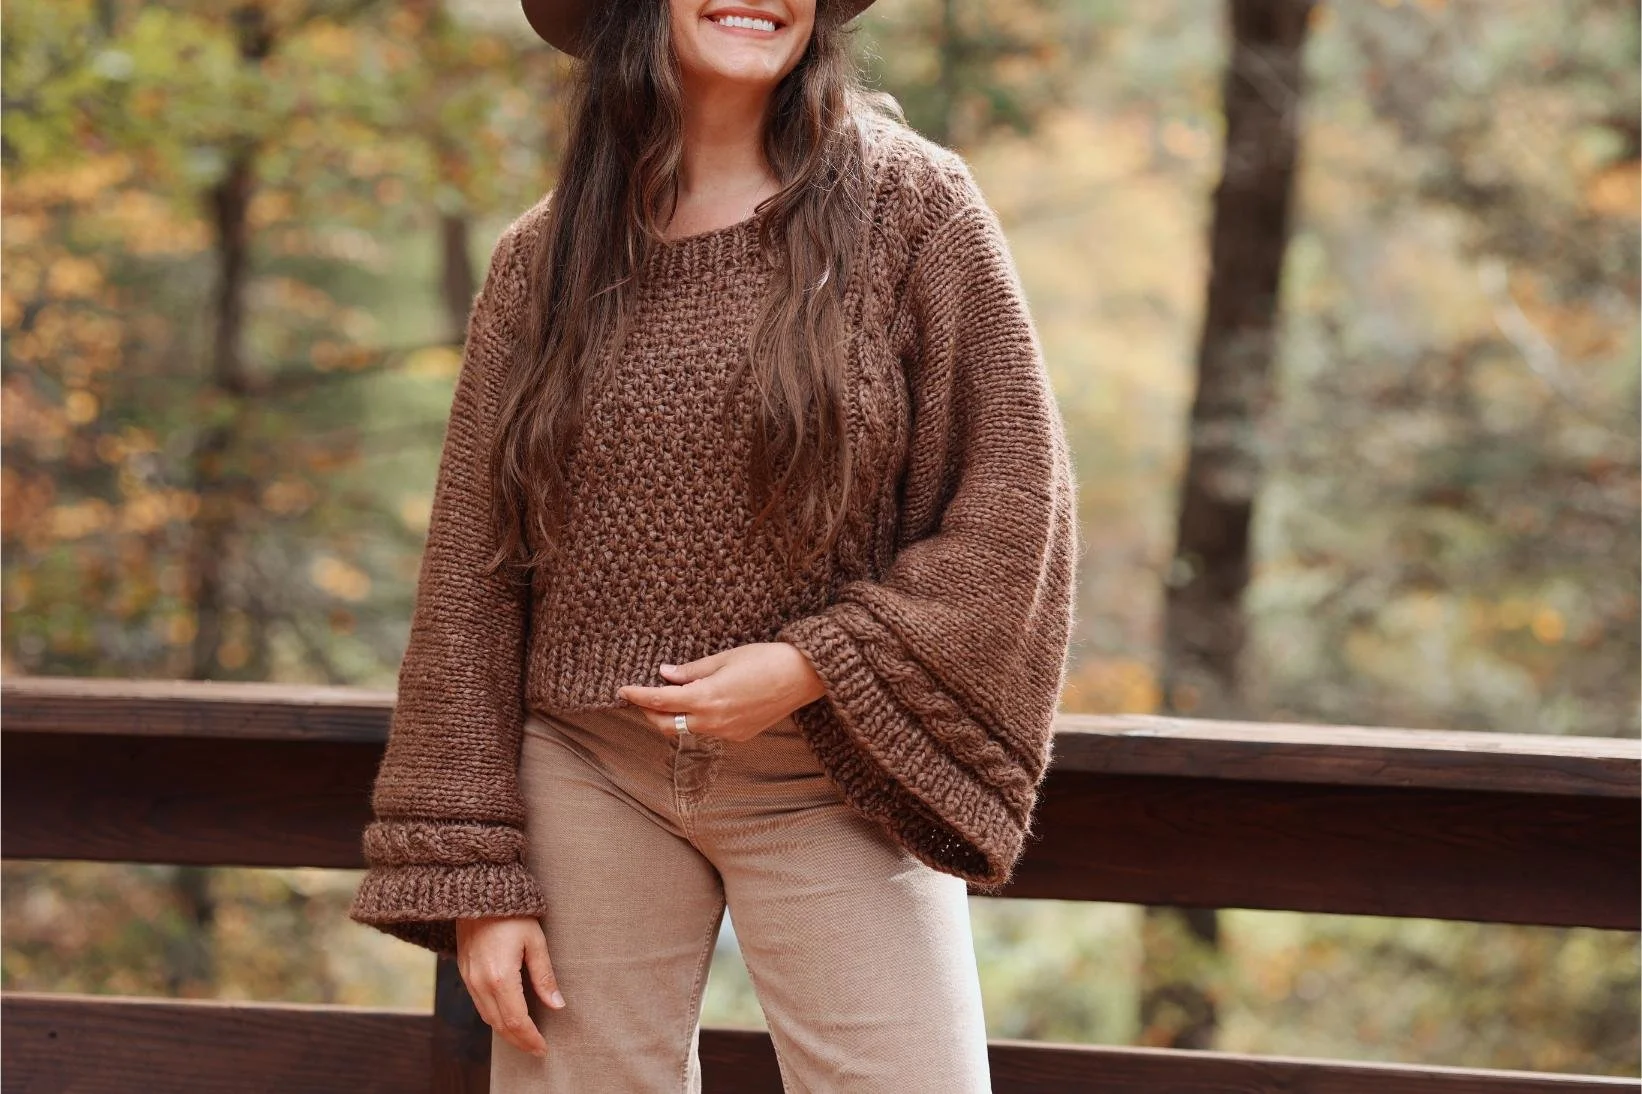
Indulge in luxurious textures and unmatched softness with the Lucent Sweater. This drapey number will have you feeling chic all winter and it does double duty as a cozy layer to throw on with jeans or as an elegant addition to your holiday party ensemble.
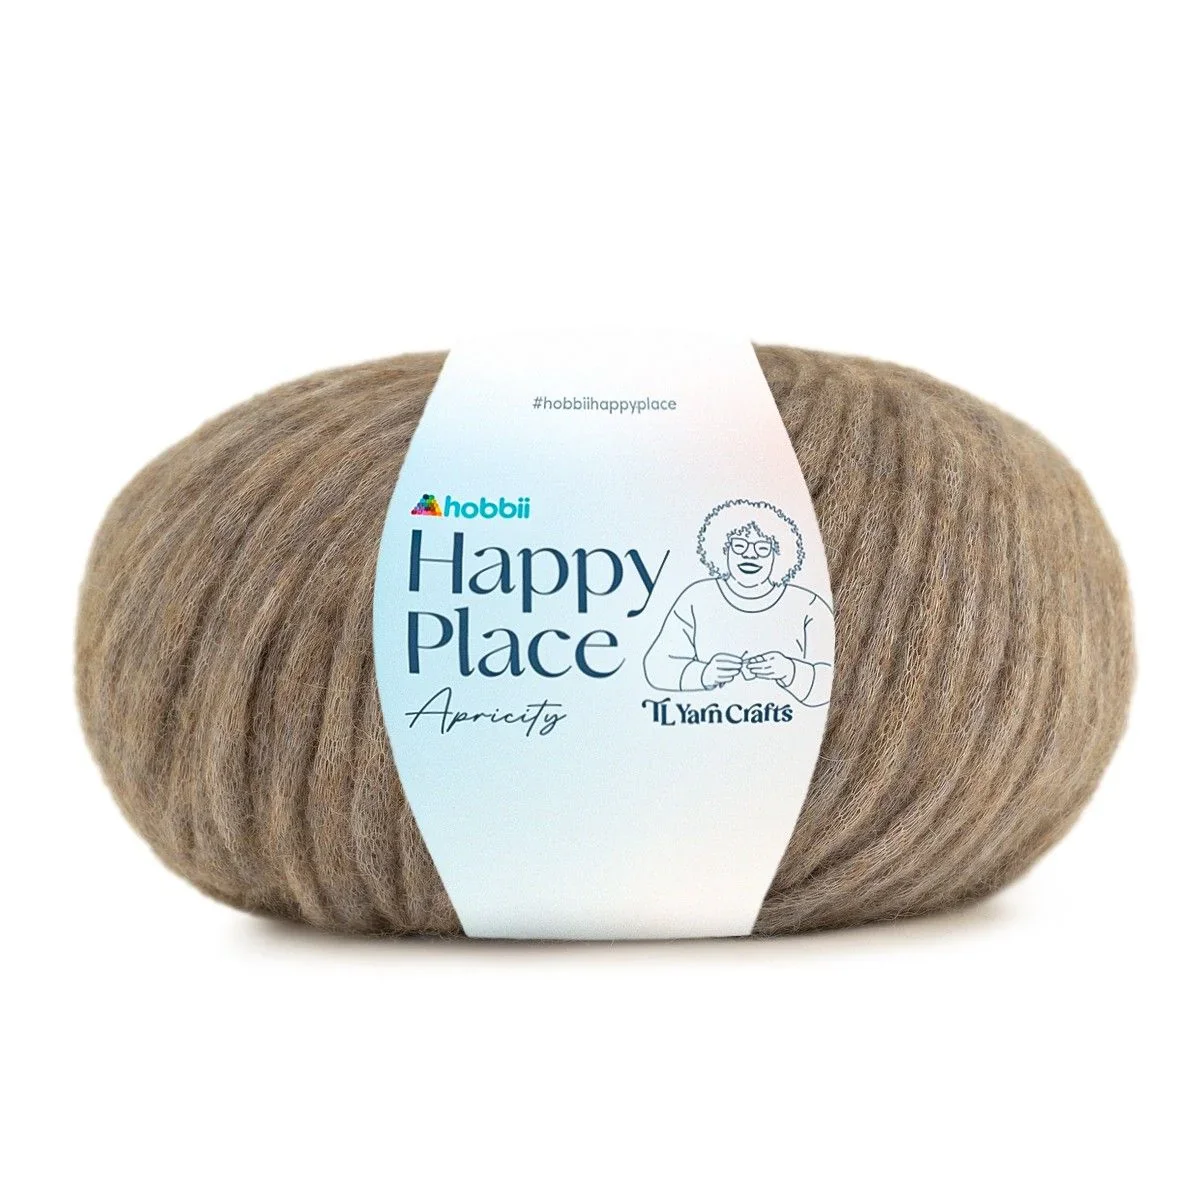
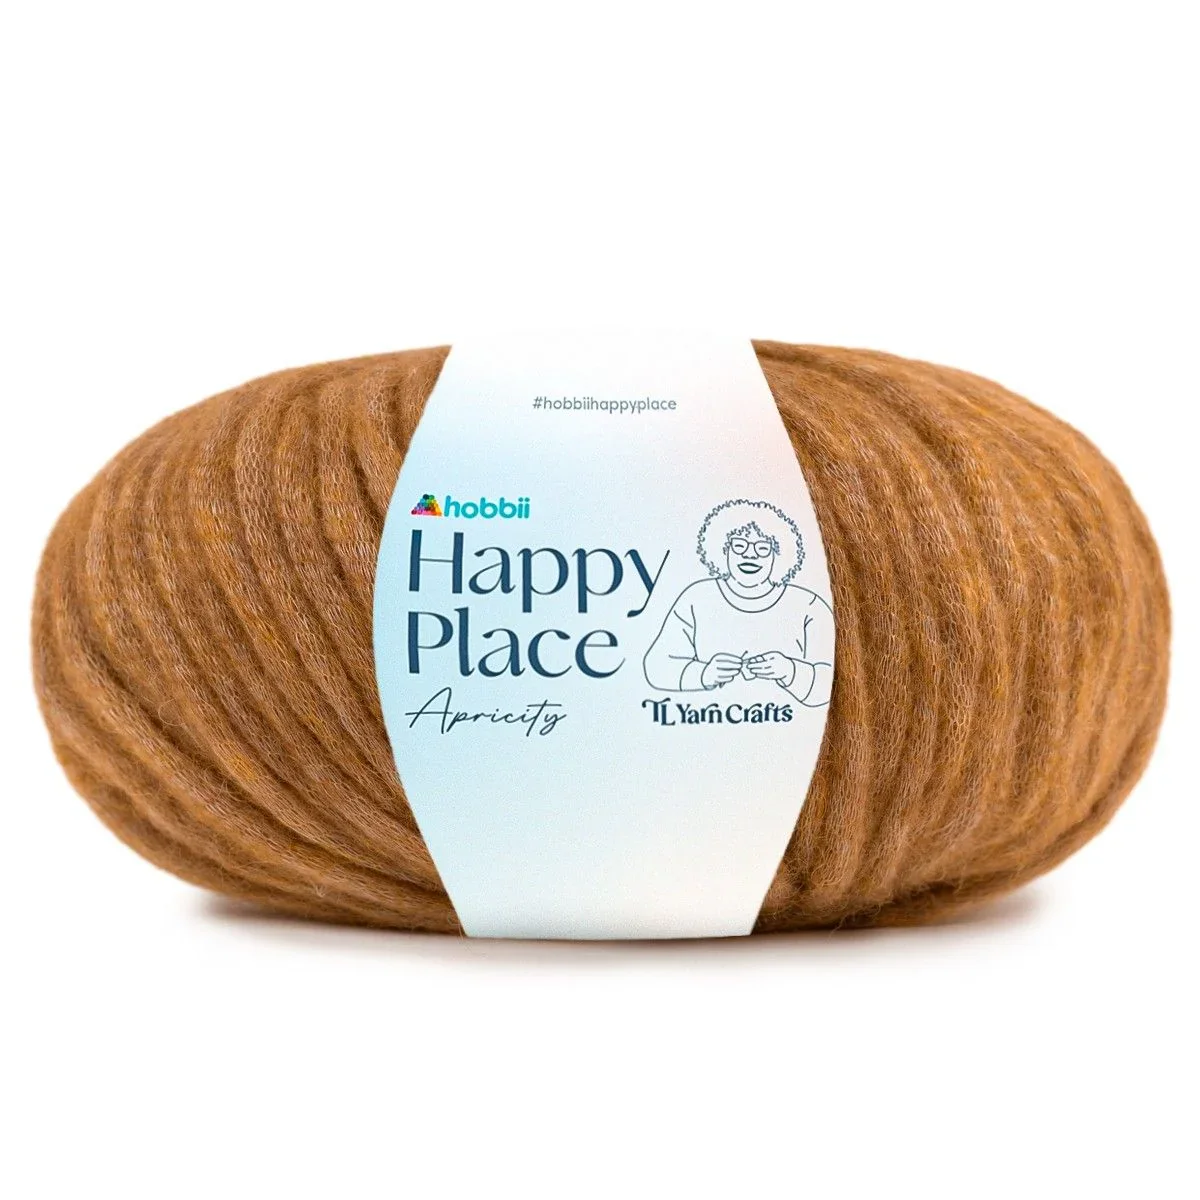
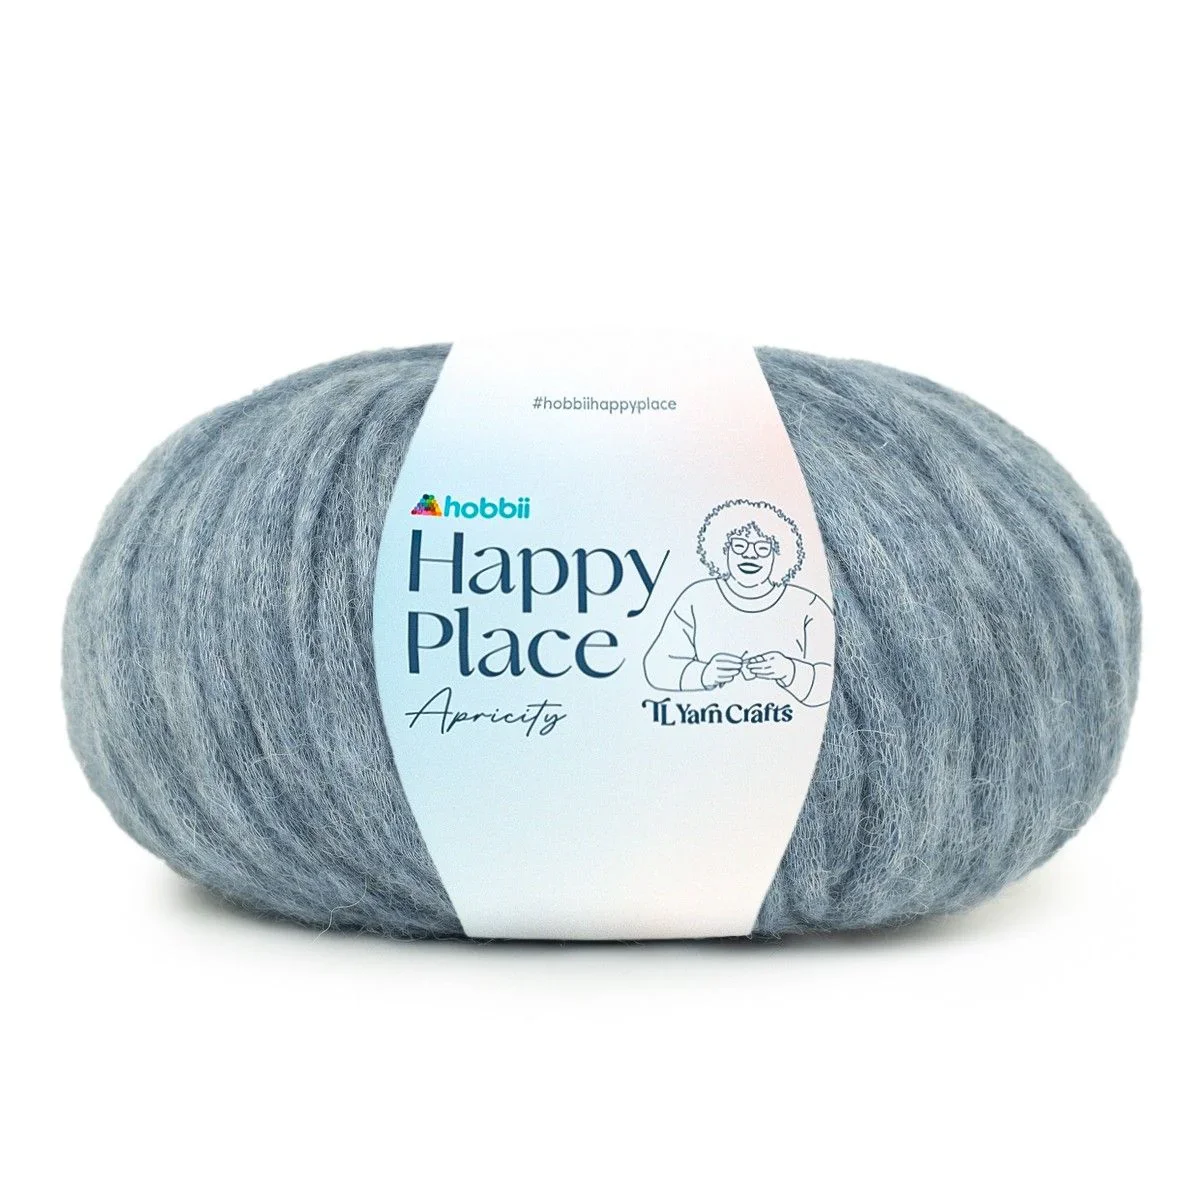
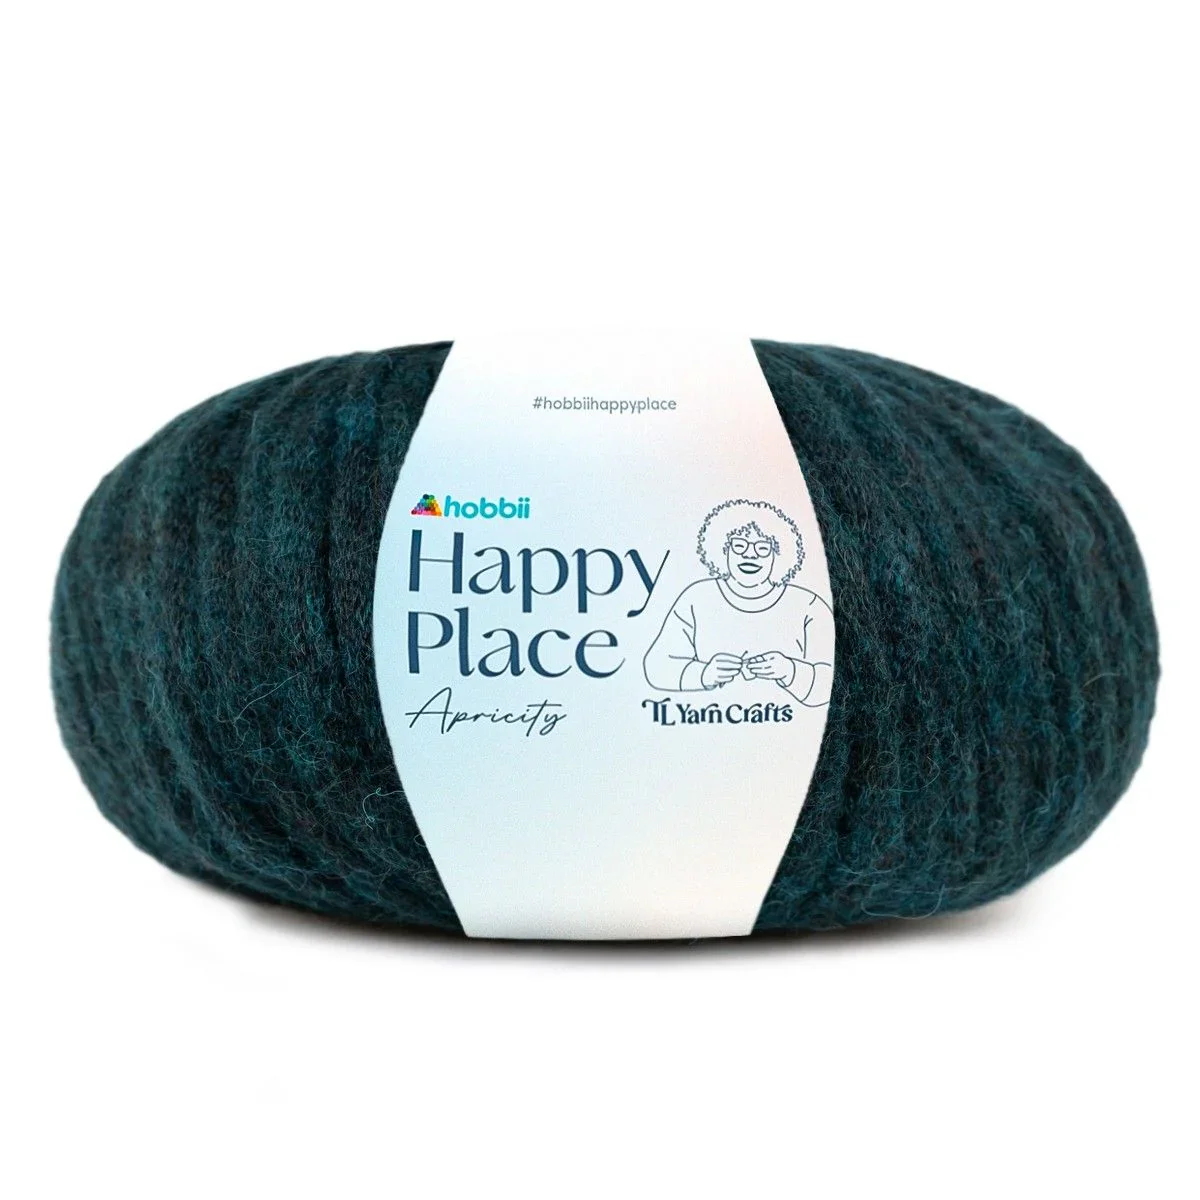
Toni did such an amazing job putting together the palette for Apricity, which comes in 25 stunning shades. Have a look at my other top choices for the Lucent Sweater:
01
02
04
18
19
22

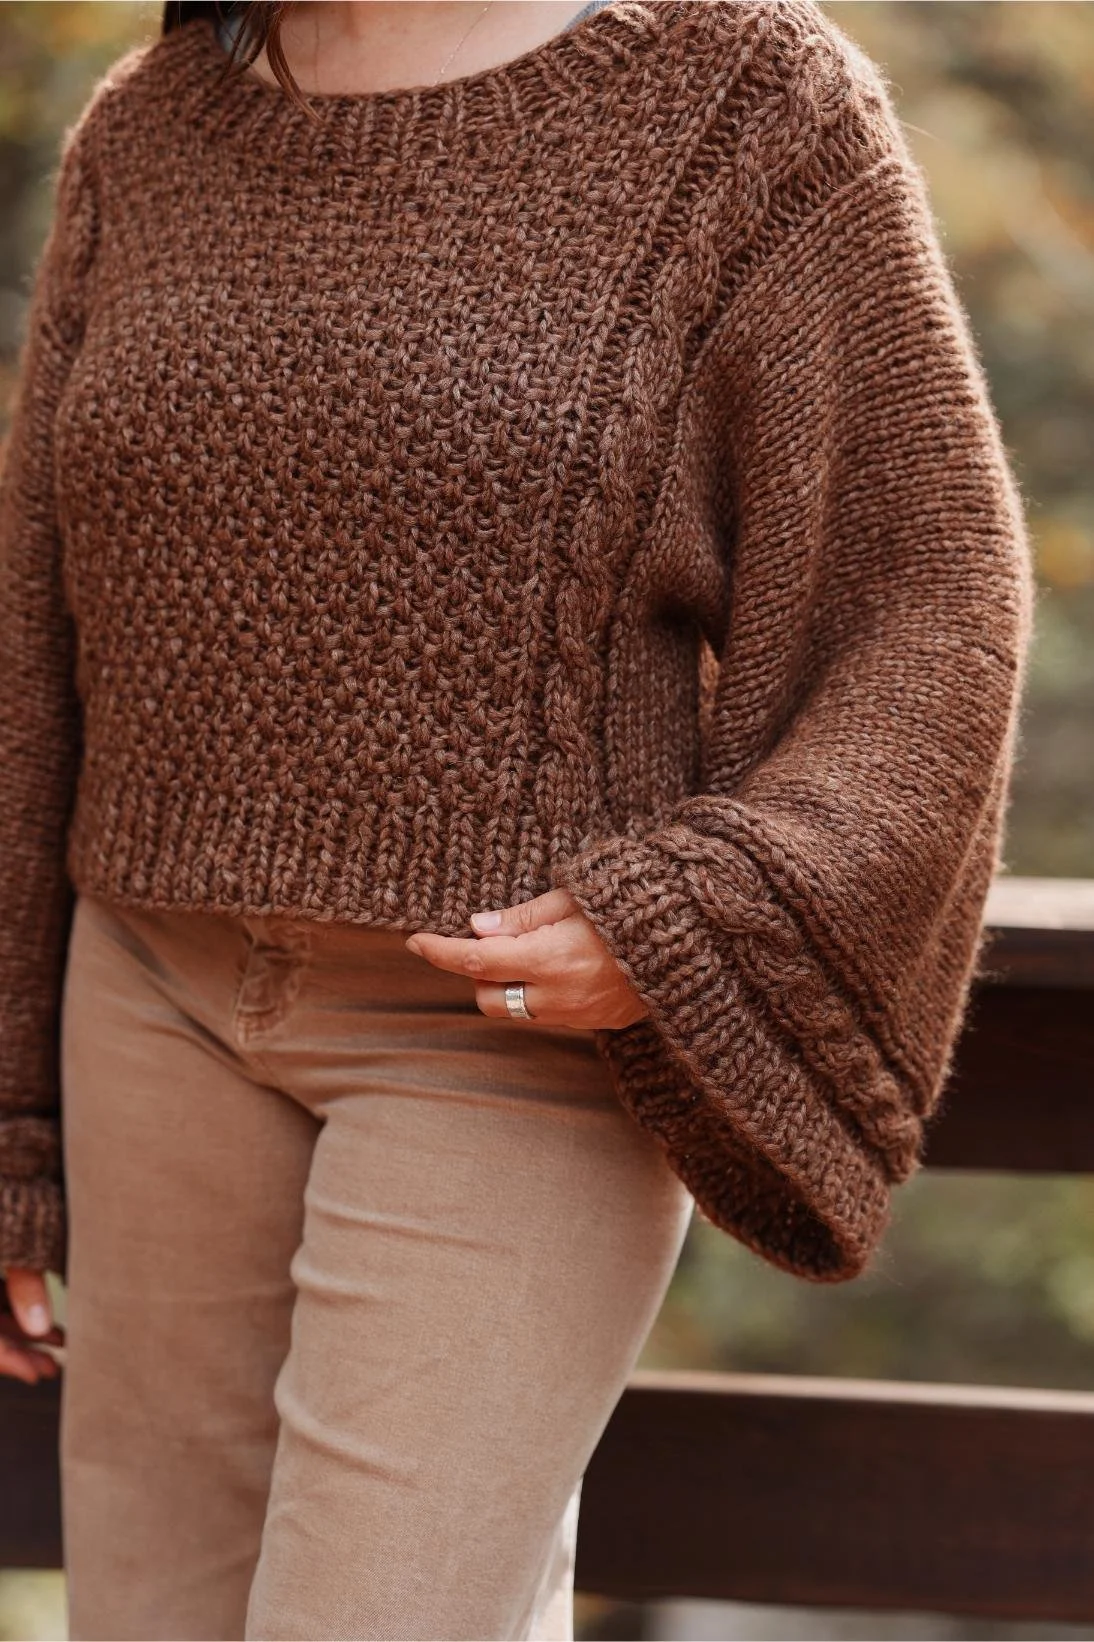
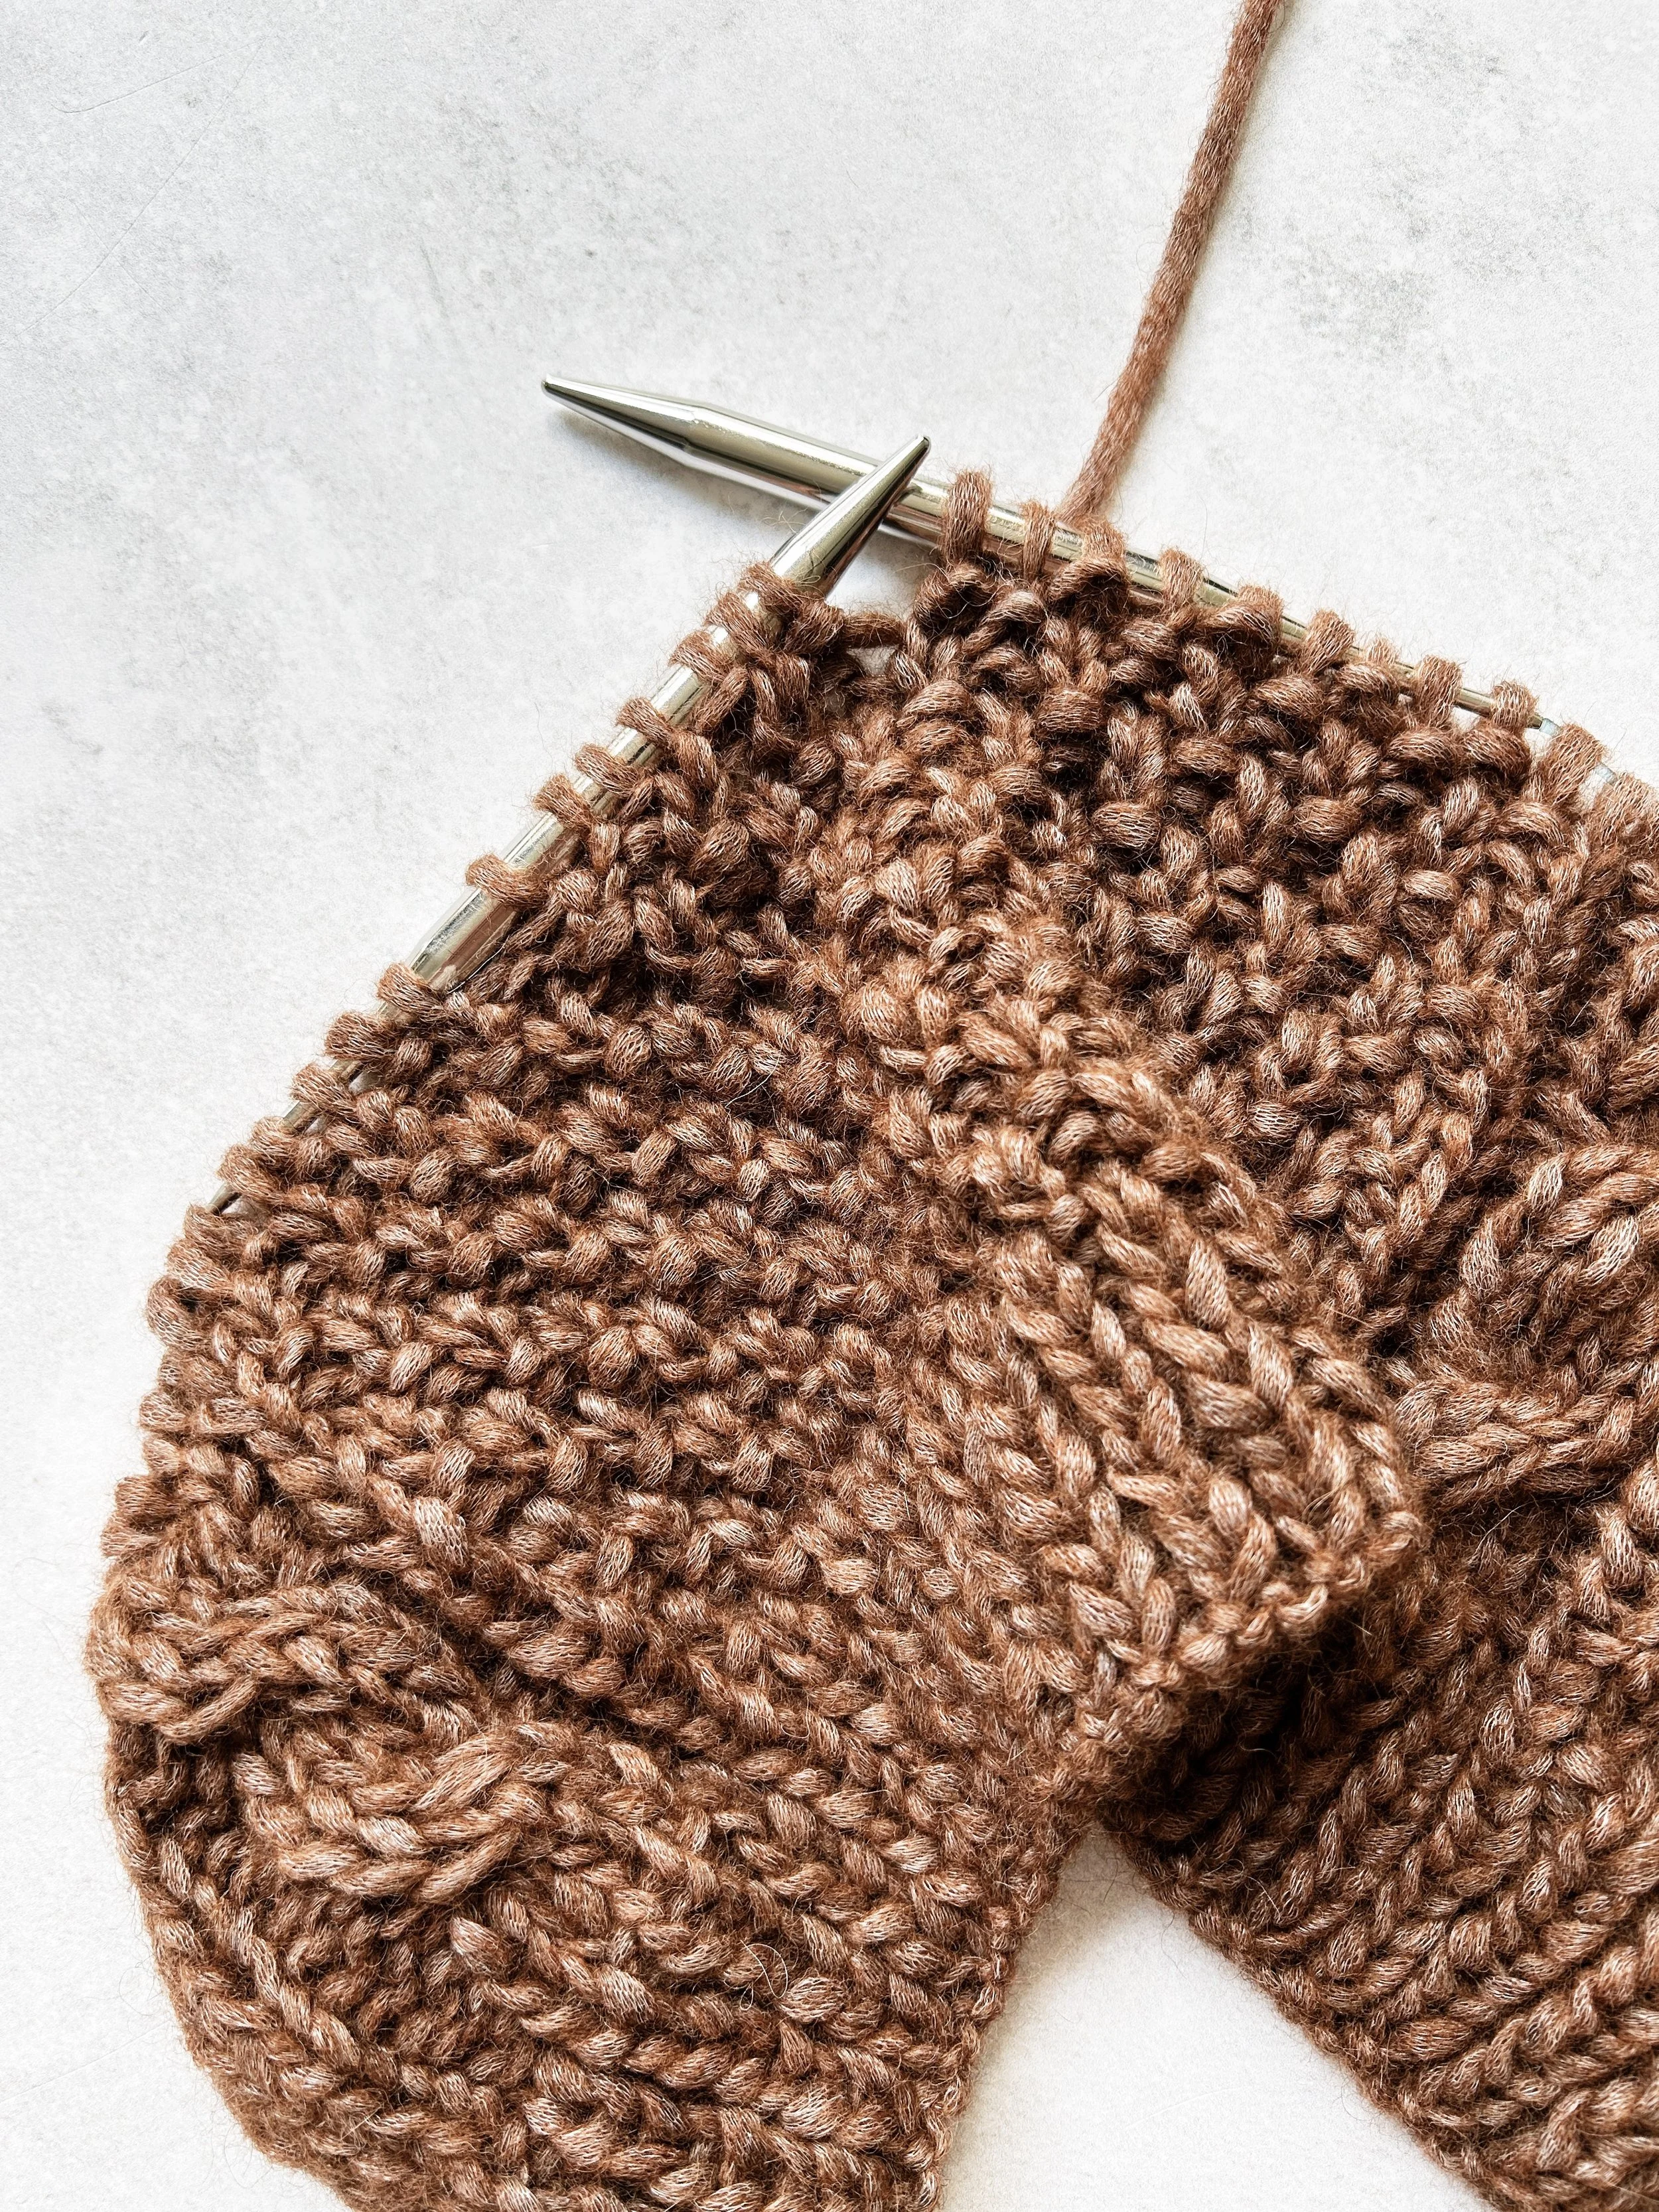
This is an easy level knitting pattern and the techniques involved are knitting and purling, reading charts, moss stitch, cables, picking up stitches along an edge, and seaming.
MATERIALS
9 (10, 10, 11, 12) (12, 13, 14, 14) skeins Hobbii Apricity in color 05
(super bulky, weight 6; 76yds/70m per 1.75oz/50g skein)
Size US 13 (9mm) 40”/100mm long circular needles
Size US 13 (9mm) 16”/40mm long circular needles
Cable needle or Size US 13 (9mm) or smaller double pointed needle
Stitch holder or scrap yarn
Stitch markers
Tapestry needle
GAUGE
12 sts + 16 rows = 4”/10cm in stockinette
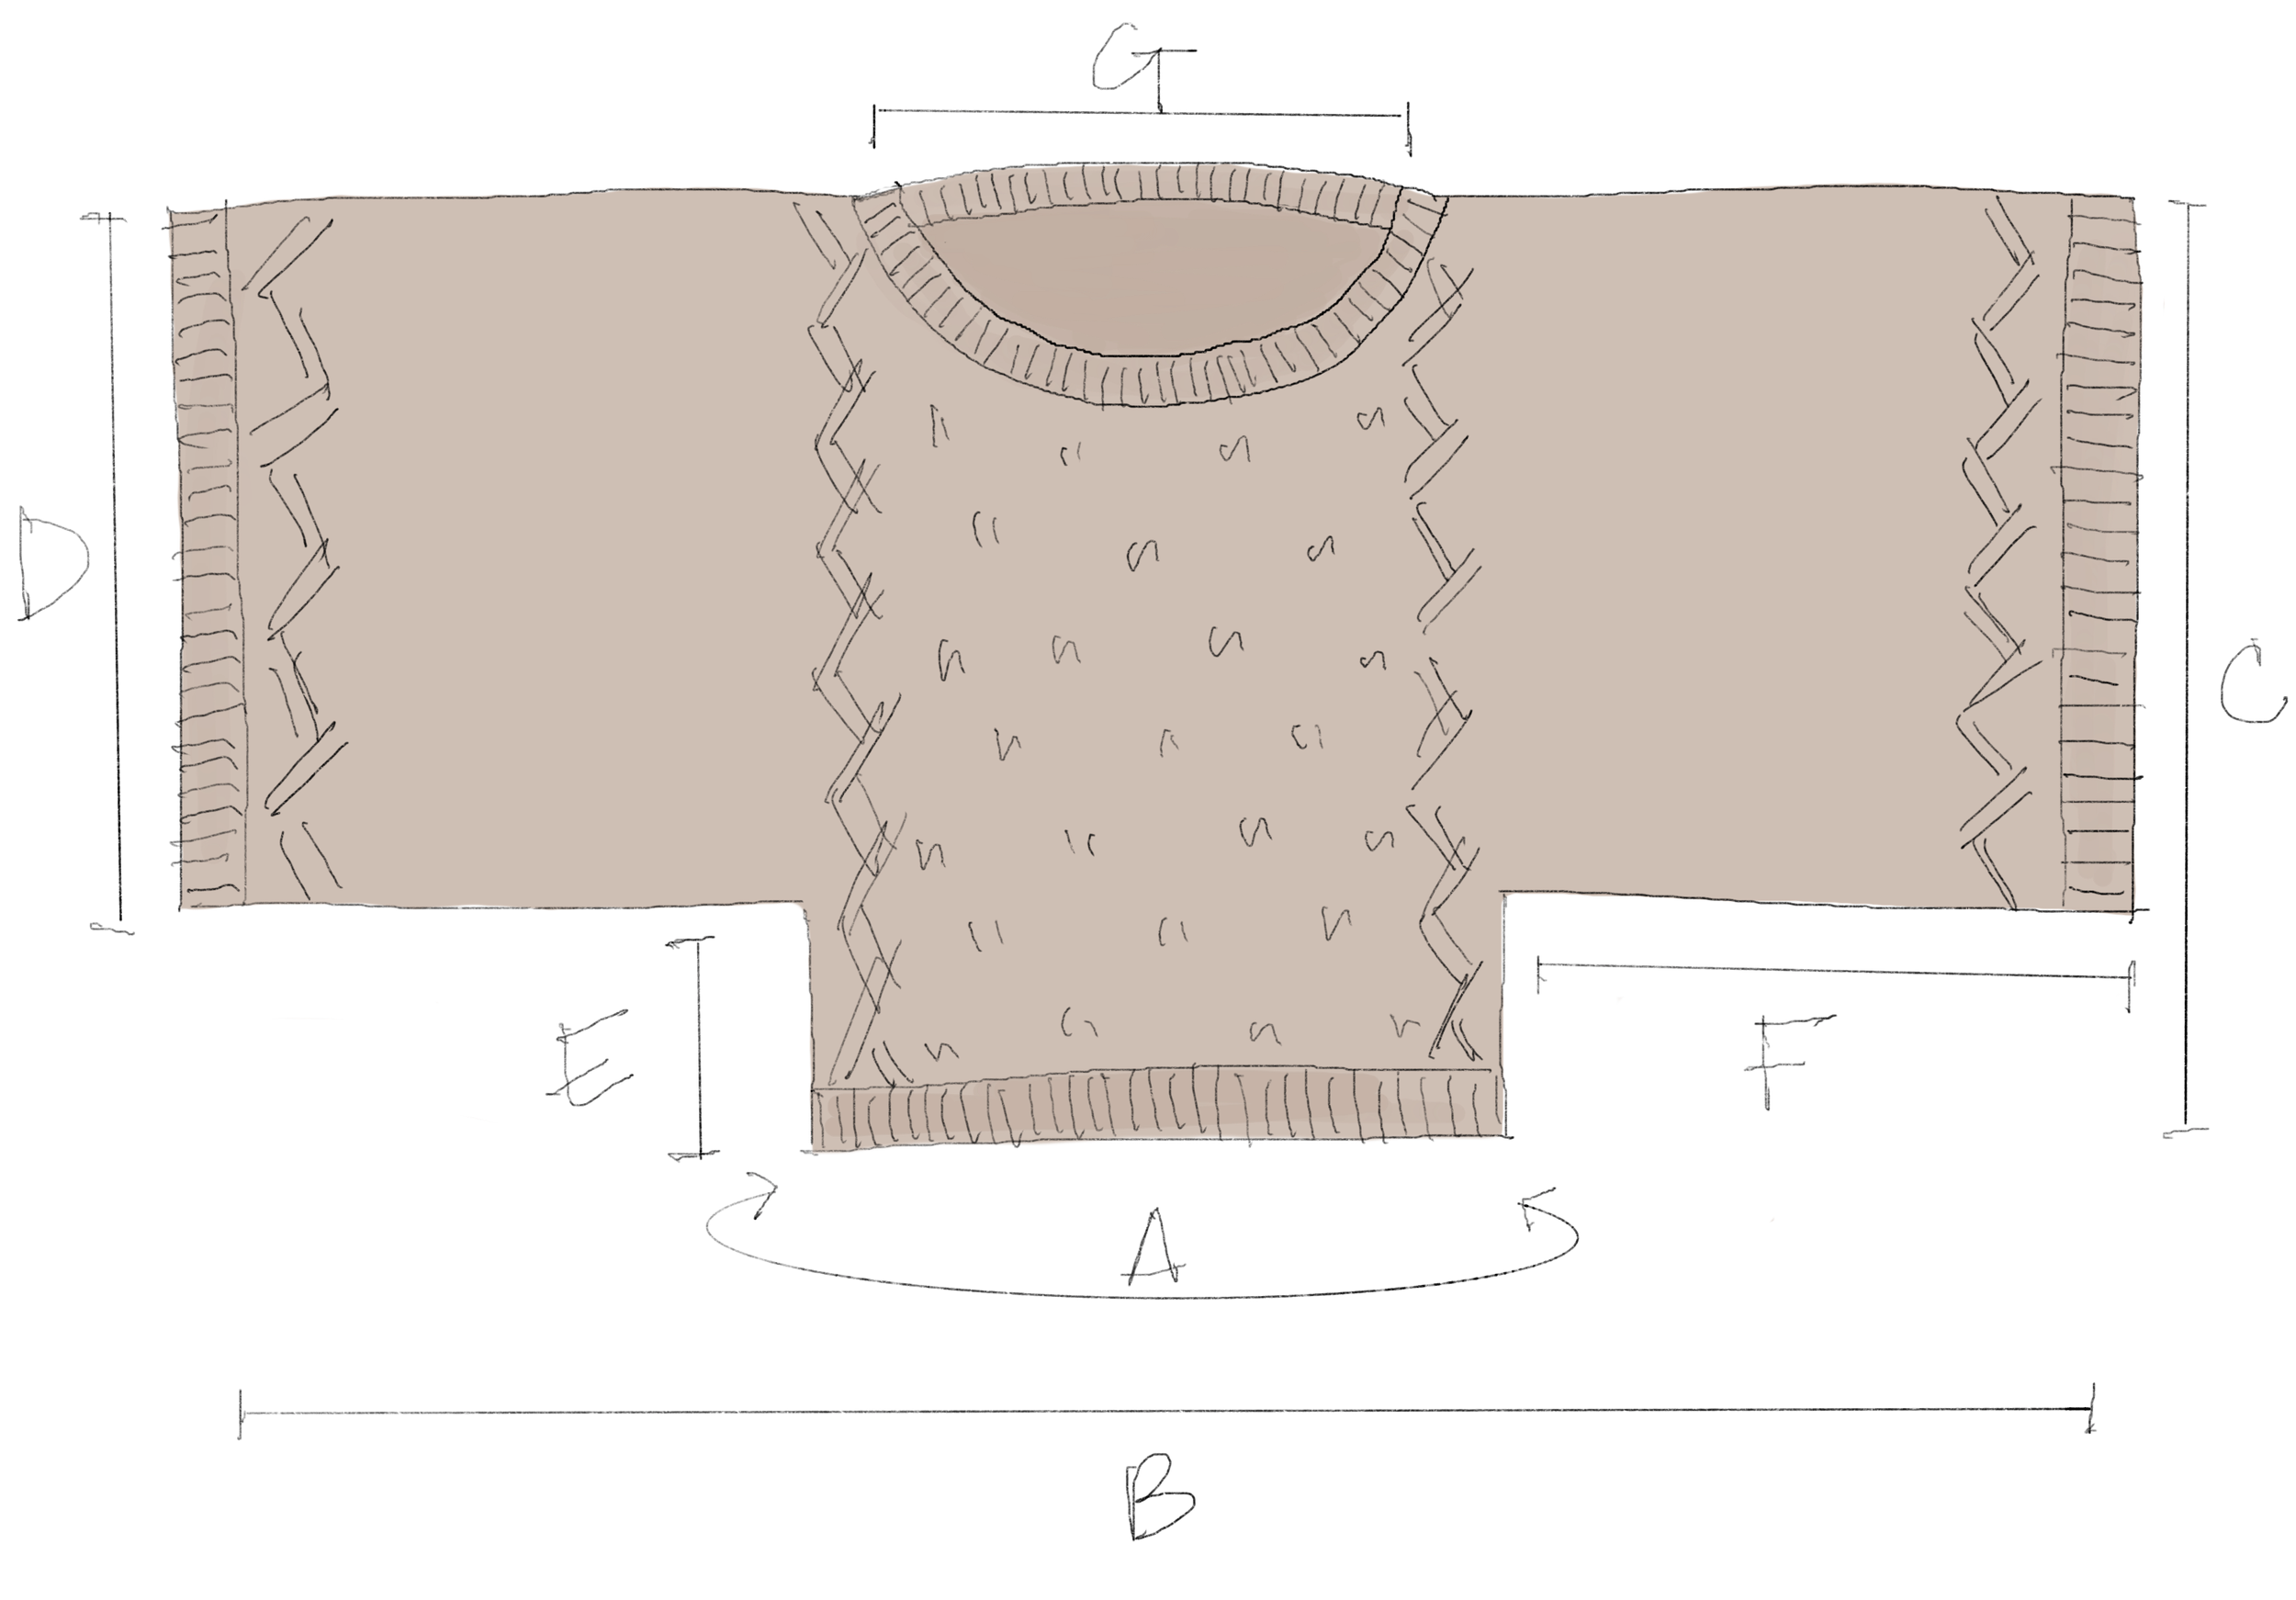
FINISHED DIMENSIONS
Suggested positive ease: 10-12”/25.5-30.5cm
Pictured in a size S on model with 34”/86.5cm bust

ABBREVIATIONS
*All Two of Wands patterns are written in standard US terms.
CO – cast on
C4B – cable 4 back
C4F – cable 4 front
Inc – increase
K – knit
M1l – make 1 left
M1r – make 1 right
P – purl
Pm – place marker
Rep – repeat
Rnd(s) – round(s)
RS – right side
Sm – slip marker
St(s) – stitch(es)
WS – wrong side
STITCH EXPLANATION
C4B (cable 4 back) – Place 2 stitches on a cable needle or dpn and hold to the back of the work. Knit the next 2 stitches, then slip the 2 stitches from the cable needle back onto the left needle and knit them.
C4F (cable 4 front) – Place 2 stitches on a cable needle or dpn and hold to the front of the work. Knit the next 2 stitches, then slip the 2 stitches from the cable needle back onto the left needle and knit them.
Moss stitch – (P 1, K 1) across for the first 2 rows, then (K 1, P 1) across for the next 2 rows, then (P 1, K 1) across for the next 2 rows, and so on, alternating the K and P sts every 2 rows.
Stockinette – K all RS sts and P all WS sts.
M1l (make 1 left) – Insert the left needle from front to back under the bar that connects the last stitch worked on the left needle and the next stitch to be worked on the right needle. Knit into the back leg of the new stitch.
M1r (make 1 right) – Insert the left needle from back to front under the bar that connects the last stitch worked on the left needle and the next stitch to be worked on the right needle. Knit into the front leg of the new stitch.
NOTES
Sweater is knit from the bottom up the back and then continues from the top down the front. Seams are worked up the sides and then down the underside of the sleeves, and then ribbed cuffs are added to the ends of the sleeves. Markers are placed to indicate the beginning and end of each chart. Pattern is written for 9 sizes: XS (S, M, L, XL) (2XL, 3XL, 4XL, 5XL). To customize the wingspan measurement, read the instructions in the “customization” section provided at the end of the pattern.
BACK + FRONT
With longer needles, CO 60 (66, 72, 78, 84) (90, 96, 102, 108) sts.
Sizes XS (-, -, -, -) (2XL, -, 4XL, 5XL) only:
Rows 1-8: (K 1, P 1) across.
Sizes - (S, M, L, XL) (-, 3XL, -, -) only:
Rows 1-8: (P 1, K 1) across.
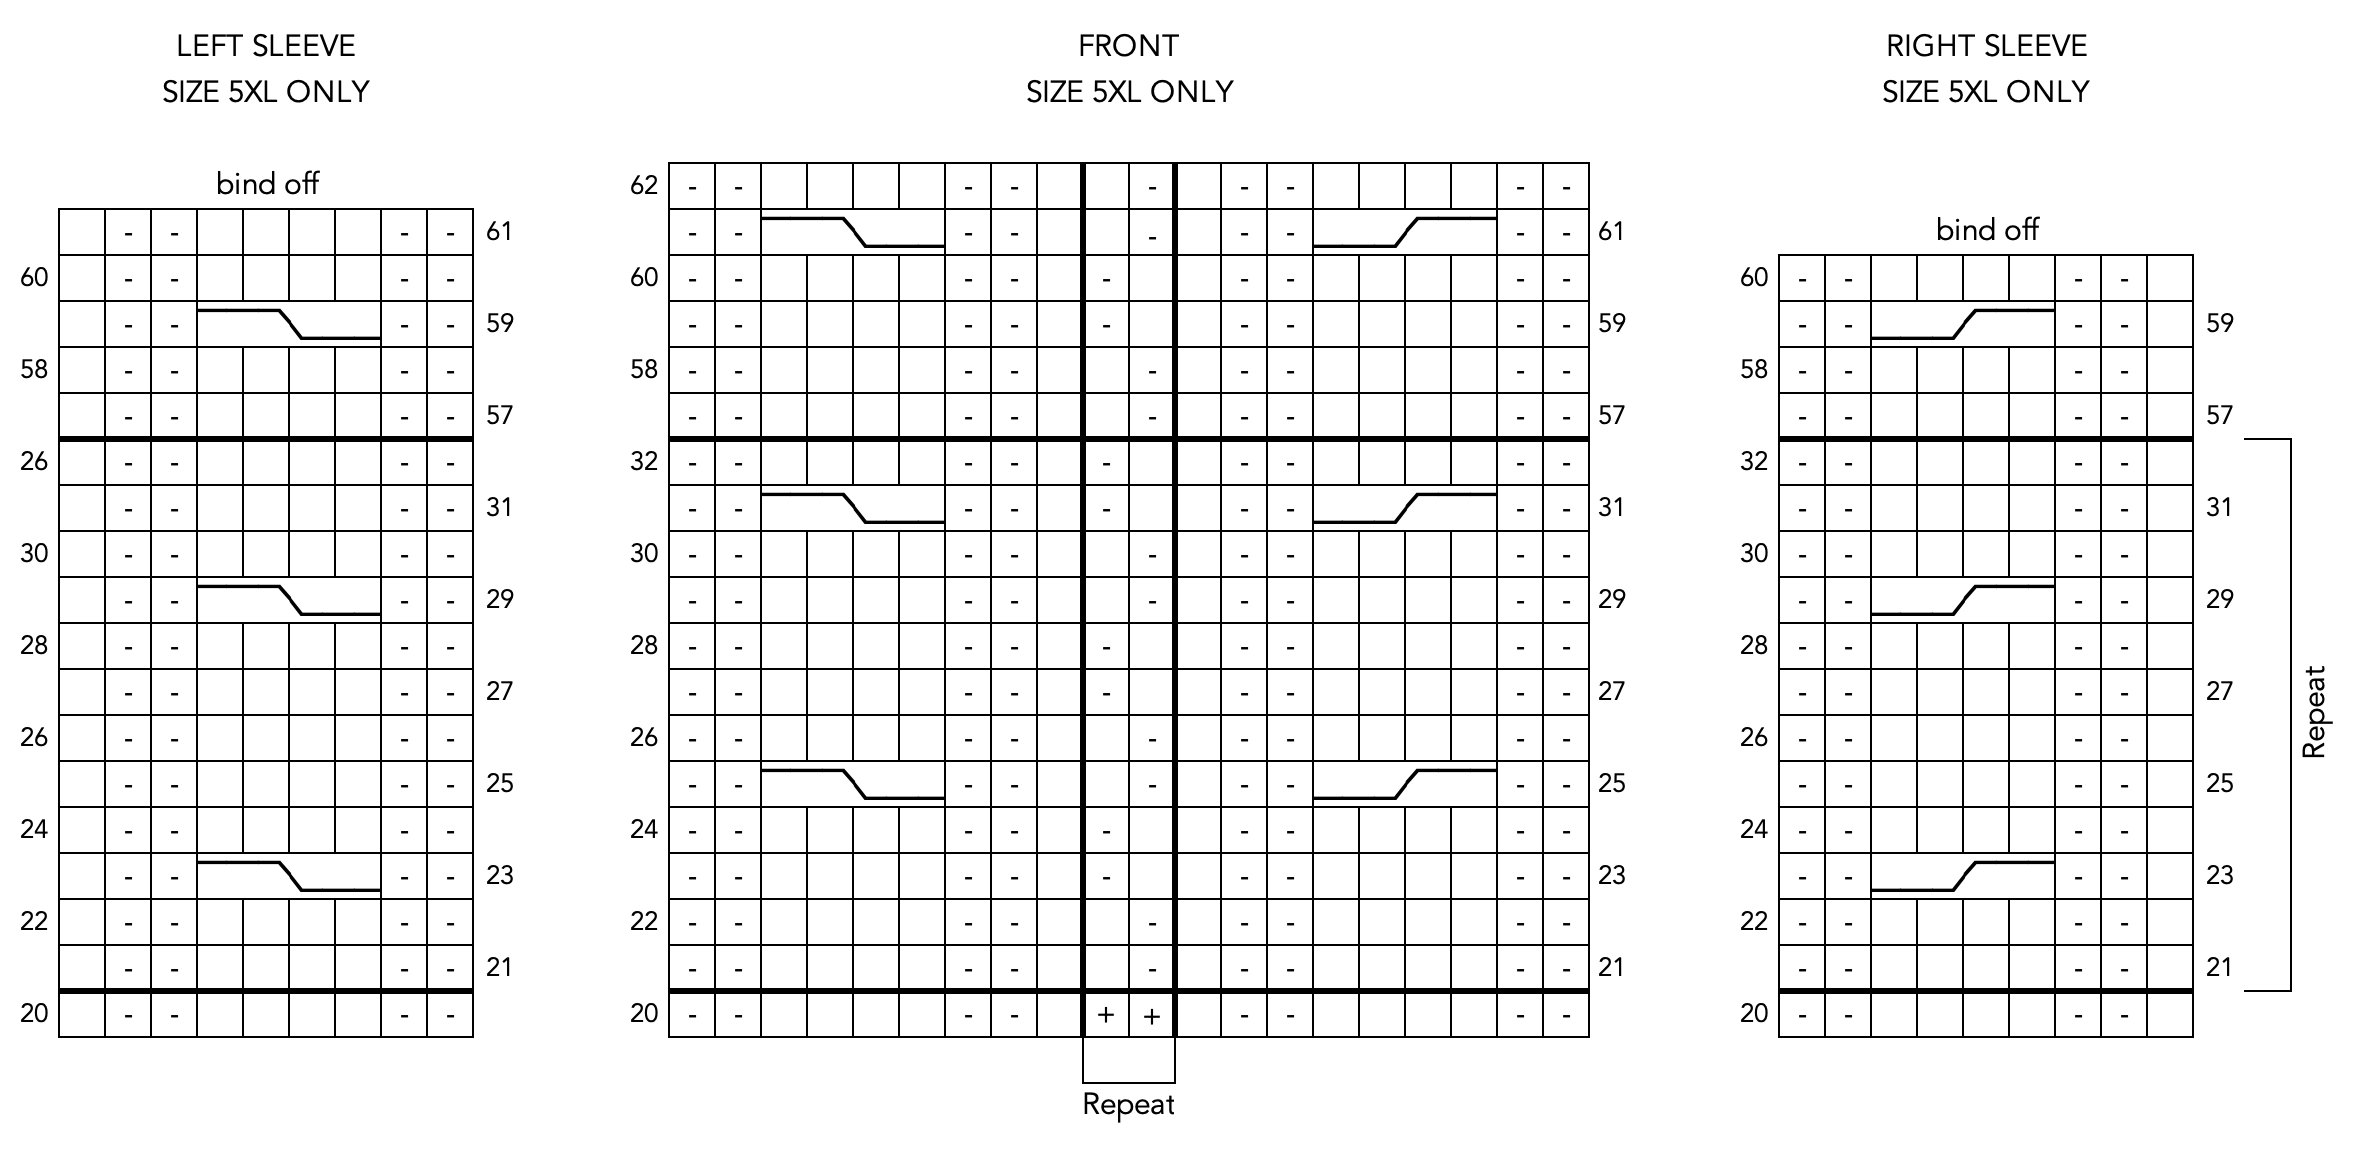
Begin back chart:
Chart is worked over the centermost 50 (50, 50, 52, 52) (52, 54, 54, 54) sts and begins at the bottom right corner, row 9. Odd/RS rows are read right to left and even/WS rows are read left to right.
Sizes XS (S, -, -, XL) (2XL, -, -, 5XL) only:
Row 9 (RS): K 5 (8, -, -, 16) (19, -, -, 27), pm, (begin chart) P 2, K 4, P 2, K 1, (P 1, K 1) 16 (16, -, -, 17) (17, -, -, 18) times, K 1, P 2, K 4, P 2 (end chart), pm, K 5 (8, -, -, 16) (19, -, -, 27).
Sizes - (-, M, L, -) (-, 3XL, 4XL, -) only:
Row 9 (RS): K - (-, 11, 13, -) (-, 21, 24, -), pm, (begin chart) P 2, K 4, P 2, K 1, (K 1, P 1) - (-, 16, 17, -) (-, 18, 18, -) times, K 1, P 2, K 4, P 2 (end chart), pm, K - (-, 11, 13, -) (-, 21, 24, -).
All sizes:
Row 10 and all WS even rows: Work in pattern, knitting the K sts and purling the P sts and slipping markers as you come to them.
Row 11: K 5 (8, 11, 13, 16) (19, 21, 24, 27), sm, (begin chart) P 2, K 4, P 2, K 1, moss st across next 32 (32, 32, 34, 34) (34, 36, 36, 36) sts, K 1, P 2, K 4, P 2 (end chart), sm, K 5 (8, 11, 13, 16) (19, 21, 24, 27).
Row 13: K 5 (8, 11, 13, 16) (19, 21, 24, 27), sm, (begin chart) P 2, C4B, P 2, K 1, moss st across next 32 (32, 32, 34, 34) (34, 36, 36, 36) sts, K 1, P 2, C4F, P 2 (end chart), sm, K 5 (8, 11, 13, 16) (19, 21, 24, 27).
Rows 15-24 (24, 30, 30, 30) (30, 36, 36, 36): Work in pattern as established, working a cable row every 6 rows.


Cast on for sleeves and begin right sleeve, left sleeve, and back continued charts:
Row numbers will restart for simplicity. Right sleeve chart begins at the bottom right corner, row 1. Left sleeve chart begins at the bottom left corner, row 2. Odd/RS rows are read right to left and even/WS rows are read left to right. Markers indicate beginning and end of each chart.
Row 1 (RS): CO 42 (42, 42, 42, 39) (39, 38, 38, 35) sts, then working back across those sts, (begin right sleeve chart) K 1, P 2, K 4, P 2 (end chart), pm, K to next marker, sm, work in pattern as established following back continued chart. (102 (108, 114, 120, 123) (129, 134, 140, 143) sts)
Row 2 (WS): CO 42 (42, 42, 42, 39) (39, 38, 38, 35) sts, then working back across those sts, (begin left sleeve chart) P 1, K 2, P 4, K 2 (end chart), pm, P to next marker, sm, work in pattern as established following back continued chart, sm, P to next marker, sm, work in pattern as established following right sleeve chart. (144 (150, 156, 162, 162) (168, 172, 178, 178 sts)
Rows 3-48 (48, 48, 48, 54) (54, 54, 54, 60): Work in pattern as established, following all charts and working stockinette between them.
Do not bind off. Pattern will continue seamlessly down the front. End back continued chart but continue to follow right sleeve and left sleeve charts.


Shape right front neck and begin corresponding chart:
Row numbers will restart for simplicity. Right front neck chart begins at the bottom right corner, row 1. Odd/RS rows are read right to left and even/WS rows are read left to right. Markers indicate beginning and end of each chart.
Row 1 (RS): Work in pattern as established to marker that previously indicated beginning of back chart, sm, (begin right front neck chart) work as established across 9 sts, K 1, then turn the work leaving the remaining sts unworked. These sts can be placed on a st holder or simply left on the needles while the right front is completed. (57 (60, 63, 65, 65) (68, 69, 72, 72) sts on needles for right front; 87 (90, 93, 97, 97) (100, 103, 106, 106) unworked sts remain.
Row 2 and all WS even rows: Work in pattern as established, following both charts and keeping the neckline st in stockinette throughout.
Rows 3-6: Work in pattern as established, following both charts and keeping the neckline st in stockinette throughout.
Row 7 (inc): Work in pattern as established to last st, m1r, K 1. (58 (61, 64, 66, 66) (69, 70, 73, 73) sts)
Begin to incorporate the moss st pattern at the center front on the next row as per the chart, but continue to keep the neckline/edge st in stockinette throughout.
Rows 9-16: Rep row 7 and 8, 4 more times. (62 (65, 68, 70, 70) (73, 74, 77, 77) sts)
Row 17: Work in pattern as established across, CO 2 sts. (64 (67, 70, 72, 72) (75, 76, 79, 79) sts)
Row 19: Rep row 17. (66 (69, 72, 74, 74) (77, 78, 81, 81) sts)
Break yarn and place right front sts on a holder or simply leave them on the needles while the left front is completed.
Shape left front neck and begin corresponding chart:
If necessary, place remaining sts from back on left needle. Rejoin yarn to begin working across a RS row. Left front neck chart begins at the bottom right corner, row 1. Odd/RS rows are read right to left and even/WS rows are read left to right. Markers indicate beginning and end of each chart.
Row 1 (RS): Bind off 30 (30, 30, 32, 32) (32, 34, 34, 34) sts, (begin left front neck chart and note that the 1 st remaining on the right needle after the bind off counts as the 1st st of the chart) work in pattern as established to end of row. (57 (60, 63, 65, 65) (68, 69, 72, 72) sts)
Row 2 and all WS even rows: Work in pattern as established, following both charts and keeping the neckline st in stockinette throughout
Rows 3-6: Work in pattern as established, following both charts and keeping the neckline st in stockinette throughout.
Row 7 (inc): K 1, m1l, work in pattern as established. (58 (61, 64, 66, 66) (69, 70, 73, 73) sts)
Begin to incorporate the moss st pattern at the center front in the next section as per the chart, but continue to keep the neckline st in stockinette throughout.
Rows 9-16: Rep row 7 and 8, 4 more times. (62 (65, 68, 70, 70) (73, 74, 77, 77) sts)
Row 17: CO 2, then working back across those sts, K 1, work in pattern as established. (64 (67, 70, 72, 72) (75, 76, 79, 79) sts)
Row 18: Work in pattern as established to last st, P 1.
Row 19: Rep row 17. (66 (69, 72, 74, 74) (77, 78, 81, 81) sts)
End right and left front neck charts but continue to follow right sleeve and left sleeve charts.


CO for center front neck, join front pieces, and begin front chart:
Front chart begins at the bottom left corner, row 20. Odd/RS rows are read right to left and even/WS rows are read left to right. Markers indicate beginning and end of each chart.
Row 20 (WS): Work in pattern as established across, CO 12 (12, 12, 14, 14) (14, 16, 16, 16), if necessary, place right front sts on left needle to continue a WS row, work in pattern as established across right front piece. (144 (150, 156, 162, 162) (168, 172, 178, 178) sts)
Row 21: Work in pattern as established, continuing moss st across center front CO sts.
Rows 22-48 (48, 48, 48, 54) (54, 54, 54, 60): Work in pattern as established.


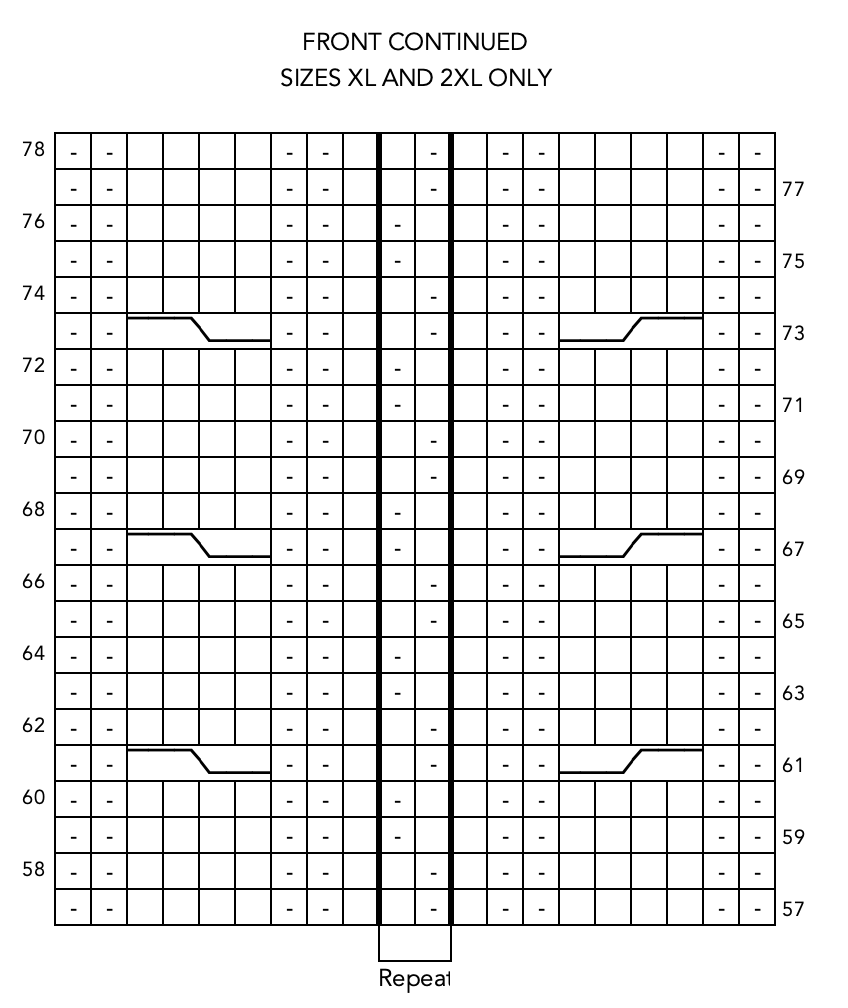
Bind off sleeves and begin front continued chart:
Row 49 (49, 49, 49, 55) (55, 55, 55, 61) (RS): Bind off 42 (42, 42, 42, 39) (39, 38, 38, 35) sts, work in pattern as established to end of row. (102 (108, 114, 120, 123) (129, 134, 140, 143) sts)
Row 50 (50, 50, 50, 56) (56, 56, 56, 62) (WS): Bind off 42 (42, 42, 42, 39) (39, 38, 38, 35) sts in purl, work in pattern as established to end of row. (60 (66, 72, 78, 84) (90, 96, 102, 108) sts)
Front continued chart begins at the bottom right corner, row 51 (51, 51, 51, 57) (57, 57, 57, 63). Odd/RS rows are read right to left and even/WS rows are read left to right. Markers indicate beginning and end of the chart.
Rows 51 (51, 51, 51, 57) (57, 57, 57, 63)-66 (66, 72, 72, 78) (78, 84, 84, 90): Work in pattern as established.
Sizes XS (-, -, -, -) (2XL, -, 4XL, 5XL) only:
Next 8 rows: (K 1, P 1) across.
Sizes - (S, M, L, XL) (-, 3XL, -, -) only:
Next 8 rows: (P 1, K 1) across.
All sizes:
Remove remaining markers.
Bind off in rib pattern.


SLEEVE CUFFS
With shorter needles and RS facing, pick up and K 72 (72, 72, 72, 80) (80, 80, 80, 90) sts across one sleeve cuff edge (approx. 3 sts for every 4 rows along the edge).
Next 5 rows: (K 1, P 1) across.
Bind off in rib pattern.
CONSTRUCTION
Fold sweater at the shoulders.
Seam from the bottom hem up to the underarm and down the underside of the sleeve.
NECKBAND
With shorter needles and starting at back right shoulder, pick up and K 30 (30, 30, 32, 32) (32, 34, 34, 34) sts across back neck, 5 sts down straight edge of left neck shaping, 9 sts down angled edge of left neck shaping, 12 (12, 12, 14, 14) (14, 16, 16, 16) sts across center front CO sts, 9 sts up angled edge of right neck shaping, and 5 sts up straight edge of right neck shaping. Pm for beginning of rnd. (70 (70, 70, 74, 74) (74, 78, 78, 78) sts)
Next 5 rows: (K 1, P 1) around.
Bind off in rib pattern.
Secure and weave in all ends.

CUSTOMIZATION
The wingspan measurements for this pattern are based off of the size charts created by the Craft Yarn Council. As every body is different and may not fit these standards, I have included customization information to lengthen or shorten the sleeves so that you can tailor them to fit you better as this is a key element of the sweater.
The first step is to measure your wingspan from wrist to wrist where you would like the sleeves to end with your arms stretched out to your sides like a T (you’ll need someone else to take the measurement for you). Then, select the size sweater you’ll be making based on your bust measurement and the suggested ease provided. Calculate the difference between the wingspan dimension of that size and the wingspan measurement of your body, then divide that by two. This is the number of inches you will want to increase or decrease each sleeve depending on whether you want to lengthen or shorten them. Use the gauge to calculate how many sts to add or subtract from your sleeves as follows:
Take the number of inches you’d like to add or subtract from each sleeve and divide this number by 4, then multiply it by 12. For example, if I want to shorten my sleeves by 2 inches each (which would be 4 inches for the total wingspan), my calculation would be 2/4*12=6, so 6 is the number of sts I would need to subtract from the sleeves.
Then when you get to the CO rows for the sleeves, you will CO that many sts more or less. All of the stitches between the charts are worked in stockinette (K the sts on the RS and P the sts on the WS), so the instructions remain the same aside from the st counts.
Purchase the printable, ad-free pattern here.
Purchase the yarn from Hobbii here.
Don't forget to share your projects made using Two of Wands patterns on Instagram with the hashtag #crewofwands to get featured on my page and be in the running for monthly pattern giveaways!
Join the Crew of Wands Facebook group to connect with other makers of Two of Wands patterns for help with techniques and pattern related questions.
The patterns and photographs of items on this site are the property of Two of Wands and are for personal, non-commercial use only. These patterns files are protected by US copyright, and you may not distribute or sell them electronically or physically. Small batch sales of finished pieces made from these patterns are permitted, but seller must use their own photographs and credit must be given to Two of Wands as the designer.