
Top 7 Market Tips: From Prep to Display
Have you been considering selling your handmade wares at a craft fair? Are you overwhelmed with trying to decide what will sell or searching for unique patterns and display ideas that will set your booth apart? After years of successfully selling my finished pieces both in person at major handmade markets like the Renegade Craft Fair in NYC and online via my website and Etsy, I've compiled my top 7 market tips and I’m spilling all my secrets for you now!
There is so much to think about when it comes to getting everything ready for a show. What to make, what to bring, how to display it … there’s a lot of info out there and it can be confusing and overwhelming to navigate and know what works best. I’m sharing what has been consistently successful for me and ways you can tailor it all to your own brand. Wishing you all tons of success at the markets this year!
AND NOW FOR MY TOP 7 MARKET TIPS:
(1) Make more than you think you’ll need (but don’t display it all at once).
I always like to start my planning by categorizing everything I want to include at my booth - hats, cowls, scarves, gloves, wraps, etc. Then I price everything out and look at what will likely be the most popular price point (which is usually the lowest price point, let’s be honest). I make the most of those items, often in all of the colors I’m using, often in several of each color. Then I move to the next price point and make at least a couple of each color of those pieces as well. For the higher ticket items, which are usually the more time intensive pieces, I will typically only make a few total, and not in every color. Having too much in a booth or on a table can be overwhelming for customers, so I recommend having some boxes under the table (hidden behind a table cloth) where you can keep excess inventory.
Even if you don’t sell everything you’ve made, it’s not a bad thing. This will give you inventory that’s ready to ship, which is a life saver during the holidays. You can run sales (hello Black Friday, Small Business Saturday, and Cyber Monday!) on your website or Etsy without the headache of having to make each piece as orders come in. Being able to just grab a piece off a shelf, package it up, and ship it off is the most wonderful feeling. Holidays are the busiest time of the year for makers, so stocking up beforehand will save a ton of stress. And even if you don’t sell everything before the holidays, January is a great time for post-season sales that will help you clear out the shelves.
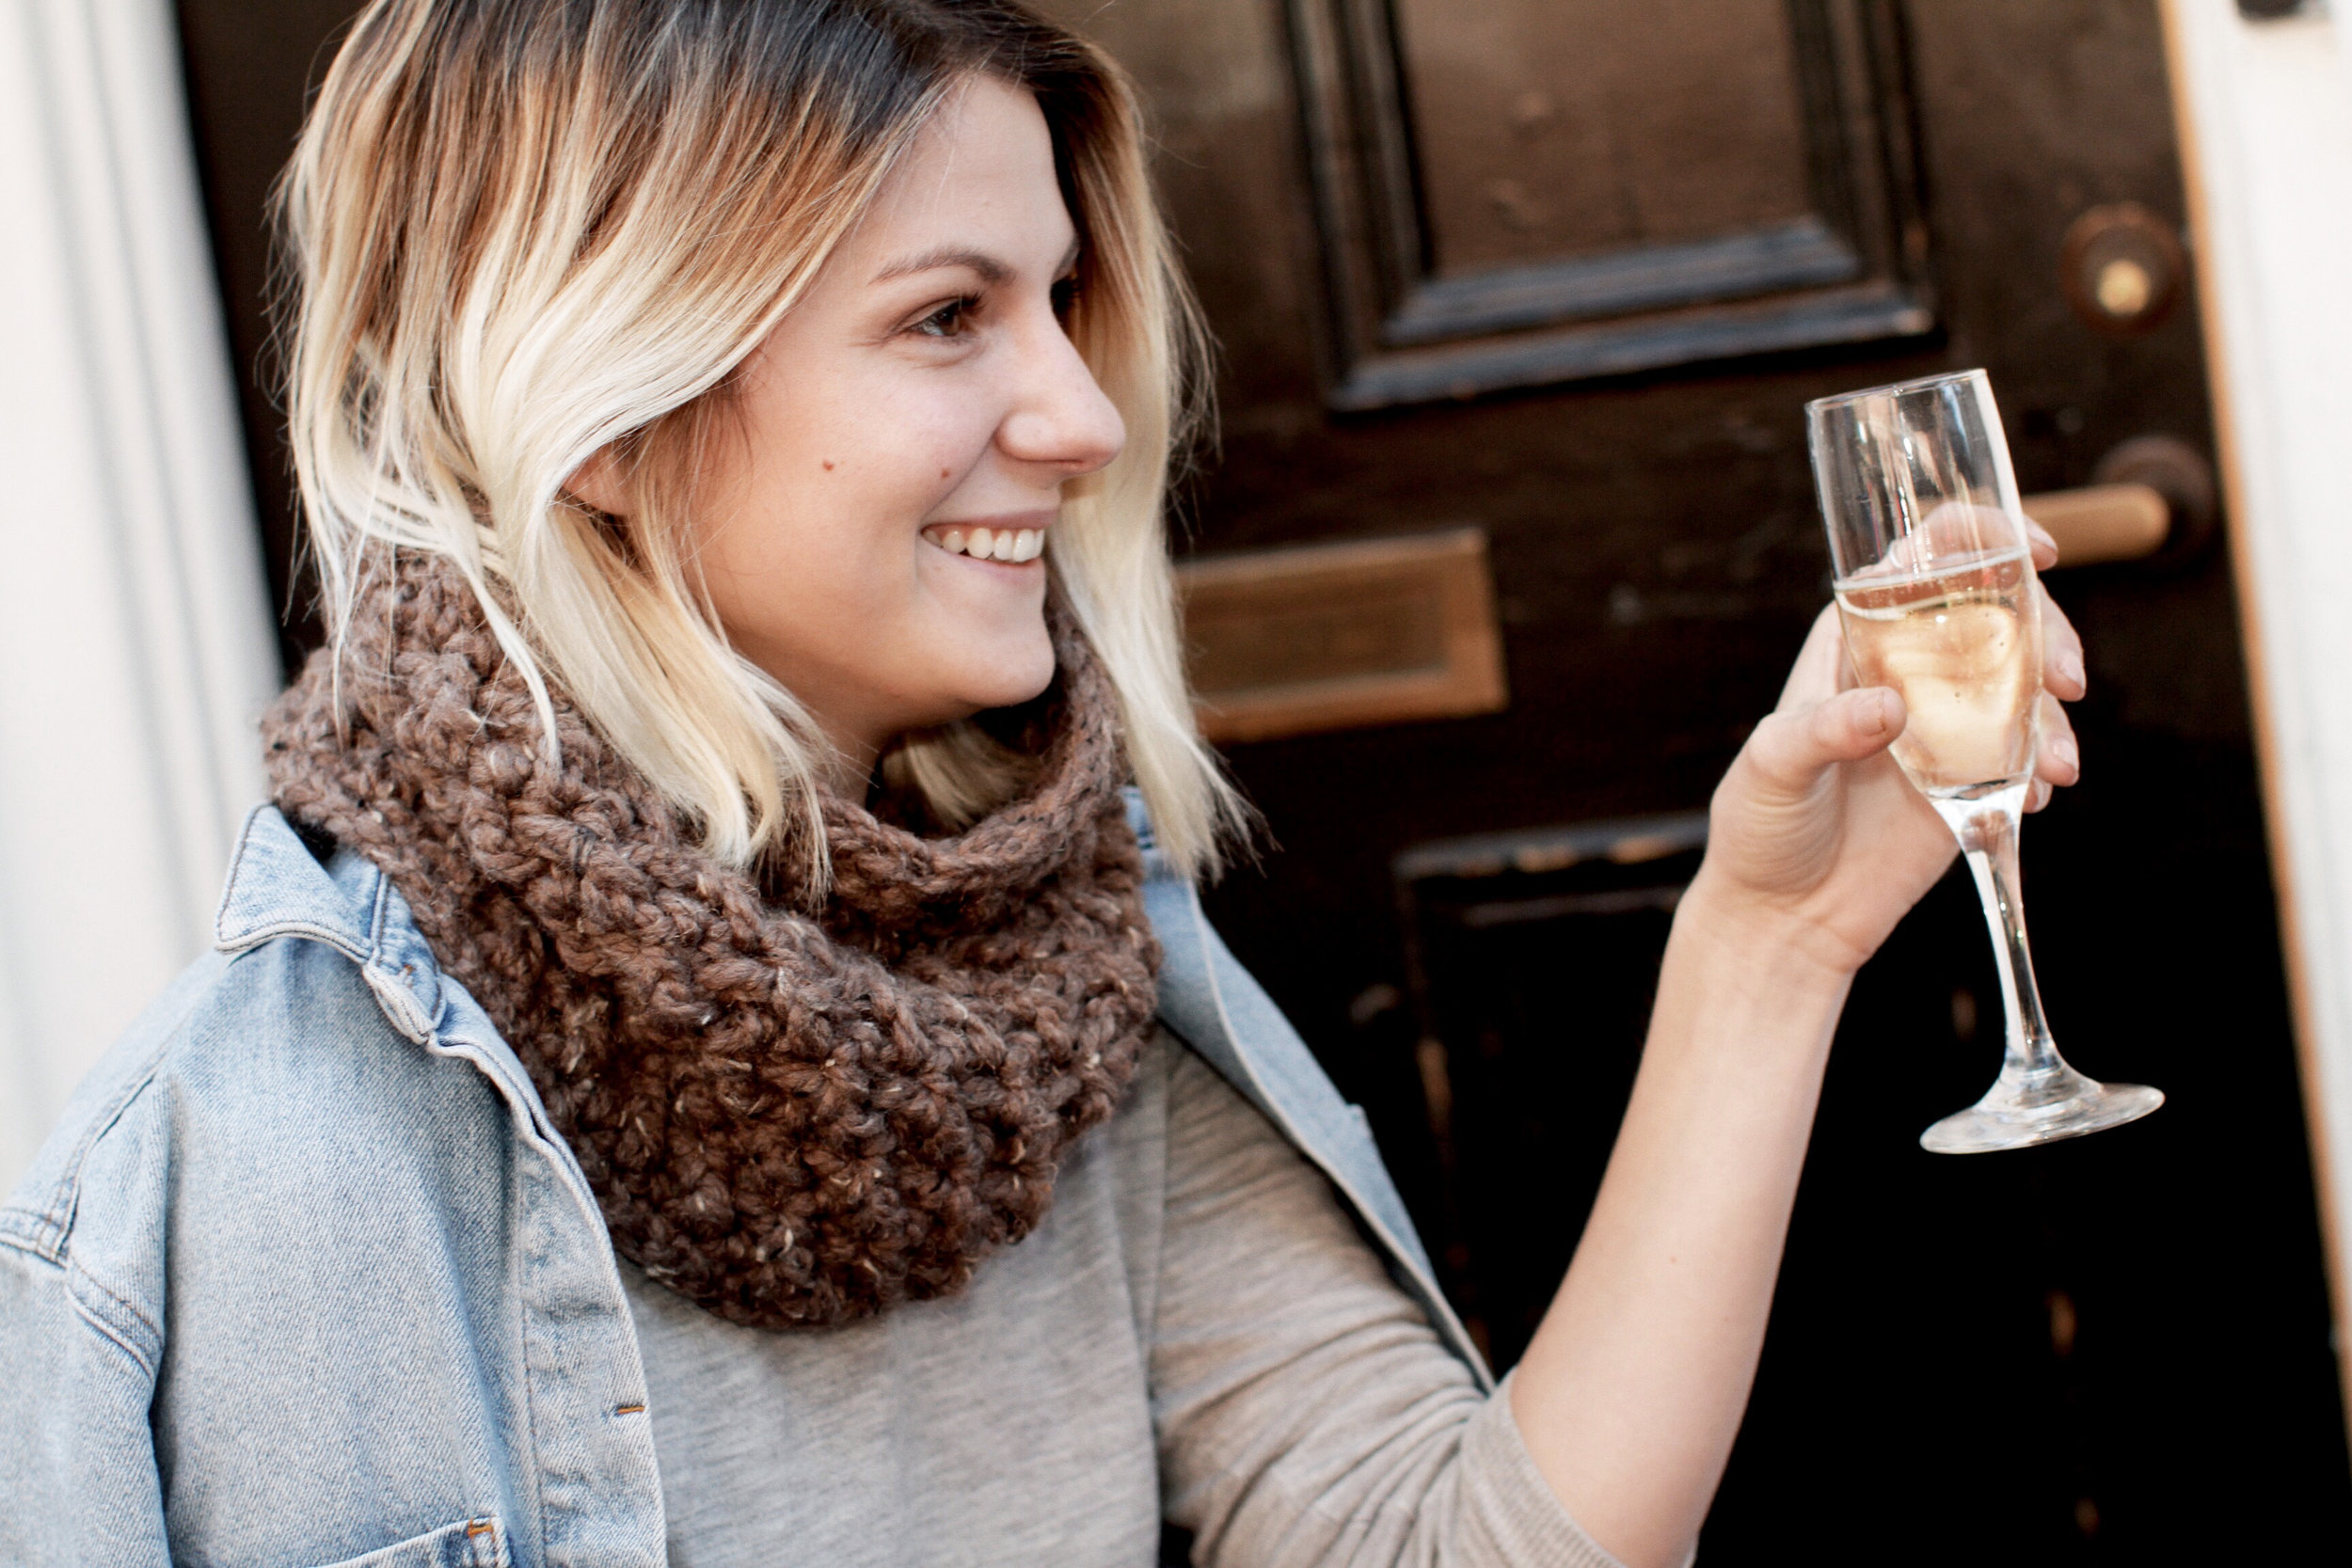
(2) Choose a color scheme.
Like I said in tip #1, overwhelming your customers with too much to look at is not good. People think they like lots of choices, but studies have shown that too many choices actually prevents you from making a decision (which means no sale). That being said, having a few options in terms of price point and color can be really helpful because it will allow for different types of customers. When I’m prepping for a market, I like to choose only one or two types of yarn to work with, in 5-10 colors that all look good together (this is key so your set up is visually pleasing). You’ll notice that almost all of the patterns in this month’s “market go-tos” suites are made with Lion Brand Wool-Ease Thick & Quick. This is partly because this is a workhorse of a yarn that’s soft, durable, and inexpensive, but it’s also because choosing just one or two types of yarn will make all of the pieces in my booth look consistent and cohesive, like they are part of the same brand.
This also allows me to purchase my yarn in bulk at wholesale prices. Did you know anyone can purchase wholesale yarn through Lion Brand? As long as you have a tax ID, you can place a wholesale order that will cost you around 50% less than ordering from their retail site. Keep in mind that your first order has to be a minimum of $500, and all subsequent orders will have a minimum order of $250, but this is a great way to save and have all of your yarn shipped to your doorstep at once for market season. For more info, reach out to Jessica Hernandez from Lion Brand at Jessica.Hernandez@lionbrandyarn.com.
Once you’ve chosen your yarn type, selecting a limited amount of colors that you think speak to your brand will set you apart, draw attention, and encourage customers to purchase more than one item because everything will “match.” It’s so much more pleasing to the eye to walk into a booth or up to a table where there’s some kind of theme going on. People want to buy into a lifestyle, not clutter, and having a color scheme is the easiest way to build your brand identity. I even offer a little color swatch “file” on a key ring that includes swatches of all the colors I work with in case someone wants to see them in person and place a custom order.
(3) Sell a variety of items at different price points.
Have you ever walked into a store where you literally wanted everything but couldn’t afford the big stuff, so you purchased a small memento that allowed you to feel connected to the brand without having to shell out big bucks? Without the small affordable stuff, most wouldn’t be able to make a purchase at all. But without the big aspirational stuff, the smaller items would have less meaning. Having expensive items in your booth doesn’t mean you’re not reaching your target customer (it also doesn’t mean you won’t sell those items either, you’d be surprised!), it just means you’re giving them options and creating a full lifestyle with your brand. Giving them something to strive for will also make them return customers who continue to support your business over time. There’s a reason the Chanels of the world sell mostly small leather goods rather than large bags and clothing even though they offer a full wardrobe of options - it’s the less expensive, more attainable items (if you call a small $2000 attainable … you get my point) that add up to keeping a business running, but the more luxurious items that create the mood that keep the customers coming back.
In addition to giving your shoppers a reason to take your business card for future purchases, different price points draw more customers because you’ll “have something for everyone.” It also incentivizes multiple item purchases, because if someone is already going to spend $100 on a scarf, they won’t think too much about adding on a $20 headband. Keep bigger ticket items displayed on stands and higher up, and smaller more affordable pieces on the table near their hands and next to the checkout area for impulse purchases.
CHECK OUT MY TOP 2 KNIT AND CROCHET SELLERS:

+ DESCRIPTION
Is there anything that shouts elegance in knitwear more than cables? This classic element elevates a simple beanie to a more cosmopolitan accessory. Don this cozy and chunky hat and picture yourself strolling the streets of a quaint ski town in the Alps ...
+ SKILLS
This is an easy level knitting pattern, and the techniques involved are knit, purl, k2tog, ssk, and cabling. All Two of Wands patterns are written in standard US terms.
+ SIZING
one size fits all
Circumference, un-stretched: 18”/46cm
Length: 9”/23cm
*A link to download the pattern will be sent upon payment completion. This link will expire after 24 hrs.
The pattern and photographs of this design are the property of Two of Wands. This pattern and design are subject to copyright, and are for personal, non-commercial use only. You may not distribute or sell this pattern or any items created using the directions in this pattern without consent.

+ DESCRIPTION
Looking for the ultimate cozy chic hat? You've found it. With the perfect amount of stretch and slouch, the Thermal Toque tops off the snow bunny look with sophistication and comfort. The basic beanie shape is enhanced with a classic thermal stitch pattern and topped with a fluffy pompom.
+ SKILLS
This is an easy level knitting pattern, and the techniques involved are knit, purl, k2tog, and working in the round. All Two of Wands patterns are written in standard US terms.
+ SIZING
one size fits all
Circumference, un-stretched: 18”/46cm
Length: 9”/23cm
*A link to download the pattern will be sent upon payment completion. This link will expire after 24 hrs.
The pattern and photographs of this design are the property of Two of Wands. This pattern and design are subject to copyright, and are for personal, non-commercial use only. You may not distribute or sell this pattern or any items created using the directions in this pattern without consent.

+ DESCRIPTION
Bobbles are by far my favorite texture in crochet and knitting, so I wanted to create something that would really showcase the stitch. What better way than a proud crown full of them!? This is a simple headband with a lot of personality and squishy bobble warmth, and the width works great for ponytails and top knots too.
+ SKILLS
This is an easy level crochet pattern, and the techniques involved are single crochet, slip stitch and bobble stitch. All Two of Wands patterns are written in standard US terms.
+ SIZING
one size fits all
Circumference, un-stretched: 20”/50.8cm
Width: 3.5”/8.9cm
*A link to download the pattern will be sent upon payment completion. This link will expire after 24 hrs.
The pattern and photographs of this design are the property of Two of Wands. This pattern and design are subject to copyright, and are for personal, non-commercial use only. You may not distribute or sell this pattern or any items created using the directions in this pattern without consent.
+ DESCRIPTION
The Rocky Coast Cowl is the epitome of effortless style. The pebbled, super chunky fabric is densely crocheted for a soft but structured silhouette that adds instant sophistication as soon as it's plopped onto the neck. The combination of the sturdy form and close-fitting style make for a snug and toasty neck even in the chilliest of conditions.
+ SKILLS
This is an easy level crochet pattern and the techniques involved are single crochet, double crochet, post stitches, and working in joined rounds. All Two of Wands patterns are written in standard US terms.
+ SIZING
Height: 9.5”/24cm
Circumference: 24”/61cm
*A link to download the pattern will be sent upon payment completion. This link will expire after 24 hrs.
The pattern and photographs of this design are the property of Two of Wands. This pattern and design are subject to copyright, and are for personal, non-commercial use only. You may not distribute or sell this pattern or any items created using the directions in this pattern without consent.
(4) Keep your booth or table visually interesting with different levels of sight
There’s nothing more boring than a market display with flat stuff on a flat table. Different lines of sight create visual interest and more of a “store” atmosphere that will instantly bring more value to your items. Creating as much of an enclosed, curated space as possible will make your booth or table stand out from all the rest. You want the customer to feel as if they are stepping into your world.
If you’re displaying in a booth you will likely already have “walls” of a tent or divider provided by the show, but if you’re stuck in a long aisle of tables, I highly recommend investing in these grid walls to create your own backdrop as the first step of creating an inviting, visually-pleasing experience for shoppers. Teresa from Debrosse turned me on to them when I did my first Renegade show, and I’ve used them ever since. I like to stretch fabric (aka blankets) over them to create a solid back wall that will prevent you from being able to see through them eliminate the feeling of clutter from other tables when customers walk up to yours. You can easily attach the fabric using safety pins or spring clamps to hold it in place from the back and avoid any sort of sewing or cutting. You can even buy cheap canvas drop cloths to put over the grid walls and paint your logo on them if you’re feeling extra crafty. This is another way to bring brand identity to your display. The table and this backdrop will be the basic bones of your display, and then it’s time to “decorate.”
The tallest part of your display is the backdrop. If you’re using the grid walls, I like to attach a few hooks to display some items (usually more expensive pieces) against them. These wood crates are a go-to for pretty much any market seller I know. They can be stained or painted to match your brand and really customize them to your display, and they can be arranged individually or stacked up to create makeshift shelves. Just like choosing yarn color schemes is important, coordinating your display to highlight and not distract from your knit items is equally important. If the majority of your knits are deep, rich colors, I’d recommend going with lighter colored display items. If your knits are mostly light in color, darker tones and woods will help them pop. Think about it - one of these crates stained with a dark color would totally swallow a darker knit, but something light would instantly pop, and vice versa. My three favorite stains for these crates are antique white, weathered grey, and coffee.
While I love the crates for stacking scarves and cowls, I prefer to display hats on head forms or stands to give a nice representation of the level of “slouch” and more of a 360 degree perspective. Years ago I made head forms out of styrofoam balls wrapped in yarn with little crocheted red lips (idea credit: The Queen Stitch) on top of some dowel rod stands that were a huge hit and I’ve been using them ever since. While I drilled and glued the stands myself, these donut stands are actually brilliant and come readily made in different heights for you to top with the styrofoam balls. Along with the crates, these hat stands will provide an elevated line of sight off of the table to draw the eyes up. I would recommend balancing mixing up the heights on either end of the table.
Smaller items can be displayed directly on the table or in trays like these which can be stained or painted to match your crates. For garments and long scarves, you may want a clothing rack to hang your items. This one has a small footprint and comes in both a light and a dark colorway so you can match it to the rest of your display.
Now that you have all of your levels for display, the last thing to think about is signage. As I mentioned above, you can paint or hang a sign or banner with your logo from the backdrop, but I also love this simple sign stand that fits a 14x22” sign you can have printed at Staples. Another idea for signage is to hang a banner with some twine along the front of your table using the spring clamps to hold it in place, but keep in mind that something low like that might not be as easy for customers see, especially if there are people standing in front of your table.
Lastly, it’s a good idea to have some other small signs with prices, social media handles and website address, etc. I like chalkboards like these and clear frames like these for this purpose.
(5) Make a lookbook.
Probably my biggest pro-tip (because I rarely see this done and it’s so valuable!) is to make a lookbook. This is a “book” containing images and prices of all of the items you have on offer. It can also include a color or swatch card showcasing all of the colors you’re able to create an item in (which is great if you’ve had to narrow it down for your display but want to offer more colors for custom pieces). This way, if you sell out of something, or if you have more items that you didn’t bring to sell in person, you have a visual representation of everything you sell that customers can browse (and you should encourage them to). Some shoppers are often shy to ask about prices, which you can avoid by tagging everything in your booth, but it’s also nice to be able to say “here’s my lookbook with everything I make along with the prices if you’re interested” so they won’t feel uncomfortable picking up a knit to search for the tag.

If you know your way around a graphic design program, you can create something fancy and have it printed through vistaprint.com, Staples, or a local printer. But if you’re challenged in that realm, you can make a simple page for each item with a photo, description, and price in Microsoft Power Point, print those, and put them in clear plastic sleeves in a nice binder.

If your booth gets swarmed, this is a great way to grab a customer’s attention so they can peruse your items in the lookbook while waiting to get a closer look at the items. It also encourages custom orders because shoppers can customize something they might not see in on display. Have some order forms (and a clipboard so they have a surface to write on) available for them to fill out to collect payment on the spot so you don’t lose the sale.
(6) Use the experience as a market research tool.
Selling in person is one of the best ways to get customer insight. Craft fairs offer a direct relationship with your customers, and engaging with them to learn about their shopping habits is so important. You can use this information for your next show, when revamping your online shops, and even as a guide for what to post on social media to attract them. When a customer comes to your booth or table, ask them questions! For whom are you shopping (men, women, children, friends, family, themselves, etc), what kinds of items do you buy again and again, what other shows are you going to this season, and so on.
One thing I always like to point out though, is that sometimes customers think they know what they want but they actually want something else. Listen to their words, but watch what they pick up, what they try on, what colors they are drawn to, etc. This is where you can really get information about what is attracting them to your booth visually. Lastly, pay attention to the questions they ask you. Are you getting repeat requests for an item you don't carry? Are people asking for a color you don't have? Let this inform the decisions you make about your business going forward.
7. Create return shoppers.
Chances are that even though you're selling in person at a show, you have some form of an online presence via a website, Etsy shop, or even just social media that drives sales outside of the show. This gives people the opportunity to shop with you throughout the year and become return customers. Following all of the tips above will ensure you have a strong brand identity that will draw customers in, but you want to take it a little further to keep your shop in their minds.
First, you should always have a newsletter sign up prominently displayed for you to collect your customers' info so you can grow your audience. You want to make sure that your website and social media handles are on display at your table. This can be in the form of a little "follow us!" frame, and you should also have business cards out for people to grab. Point both of these out to customers and encourage them to follow you. Maybe they are just browsing today but will purchase online at a later date. My favorite thing to do is create postcards that have a photo that represents my brand, my online shop info, social media handles, and discount code valid until the end of the month so they feel like they're getting a special deal for coming to this show. This will incentivize them to shop with you later on (and even purchase something at a higher price point), and it's a great takeaway that will keep your shop top of mind. I even include the postcards in the shopping bags when a customer makes a purchase, because they may decide to buy more using the discount code. Here's an example of one of my postcards:
I hope these tips will inspire you to take your craft market sales to the next level this season! It’s all a learning process, and making mistakes means you get to fix them and grow, which is always a good thing! Remember if this is your first in-person selling experience that we have all been there, and you’ll be able to continue to refine your style and system with each show that you do.
